Imagine yourself in a cozy cabin nestled in the midst of a lush forest, with towering trees swaying gently in the breeze. As you sit on your front porch, sipping your favorite drink, the irresistible aroma of wood-fired smoke from the nearby stump smoker fills your senses. But how do you achieve that perfect blend of smoky goodness in your food? The answer is simple: seasoning your smoker like a pro.
Whether you’re an experienced pitmaster or a beginner cook, seasoning a stump smoker can be intimidating. But don’t worry. With the right techniques and tools, you’ll be able to create mouthwatering dishes that will rival those of any restaurant.
In this article, we’ll guide you through the process of seasoning a stump smoker correctly. From removing any manufacturing residues to adding extra flavor before your first cook, we’ll take you step by step towards achieving the ultimate barbecue experience.
So sit back, relax and get ready to learn how to season your stump smoker like a boss. Let’s fire up that pit and get started.
Contents
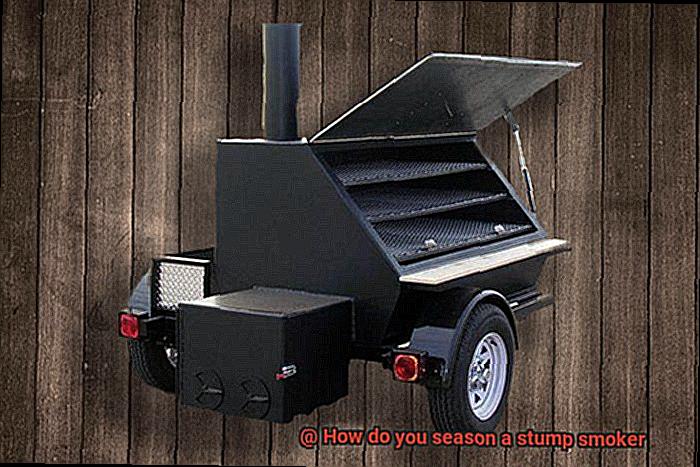
What is a Stump Smoker?
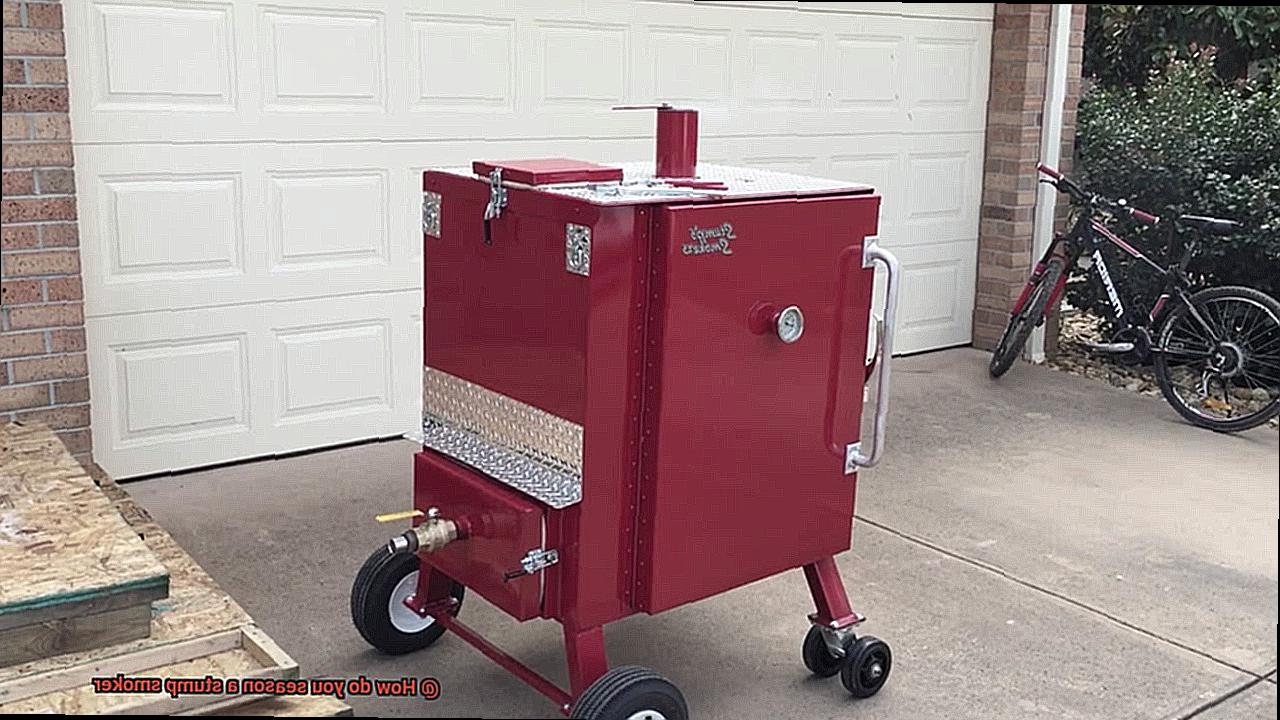
Crafted from a hollowed-out stump, these smokers boast thick walls that provide excellent insulation for even cooking temperatures and optimal flavor. Plus, they’re built to last with proper care.
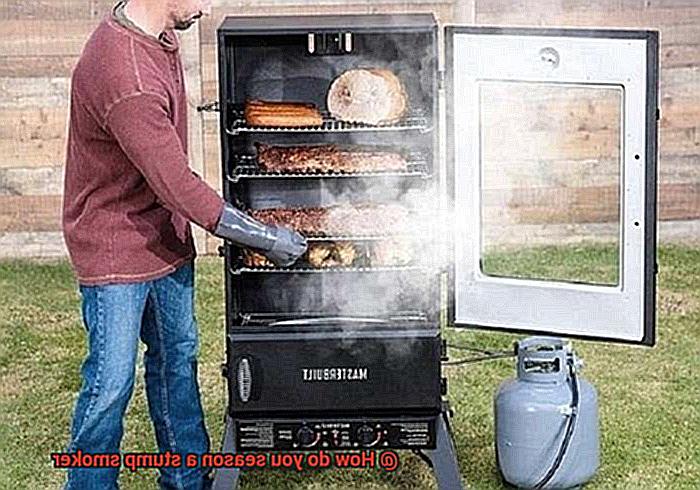
To get started with your stump smoker, first, ensure that it’s properly seasoned. Begin by giving it a thorough cleaning with warm water and dish soap. Then, apply a thin layer of cooking oil to every surface, including the grates and firebox.
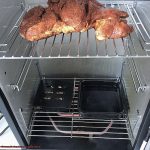
Next, it’s time to build a fire. Use wood chips or chunks to create a small flame and maintain a temperature between 250-275 degrees Fahrenheit for 2-3 hours. As the smoke permeates the inside of the smoker, it will create a delicious layer of flavor that will enhance every cut of meat you smoke.
Once the fire has gone out, let the smoker cool completely before wiping down the inside surfaces with a clean cloth or paper towel.
With your stump smoker now seasoned and ready to go, you can enjoy delicious smoked meats in a truly unique setting. Don’t forget to clean and season your smoker regularly to keep it in top condition for years to come.
Why Do You Need to Season a Stump Smoker?
Before you fire up your brand new stump smoker and start cooking up a storm, there’s a crucial step you need to take: seasoning. As an expert in all things stump smokers, let me tell you why seasoning is essential for preparing your smoker for future use.
First and foremost, seasoning removes any harmful chemicals or residues that may be present on the surface of the smoker. These chemicals can come from manufacturing processes, storage, or transportation and can be potentially harmful when ingested. By seasoning your stump smoker, you’re ensuring that any harmful substances are removed, making it safe and healthy to use.
But seasoning is more than just a safety measure. It also creates a protective layer on the inside of the smoker that prevents rust and corrosion from forming. This layer acts as a shield against the elements and ensures that your smoker lasts longer and performs better over time. Think of it as an investment in your meat-smoking future.
And as if that wasn’t enough, seasoning also improves the quality of the food you cook in your stump smoker. By heating up the smoker at high temperatures during seasoning, you’re creating an even cooking surface that removes any impurities or debris. This process also adds flavor to your food, making it even more mouth-watering.
In summary, here are three reasons why you need to season your stump smoker before using it:
To remove any harmful chemicals or residues that may be present on the surface.
To create a protective layer that prevents rust and corrosion from forming.
To improve the quality of the food you cook in the smoker by creating an even cooking surface and adding flavor.
Step-by-Step Guide to Seasoning a Stump Smoker
Before you start smoking up a storm, it is crucial to season it properly. As an expert in all things stump smokers, I am here to guide you through the process with this step-by-step guide.
Clean the Smoker
If you’re looking to whip up some mouth-watering meals in your stump smoker, you need to ensure it’s squeaky clean beforehand. A dirty smoker can leave your food with a less than appetizing taste and unsanitary conditions. So, let’s dive in and learn how to clean your smoker like a pro.
Start by removing any leftover ash or debris from previous use. Use a brush or scraper to get rid of any larger pieces of debris. This is key to ensuring any unwanted particles don’t affect the flavor of your food.
Next, create a solution of warm water and dish soap and wipe down the inside of the smoker with a soft cloth or sponge. Pay close attention to any areas with buildup or residue. Be meticulous in your cleaning to ensure every nook and cranny is spotless.
After cleaning, thoroughly rinse the smoker with clean water and allow it to dry completely. Don’t skip this step as leftover moisture can lead to rusting or damage.
Now that your smoker is sparkling clean, it’s time to season it. But don’t rush into it. Take your time because a well-seasoned smoker produces better-tasting food.
So, here are the steps you need to take to clean your stump smoker:
- Remove any leftover ash or debris
- Wipe down the inside with warm soapy water
- Rinse thoroughly with clean water
- Allow it to dry completely
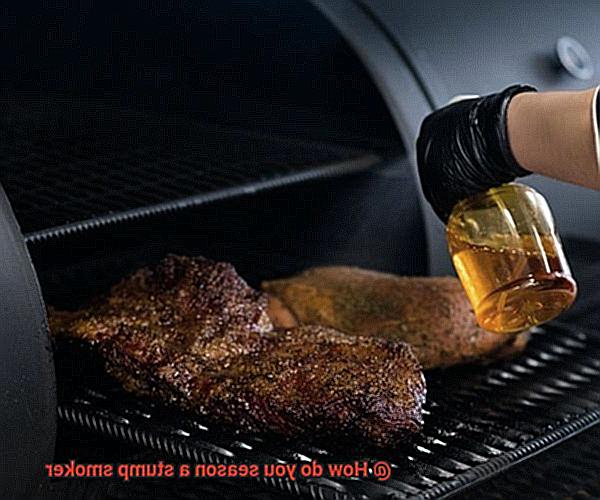
Apply Cooking Oil
If you want to achieve mouth-watering, smoky flavors, then you need to properly season your stump smoker. And one crucial step in this process is applying cooking oil to the interior surfaces.
But don’t just go grabbing any oil from your pantry. It’s important to choose the right oil with a high smoke point, such as canola or vegetable oil. Avoid using butter or olive oil, as they have low smoke points and can become rancid over time.
Once you have your oil of choice, it’s time to get down to business. Using a clean cloth or paper towel, apply a thin layer of oil to all interior surfaces of the smoker, including the grates, walls, and ceiling. Don’t forget those nooks and crannies. This will create a protective layer on the metal that prevents rusting and ensures that your food doesn’t stick to the grates.
Now it’s time to heat things up. Heat up your smoker to a temperature of around 250-275 degrees Fahrenheit and let it run for a few hours. This will allow the oil to bake into the metal and create that protective layer that will last for several smoking sessions.
But don’t stop there. After the initial seasoning process is complete, repeat this process periodically to maintain that protective layer and prevent rusting. Many experienced pitmasters recommend seasoning your stump smoker after every 5-6 uses or whenever you notice signs of rust or food sticking to the grates.
Start the Fire
When it comes to smoking meat, starting the fire is one of the most important steps in the process. Whether you’re an experienced pitmaster or a beginner, properly seasoning your stump smoker is essential to achieving mouth-watering, flavorful meats.
The first step in starting the fire is to ensure that your smoker is clean and free of any debris or leftover ash from previous smoking sessions. This not only helps with the flavor of your meat but also ensures that there are no hot spots in your smoker which can cause uneven cooking.
Once your smoker is clean, it’s time to lay a layer of high-quality charcoal at the bottom. Then add some wood chunks on top, choosing from popular options like hickory, oak, or applewood. The type of wood you choose will affect the flavor of your meat, so choose wisely.
Now that you have your wood and charcoal in place, it’s time to light the fire. You can use either a chimney starter or lighter fluid to get things going. Let the fire burn until the temperature inside your smoker reaches around 250°F. The amount of time it takes for this temperature to be reached can vary depending on the size of your smoker and the amount of wood and charcoal used.
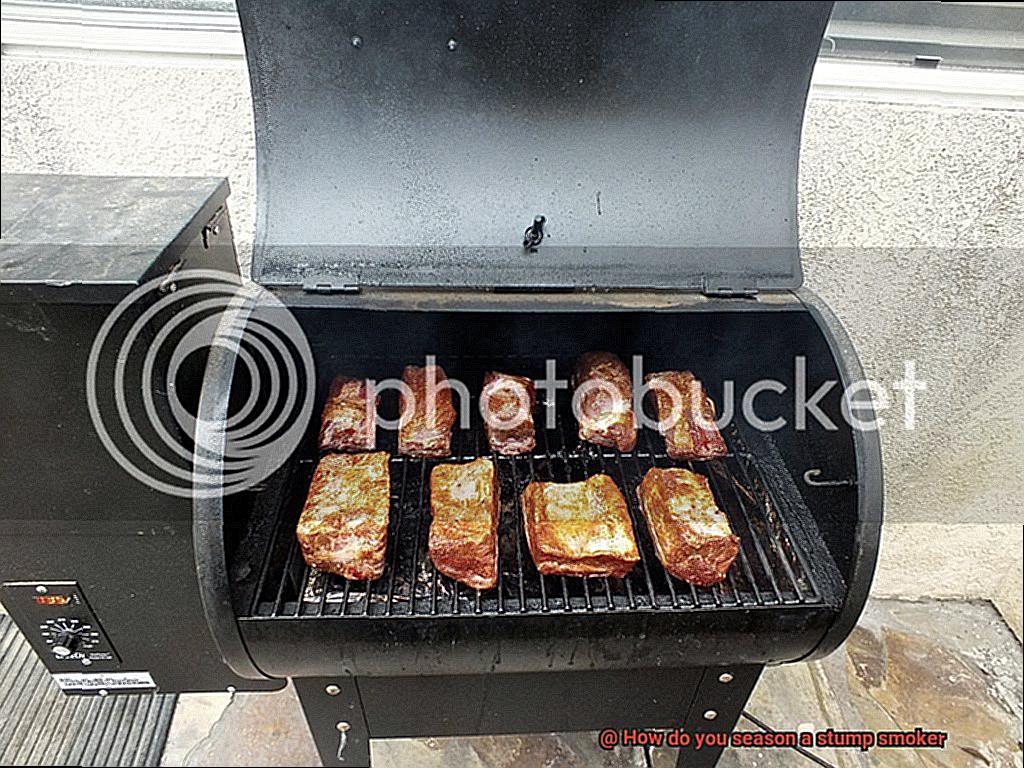
Once you’ve reached the desired temperature, adjust the vents to maintain a consistent temperature and let it smoke for around 2-3 hours. This allows for the wood to burn down to coals and create a layer of seasoning on the inside walls of your smoker.
During this process, it’s important to note that you should not add any meat or food to your smoker as it can affect the seasoning process. Instead, focus on monitoring your smoker periodically to ensure that it stays at a consistent temperature.
Monitor the Fire and Smoke
The key to achieving mouth-watering BBQ every time is by monitoring the fire and smoke during the seasoning process. Let’s explore how to do this like a pro.
Firstly, ensure that your fire is at a steady temperature before adding any wood chips or chunks. Use a thermometer to monitor the temperature inside the smoker and make adjustments to maintain consistency. Don’t forget to adjust the airflow as needed, which plays an essential role in maintaining a consistent temperature.
Next, add your wood chips or chunks to the fire, but don’t overload the smoker. Too much smoke can ruin the flavor of your meat. Keep a close eye on the smoke level and airflow and adjust them as needed to maintain a consistent smoke level throughout the entire seasoning process.
To ensure even cooking and smoking, rotate your meat throughout the seasoning process regularly. This simple step will make all the difference in achieving that perfectly seasoned stump smoker flavor.
Keep an eye on the fire and smoke throughout the entire seasoning process, making any necessary adjustments to temperature and smoke levels. Remember that patience is key, so give yourself enough time to achieve that perfectly seasoned stump smoker.
Benefits of Regularly Seasoning Your Stump Smoker
By coating the inside of your smoker with oil and heating it to high temperatures, you create a protective layer that prevents rust and corrosion. Here are some reasons why you should be regularly seasoning your stump smoker:
Say Goodbye to Rust and Corrosion
Living in a humid or coastal area can pose problems for metal structures like your stump smoker. Seasoning your smoker creates a protective layer that prevents moisture from penetrating the metal, reducing the risk of rust and corrosion. This means your smoker will last longer and operate more efficiently.
Enhance the Flavor of Your Food
When you season your smoker, the oil used will absorb into the metal over time, creating a non-stick surface that will prevent food from sticking and burning. Not only does this make clean-up easier, but it also enhances the natural flavors of your food while preventing any unwanted flavors from being imparted onto your food.
Consistent Temperatures for Perfectly Cooked Meals
By evenly distributing heat throughout your smoker, the oil used in seasoning helps to regulate temperature and prevent hot spots while ensuring even cooking. This means you can cook your favorite meats to perfection without worrying about overcooking or undercooking certain parts.
A Long-Lasting Smoker
Seasoning your stump smoker helps to extend its lifespan by preventing rust and corrosion, which can cause irreparable damage to your smoker over time. Additionally, maintaining consistent temperatures during cooking can reduce wear and tear on your smoker, further extending its lifespan.
Tips for Maintaining Your Stump Smoker After Seasoning
Maintaining Your Stump Smoker After Seasoning: Tips for Keeping Your Meat Tasting Delicious
You’ve seasoned your stump smoker, and now it’s time to make sure it stays in top condition. Maintaining your smoker is crucial to ensure it continues to work effectively and produce tasty meals every time. Here are some tips for maintaining your stump smoker after seasoning.
Clean your smoker after each use: Cleaning your stump smoker after each use is essential to prevent the buildup of ash, grease, and other debris that can affect the taste of your food. Use a wire brush or scraper to remove any residue from the grates and walls of the smoker. Regular cleaning will also prevent the buildup of harmful bacteria and keep your smoker looking new.
Check for leaks: Over time, seals and gaskets on the smoker can become damaged, resulting in leaks that can affect the temperature and smoke flow. Check for any leaks and replace any damaged parts as necessary. This will help maintain consistent heat and smoke levels, ensuring that your meat is cooked perfectly every time.
Store your smoker properly: When not in use, store your stump smoker in a dry, covered area to protect it from the elements. If you live in an area with harsh winters, consider storing it indoors during the offseason to prevent rust and other damage. Proper storage will help prolong the life of your smoker.
Use high-quality fuel: The type of fuel you use in your stump smoker can affect the taste of your food and the performance of the smoker. Use high-quality lump charcoal or wood pellets to ensure consistent heat and smoke. Cheaper fuels can lead to uneven heat distribution, which can result in undercooked or overcooked meat.
Monitor temperatures: Use a thermometer to monitor the temperature inside the smoker and adjust the vents as necessary to maintain a steady temperature. Fluctuations in temperature can affect the cooking time and result in unevenly cooked food. Consistent temperatures ensure that your meat is smoked to perfection every time.
Common Mistakes to Avoid When Seasoning Your Stump Smoker
If you’re new to stump smoking, seasoning your stump smoker is a crucial step to ensure your meats are juicy and flavorful. However, there are common mistakes that can ruin your BBQ experience. Let’s take a closer look at the five most common mistakes to avoid when seasoning your stump smoker.
Firstly, don’t forget to clean your smoker before seasoning. Any leftover debris or grease from previous cooking sessions can affect the taste of your meat. Use a wire brush or scraper to remove any debris, then wipe down the inside of the smoker with a damp cloth.
Secondly, using too much oil can create a sticky mess. A thin layer of oil is enough to protect the metal from rusting and create a non-stick surface for your meat.
Thirdly, preheating your stump smoker before seasoning is essential for even seasoning distribution. If you don’t preheat the smoker, the oil will not spread evenly and may pool in certain areas.
Fourthly, choosing the right type of oil is crucial. Always use an oil with a high smoke point, such as vegetable or canola oil. Oils with low smoke points like olive oil can burn and create a bitter taste.
Finally, avoid using high temperatures when seasoning your stump smoker. Keeping the temperature below 350 degrees Fahrenheit is essential because higher temperatures can cause the oil to burn and create a thick layer that will flake off and ruin the flavor of your meat.
ehC6RZEmZys” >
Conclusion
In conclusion, seasoning your stump smoker is an essential step that should not be overlooked.
By doing so, you will improve the quality of your food and extend the life of your smoker. Remember to clean your smoker thoroughly before seasoning it with oil or lard and then heat it up gradually to prevent any damage to the metal.
Once seasoned, your stump smoker will be ready to produce delicious and flavorful meals for years to come.