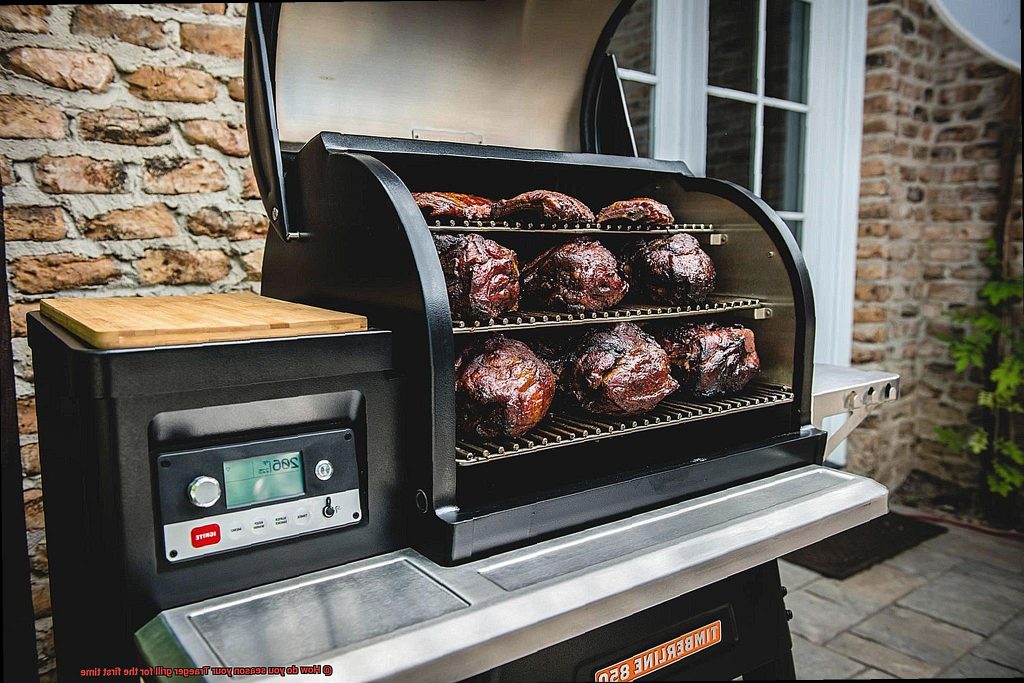
It’s that time of year again – the sun is shining, and you’re ready to fire up your Traeger grill for some delicious barbecuing. But before you start grilling up a storm for your loved ones, it’s essential to season your grill properly for the first time. Don’t worry; it’s not as complicated as it may sound.
Taking the time to season your Traeger grill will ensure optimal performance and mouth-watering taste. Plus, following the manufacturer’s recommendations will extend its lifespan. So, let’s get started.
First things first – burn off any manufacturing oils or residue by heating up your Traeger grill on high heat for about 30 minutes. Next, coat the inside of the grill with oil using a cloth or brush.
But wait, there’s more. In this blog post, we’ll guide you through all the necessary steps to season your Traeger grill like a pro. From initial coating to temperature control, we’ve got you covered.
So grab a cold drink and put on your apron – we’re about to take your barbecue game to the next level with these easy-to-follow tips on how to season your Traeger grill for the first time.
Contents
What is Traeger Grilling?
This unique type of grilling involves using a wood pellet grill to cook food, allowing users to control temperature and cooking time with precision. Traeger grills are incredibly versatile, capable of grilling, smoking, baking, roasting, and braising a variety of foods.
The Traeger grill was first invented in 1985 by Joe Traeger, who wanted to cook his family’s Thanksgiving turkey without drying it out. He created the first wood-pellet grill and has since transformed the grilling industry. Today, Traeger grills are sold worldwide and are beloved by both professional chefs and home cooks alike.
The process of Traeger grilling involves using wood pellets made from compressed sawdust and natural hardwoods as fuel. Each type of wood pellet imparts a unique flavor profile to the food being cooked, making it an incredibly versatile cooking method. The pellets are fed into the grill’s hopper and ignited by an electric heating element. The grill then uses a fan to circulate hot air around the food being cooked, creating an even cooking temperature.
One significant advantage of Traeger grilling is its precision cooking abilities. You can cook your food to perfection every time without worrying about overcooking or undercooking. Traeger grilling also offers endless possibilities when it comes to what you can cook. You can grill steaks and burgers, smoke ribs and brisket, bake pizzas and bread, roast vegetables and fruits, and even braise meats.
Another advantage of Traeger grilling is the unique flavor profiles it creates. With different types of wood pellets, you can experiment with various flavor combinations to create custom profiles that complement different types of food. For instance, mesquite pellets are perfect for beef and pork, while cherry pellets work well with poultry and fish.
Why Season a Traeger Grill?
Grilling on a Traeger grill is more than just a cooking method; it’s an experience. To ensure that your experience is nothing short of amazing, seasoning your Traeger grill is a crucial step that you cannot afford to skip.
Seasoning is the process of heating your grill to high temperatures, allowing the oil to melt and coat the interior surface of the grill. During this process, any impurities or residues leftover from manufacturing and shipping are removed, leaving your grill clean and safe for use.
But the benefits of seasoning extend beyond cleanliness. A well-seasoned Traeger grill creates a non-stick surface that prevents food from sticking to the grates. This not only makes cooking easier but also ensures that you get perfectly grilled food every time.
Moreover, seasoning your Traeger grill helps to protect its interior from rust and corrosion, prolonging its lifespan. As an added bonus, it enhances the flavor and aroma of your food by infusing it with a smoky flavor that only natural hardwood pellets can provide.
So, how do you season your Traeger grill? It’s a simple process that starts with removing any packaging materials or protective coatings from the grill grates. Next, coat the grates with vegetable oil or cooking spray and set your grill to high heat (around 400-450°F) for 30-45 minutes. During this time, you’ll notice some smoke and burning off of excess oils or impurities.
Once done, turn off your grill and allow it to cool down completely before wiping down the grates with a damp towel. And just like that, your Traeger grill is now seasoned and ready to use.
Preparing the Grill for Seasoning
As the sunny season approaches, it’s time to give your Traeger grill some much-needed TLC. Before you can start cooking up a storm, you need to prepare your grill for seasoning. This involves cleaning it thoroughly to get rid of any unwanted debris or residues.
The first step in preparing your Traeger grill for seasoning is cleaning the grates. Remove them and give them a good scrub with warm soapy water and a non-abrasive sponge. Take extra care to clean all the nooks and crannies.
Next, let’s move on to the inside of the grill. Use a vacuum or brush to remove any debris or ash. Make sure to empty and clean the grease bucket before putting it back in place. Additionally, check for any plastic or paper packaging materials that may have been left inside during shipping.
Now that your grill is spick and span, it’s time to season it. Preheat your Traeger grill to 350°F and allow it to heat up for 15 minutes before applying the seasoning oil. We recommend using a food-grade oil such as canola or vegetable oil and applying a light layer on all surfaces, including the grates, with a clean cloth or paper towel.
After applying the oil, close the lid and let the grill run for another 30 minutes at 350°F. This will allow the oil to seep into all areas of your grill, protecting its metal surfaces while also creating a non-stick surface perfect for cooking.
Setting the Temperature and Time for Seasoning
Before you can start grilling up a storm, it’s crucial to set the temperature and time for seasoning your grill. As an expert, I’m here to guide you through the process so that you can enjoy perfectly grilled food every time.
First things first, make sure your grill is clean and free from any debris or dust. This step is essential to ensure that your grill is ready for use and performs at its best. Once that’s done, it’s time to set the temperature. We recommend starting with a low temperature of around 150-200 degrees Fahrenheit. This will allow the heat to distribute evenly throughout the grill and prevent any hot spots.
After letting the grill heat up for at least 15 minutes, it’s time to add some wood pellets. Choose a flavor that you like, as this will also season your grill with a subtle smoky flavor. Popular choices include hickory or mesquite, but feel free to experiment with different flavors.
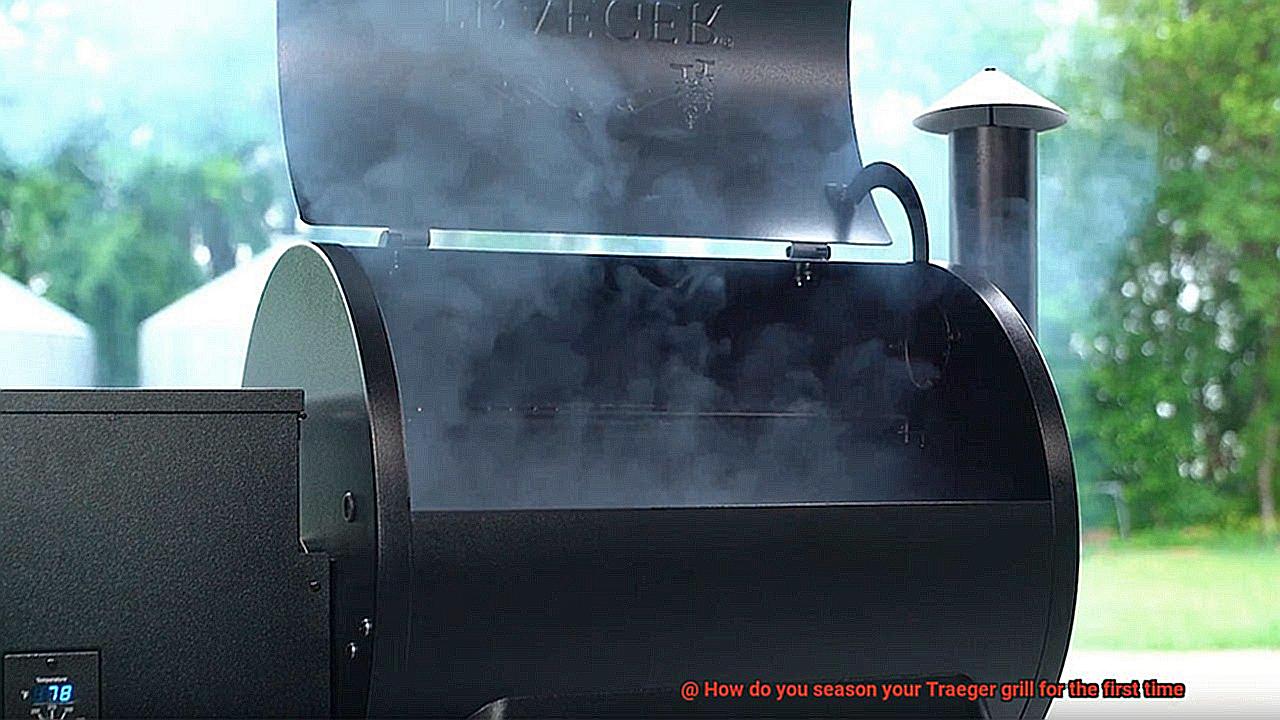
Now that your grill is heated and has wood pellets in place, it’s time to set the timer. The recommended time for seasoning a Traeger grill is 45 minutes to an hour. During this time, make sure that the lid is closed and the vents are open to allow proper airflow. This step is crucial in ensuring that your grill is properly seasoned and ready for use.
As you’re seasoning your grill, don’t be alarmed if you notice some smoke and a slight odor. This is completely normal and should not be a cause for concern. In fact, this is a sign that your grill is properly seasoning and getting ready for use.
Once the timer has gone off, turn off the grill and let it cool down completely before cleaning it. This step is crucial in ensuring that your grill stays in good condition for many years to come.
Applying Oil to the Grill Grates
Then let’s talk about one of the most important steps in seasoning your Traeger grill – applying oil to the grill grates.
Before you begin, make sure your grill grates are clean and free of any debris or rust. A quick scrub with a grill brush or scraper should do the trick. Now, it’s time to apply the oil. But not just any oil will do – choose one with a high smoke point such as vegetable or canola oil to prevent a burnt taste on your food.
Using a brush or paper towel, evenly apply a thin layer of oil to the grates. Remember, less is more when it comes to oil, so avoid applying too much as this can cause flare-ups and uneven cooking.
Once the oil is applied, turn on your Traeger grill and let it heat up for about 30 minutes. This allows the oil to penetrate the grates and create a non-stick surface, ensuring that your grill operates efficiently.
Now that your Traeger grill is properly oiled and heated up, it’s time to start grilling. By following these simple steps, you can avoid frustrating food sticking situations and achieve perfectly cooked and flavorful meals every time.
To summarize:
- Clean grill grates thoroughly
- Choose an oil with a high smoke point
- Apply a thin layer of oil evenly
- Heat up the grill for about 30 minutes
Curing the Oil onto the Grates
Before you get started, it’s essential to take the necessary steps to properly season it. One crucial step in this process is curing oil onto the grates. This not only creates a non-stick surface but also ensures that your food won’t stick to the grill.
To begin, coat the grates evenly with any type of cooking oil, such as vegetable or canola oil. Once that’s done, heat up your Traeger grill to 450°F and allow it to preheat for about 15 minutes. This high temperature will help cure the oil onto the grates, creating an even non-stick surface.
Once your grill has reached the desired temperature, place the oiled grates onto the grill and close the lid. Allow them to heat up for approximately 30 minutes or until they turn black in color. This process helps burn off any impurities on the grates and creates a non-stick surface that will make cooking a breeze.
After 30 minutes, turn off the grill and let it cool down completely before carefully removing the grates. Wipe them down with a clean cloth or paper towel to remove any excess oil or debris.
Maintenance Tips for Your Traeger Grill
A well-maintained Traeger grill can be a great source of delicious grilled food for many years to come. Here are five tips to help you keep your Traeger grill in top shape.
Proper Seasoning
The first step in maintaining your Traeger grill is to season it properly. This process involves burning off any residue or chemicals on the grill grates and interior. After cleaning the grill, apply a thin layer of oil to the entire interior of the grill, including the grates, and let it run for 30 minutes. This will create a non-stick surface for future cooking and ensure that your food tastes great every time you cook.
Regular Cleaning

After each use, clean the grill grates and interior with a brush and warm soapy water. Be sure to empty the ash bucket as well. A clean grill not only looks better but also functions better, as built-up debris can affect the temperature control and overall performance of your grill.
Check for Rust
Traeger grills are made of steel and can rust over time, especially if left exposed to the elements. Inspect your grill regularly for signs of rust and treat it promptly if you find any. Keeping your grill in a dry place when not in use can help prevent rust from forming.
Lubricate Moving Parts
To keep the grill working smoothly, lubricate the moving parts with cooking oil or a food-safe lubricant. This includes hinges, wheels, and other parts that move or pivot.
Inspect and Replace Parts
Regularly inspect your grill for any worn or damaged parts such as gaskets, igniters, or temperature probes. Replacing these parts when needed can help prevent larger problems from occurring and keep your Traeger grill functioning properly.
Troubleshooting Common Problems with Traeger Grills
One of the most common problems that grillers encounter is uneven cooking. To fix this issue, start by ensuring that your grill is level and on a stable surface. Uneven distribution of heat can occur if your grill is not level. Additionally, check the placement of your food on the grill grates. Thicker items may cook at different rates than thinner ones.
Another frustrating issue is when your pellets fail to ignite properly. A few potential causes could be a dirty firepot or a clogged pellet hopper. Make sure to clean both areas thoroughly and use high-quality pellets designed for use in Traeger grills.
If your Traeger grill isn’t getting hot enough to cook your food correctly, there are a few things to check. First, ensure that your pellet hopper is full and that the pellets are feeding into the firepot properly. Next, check the temperature settings to make sure they’re set high enough for the type of food you’re cooking. Finally, make sure your grill is clean and free of debris as this can impact how efficiently it heats up.
puQtcBFfHko” >
Conclusion
To truly unlock the full potential of your Traeger grill, seasoning it properly is an absolute must. This crucial step not only eliminates any unwanted manufacturing oils or residues but also creates a non-stick surface that prevents food from sticking to the grates. Additionally, it protects against rust and corrosion while infusing your food with a smoky flavor that only natural hardwood pellets can provide.
So, how do you season your Traeger grill for the first time? It’s simple. Begin by thoroughly cleaning every surface to ensure there are no lingering debris or residues. Next, evenly apply oil to all surfaces, including the grates themselves. Finally, heat up the grill for about 30 minutes to allow the oil to melt and coat the interior surface of the grill.
Of course, maintaining your Traeger grill is just as important as seasoning it correctly. Regular cleaning and inspections for rust or damaged parts are vital in ensuring its longevity. And if you ever encounter issues such as uneven cooking or pellets failing to ignite properly, troubleshooting tips like checking for a dirty firepot or clogged pellet hopper can help get you back on track.
By following these straightforward steps and maintenance tips, you’ll be able to enjoy perfectly grilled food every time with your Traeger grill.

