Bread is the ultimate comfort food that can make your day brighter with its heavenly aroma. But let’s face it, kneading dough by hand can be a tiresome task, especially if you’re short on time. Luckily, bread makers exist to save the day and make your life easier.
If you’re new to using a bread maker, don’t fret. We’ve got your back. In this blog post, we’ll guide you through the process of using a bread maker for the first time and share some tips and tricks to ensure that your first loaf is nothing short of perfection.
Before you dive in, take some time to read the instruction manual that comes with your bread maker. This will help you familiarize yourself with its features and functions. Once you’re confident with how it works, gather all the ingredients as per the recipe provided with the machine.
The key to making delicious bread in a bread maker is adding ingredients in the correct order and programming it correctly. Don’t worry; it’s not rocket science. With just a little bit of patience and practice, using a bread maker can become second nature.
So why not give it a go? You’ll be able to enjoy freshly baked homemade bread without any hassle in no time at all. Trust us; once you experience the taste and aroma of warm homemade bread straight out of your own kitchen, there’s no going back.
Contents
Gather Your Ingredients
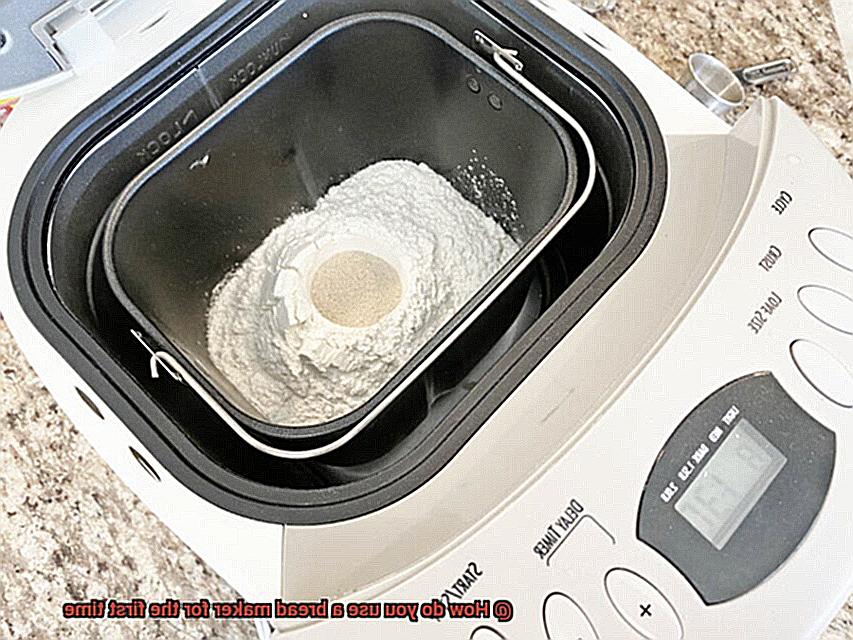
Before you begin, it’s crucial to gather your ingredients correctly. As an expert in using a bread maker, I cannot stress enough how important it is to measure your ingredients accurately. In this article, I’ll guide you through the importance of gathering your ingredients and measuring them out correctly when using a bread maker for the first time.
Flour is the foundation of bread-making. It’s essential to use the type of flour specified in your recipe as different types of flour have varying protein levels and gluten content. Ensure that you measure your flour accurately using a measuring cup or spoon to avoid adding too much or too little flour.
Additionally, you’ll need other ingredients such as yeast, sugar, salt, water, and oil or butter. Freshness and room temperature are essential for these ingredients. Ensure that you have all the necessary ingredients before starting your bread-making process.
Now that you have gathered your ingredients, let’s talk about the order in which they should be added. Add liquid ingredients first and then dry ingredients. Lastly, add the yeast in a well in the center of the flour. This prevents it from coming into direct contact with moisture and heat, which could affect its effectiveness.
Measuring your ingredients accurately is crucial when it comes to bread making. Too much or too little of any ingredient can affect the texture and taste of your bread. Use measuring cups and spoons to ensure accuracy and consistency in your baking.
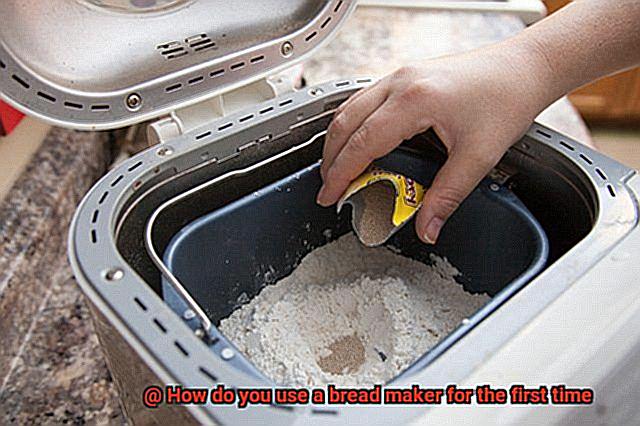
Add the Ingredients to the Bread Maker
Look no further than your trusty bread maker. However, before you start adding ingredients, it’s crucial to understand the correct order and tips to ensure a successful bake each time.
Firstly, familiarize yourself with the instruction manual for your specific bread maker. Each model can have slightly different requirements, so it’s essential to read the instructions thoroughly before starting.
Next, it’s time to add the ingredients. Follow this specific order: liquid ingredients, dry ingredients, and yeast. Here are some sub-topics to help you better understand each step:
- Liquid Ingredients: Water, milk, or eggs should be added first. Make sure they are at room temperature before adding them to the bread maker. Adding cold liquids can slow down the rising process and affect the texture of your bread. Additionally, it’s recommended to add any fats such as butter or oil at this stage.
- Dry Ingredients: After adding the liquid ingredients, add dry ingredients such as flour, sugar, salt, and any additional flavorings or seasonings. To ensure even mixing, evenly distribute these ingredients in the bread maker pan.
- Yeast: Finally, create a small well in the center of the dry ingredients before adding yeast. This helps prevent the yeast from coming into contact with any liquid too soon. Remember that yeast should always be added last and kept away from any liquid until the bread maker begins mixing.
Accurately measuring all ingredients using measuring cups and spoons is crucial to achieve consistent results every time you use your bread maker. Avoid using too much or too little of any ingredient as it can affect your bread’s texture or taste.
Once all of the ingredients have been added in the correct order, insert the bread pan into the bread maker and select your desired program. Let your bread maker do its job of mixing and kneading your dough before baking it to perfection.
Select the Appropriate Setting
A bread maker is a time-saving and convenient tool that can help you bake delicious loaves of bread in the comfort of your own home. But, selecting the appropriate setting on your bread maker is essential to ensure that your bread turns out perfectly.
To begin with, it is crucial to read your instruction manual carefully. Familiarizing yourself with the different settings and features of your bread maker will help you achieve success in your baking endeavors. Once you have a good understanding of your machine, it’s time to consider the type of flour and recipe you want to make.
For classic white bread, choose the “basic” or “white” setting on your bread maker. This setting has a shorter baking time and requires basic ingredients like flour, yeast, water, and sugar. The result will be a fluffy, white loaf perfect for sandwiches or toast.
If you’re feeling more daring and want to try making whole wheat bread, opt for the “whole wheat” setting. This setting has a longer baking time and requires more ingredients like wheat flour, yeast, water, salt, and honey or molasses. The longer baking time ensures that the bread has a denser texture and richer flavor.
For those with gluten sensitivities or allergies, the “gluten-free” setting is your go-to option. This setting caters specifically to gluten-free flours like rice or almond flour. It has a unique kneading and rising cycle designed to achieve a perfect texture and rise. The longer baking time ensures that the bread is thoroughly cooked.
Let the Machine Do Its Work
Fear not, because a bread maker can do all the work for you. While it may seem intimidating at first, using a bread maker is actually quite simple. In this article, we’ll guide you through the process and offer some tips for success.
Before you start using your bread maker, make sure to read the manual and understand all the features. Also, ensure that the machine is clean and dry. Now, gather your ingredients and get ready to let the machine do its work.
When adding ingredients, it’s crucial to measure accurately. Start with the wet ingredients, followed by the dry ones. Remember that baking is a science, so even small deviations from the recipe can lead to disastrous results.
Now it’s time to select your desired settings. Most bread makers have options for different types of bread, crust color, and loaf size. Choose the settings that match your recipe and preferences.
Press start and let the machine do its magic. Don’t open the lid or tamper with the machine while it’s in operation. This can cause uneven baking or ruin your loaf. Instead, use the viewing window or light to check on your bread without disrupting its baking process.
When your bread is ready, carefully remove it from the machine and let it cool on a wire rack before slicing. Congratulations – you’ve successfully made bread with your bread maker. With practice and experimentation, you can customize recipes and create delicious loaves in no time.
Don’t Open the Lid During Baking
Picture this: your kitchen is filled with the irresistible aroma of freshly baked bread. You’ve invested in a bread maker and are eagerly waiting for the perfect loaf to emerge. But wait, what’s that urge to check on your bread? Resist it. One crucial rule to remember when using a bread maker is: don’t open the lid during baking.
Why is this rule so important? Well, think of your bread maker as a mini-oven that creates the perfect environment for baking bread. It relies on a specific temperature and humidity level to ensure your bread is cooked to perfection. When you open the lid during baking, all that heat and moisture escape, causing your bread to become undercooked or even collapse.
So, how can you avoid this baking disaster? It’s simple: trust the timer and let the machine do its job. If you absolutely must check on your bread, most bread makers come with a viewing window or an indicator light that allows you to monitor progress without opening the lid.
But it’s not just during the baking process where you need to be careful. Opening the lid during the kneading cycle can also have negative effects on your dough’s structure and final texture. So resist that urge to peek and let the machine work its magic.
The Baking Process and Time
As you embark on your first bread-making journey, it’s important to understand the baking process and the time it takes to create a delicious loaf of bread. This process can vary depending on the type of bread and the bread maker model you are using.
Once your dough has gone through its kneading and rising cycles, the baking process begins. Your bread maker will heat up and begin to bake your dough, with a baking time ranging from 1-4 hours, depending on the desired crust color and type of bread.
To ensure that your bread is perfectly baked, resist the urge to open the lid too often during the baking process. Many bread makers come with a window or light to allow you to check on progress without releasing heat and moisture that could cause undercooked or collapsed bread.
If you prefer a lighter or darker crust, certain bread makers have a feature that lets you adjust the crust color during the baking process, allowing for customization of your bread to your liking.
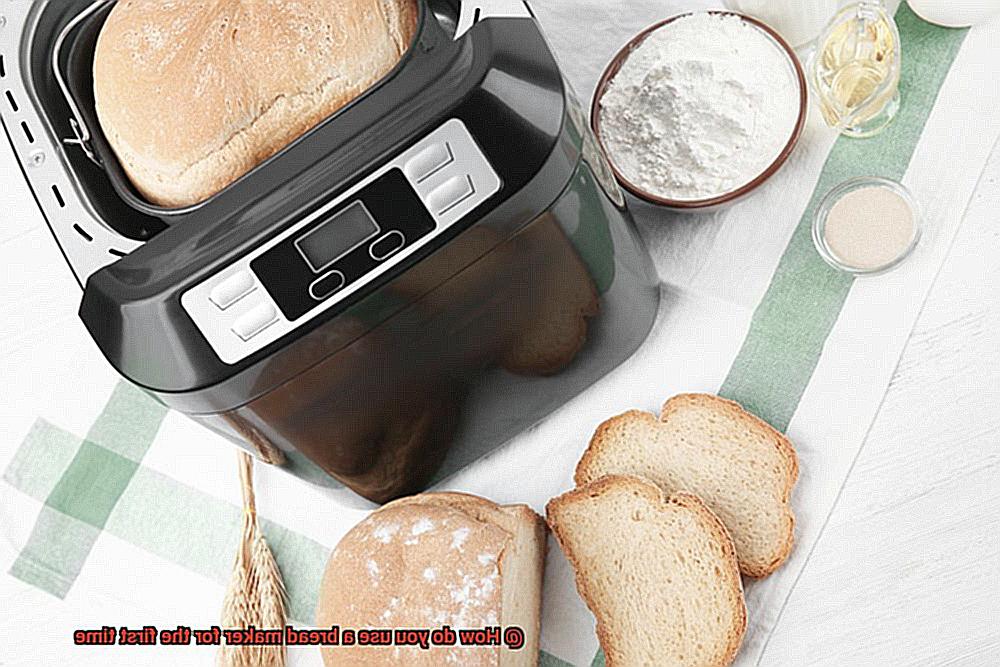
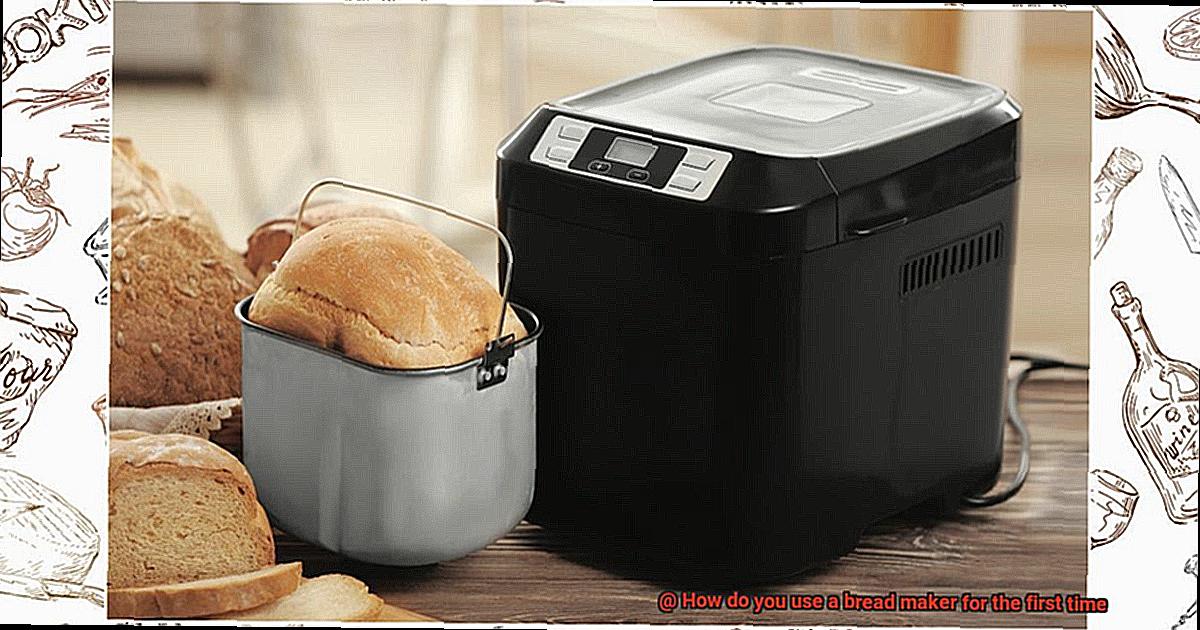
Remove the Bread from the Pan
You’ve just baked your first loaf of bread in your shiny new bread maker and the aroma is practically intoxicating. But how do you get the bread out of the pan without ruining it? Fear not, as an expert in this matter, I have got you covered with a step-by-step guide to removing bread from the pan.
First things first, exercise patience and let your bread cool down before attempting to remove it from the pan. This will prevent any damage to your perfectly baked loaf or your machine. Once it has cooled down, gently shake the pan from side to side to loosen the loaf from the sides.
Now comes the exciting part – carefully turn your bread maker upside down and gently tap the bottom of the pan until the bread slides out. If it’s still not budging, try running a butter knife around the edges of the pan to loosen it further. Just be cautious not to scratch or damage any non-stick coatings on the pan.
If you find yourself struggling, don’t panic. Forcing it out could cause damage to both your bread and your machine. Instead, take a deep breath and consult your bread maker’s manual for specific instructions on how to remove your model’s pan. Alternatively, contact customer support for further guidance.
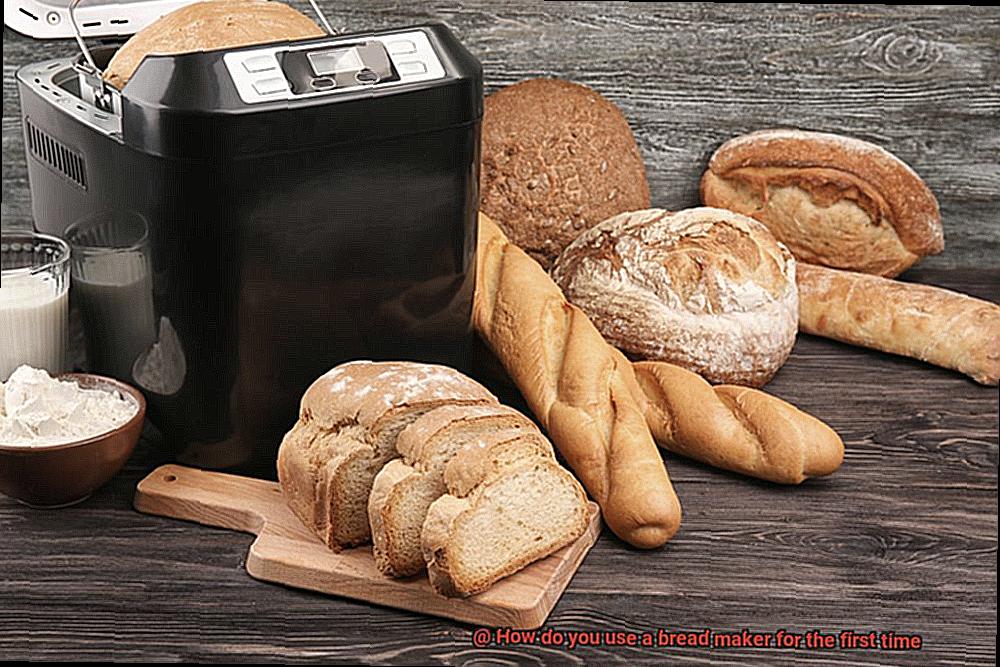
Allow it to Cool Before Slicing
The tantalizing aroma of freshly baked bread wafts through the kitchen, tempting you to slice into the hot loaf right away. But hold your horses. If you want flawless slices with a light and fluffy texture, it’s crucial to let your bread cool before slicing it. Here’s why:
Firstly, hot bread is a nightmare to slice. The steam is still trapped inside, making the bread too soft and squishy for the knife to glide through. By allowing your loaf to cool for 15-20 minutes, you’ll give it time to firm up, making it much easier to slice without squishing or tearing the bread.
Secondly, slicing into hot bread can wreak havoc on the texture. Steam escape from the bread when sliced hot and causes it to become dense and heavy. This ruins the fluffy texture that freshly baked bread should have. By letting your bread cool down, you allow the steam to escape gradually, resulting in a perfect texture every time.
Lastly, slicing hot bread can lead to gumminess. The heat causes starch molecules in the bread to break down and release moisture, creating a sticky mess that’s hard to handle. To avoid this issue altogether, let your bread cool before cutting into it.
Conclusion
In conclusion, don’t let the thought of using a bread maker for the first time intimidate you. With a little bit of practice and patience, you’ll soon be enjoying delicious homemade bread that’s fresh out of the oven. Before you begin, make sure to read your instruction manual thoroughly to familiarize yourself with your machine’s unique features and functions.
Accurate measurement is key when it comes to baking perfect loaves. Be sure to add your ingredients in the correct order and measure them precisely to avoid any mishaps. Additionally, selecting the appropriate setting for your bread type, crust color, and loaf size will ensure that your bread turns out exactly as you desire.
Remember not to open the lid during baking or kneading as this can affect your dough’s structure and final texture. Once your bread is baked, resist the temptation to remove it from the pan right away. Allow it to cool down before removing it from the machine or slicing it for a flawless result.
By following these tips and tricks, you’ll be well on your way to becoming an expert in using a bread maker.