Welcome to the world of coffee aficionados, where every sip is a journey to paradise. If you’re a fan of bold and velvety espresso, then a moka pot is an essential tool in your kitchen arsenal. This Italian invention can be found in almost every Italian home, bar or café and is also known as a stovetop espresso maker. It’s perfect for those moments when you need a quick caffeine fix.
Using a moka pot for the first time can seem intimidating, but trust us; the taste of your first homemade espresso will be worth it. In this blog post, we’ll guide you through how to use a moka pot for the first time and give you some tips and tricks to make your coffee experience smooth, enjoyable and unforgettable.
You’ll learn how to fill the moka pot with water and coffee grounds, assemble it correctly, place it on the stove and watch as magic unfolds. We’ll also discuss common mistakes to avoid when using a moka pot for the first time, such as overfilling the coffee basket or not tightening it enough.
So grab yourself a cup of joe, sit back and enjoy as we take you on an adventure on how to use a moka pot for the first time. Discover the art of making delicious, rich and aromatic espresso from the comfort of your home. Let’s get brewing.
Contents
Step 1: Fill the Bottom Chamber with Water
This classic coffee maker uses steam pressure to produce a rich and flavorful cup of coffee. But before you start brewing, pay close attention to the first step: filling the bottom chamber with water.
The amount of water used is critical and should be measured according to the size of your moka pot. Make sure to fill it up to just below the safety valve, as overfilling can result in bitter-tasting coffee. Taking the time to measure carefully will ensure a perfect cup every time.
Water quality also plays a significant role in the final taste of your coffee. While tap water may be convenient, it can contain impurities that affect the flavor. Opt for filtered or bottled water instead. Additionally, be sure to use cold or room temperature water to avoid burning the coffee and producing an unpleasant taste.
Once the water is added, ensure that the bottom chamber is tightly sealed. This step is crucial as it prevents any steam or water from escaping during the brewing process, resulting in a consistent and delicious cup of coffee.
Step 2: Place the Middle Funnel Section
We hope you have your moka pot ready to go because it’s time for step 2: placing the middle funnel section. This step is essential as it ensures that your coffee is brewed evenly and to perfection. As an expert on this topic, we’re here to guide you every step of the way with some easy-to-follow instructions.
Before we dive into the details, let’s quickly recap what a moka pot is and how it works. A moka pot is a traditional Italian coffee maker that uses pressure to push hot water through finely ground coffee, resulting in a bold and flavorful cup of joe. It’s a timeless classic that has been enjoyed for generations in households and cafes worldwide.
Now, let’s get started with step The middle funnel section of the moka pot is the part responsible for separating the water from the coffee grounds. Here’s how to place it properly:
Ensure that the middle funnel section is clean and dry before inserting it into the bottom compartment of the moka pot. Any residual moisture or debris can affect the taste of your coffee.
Once clean, insert the middle funnel section into the bottom compartment of your moka pot. Make sure it fits snugly in place and is level with the top of the bottom chamber.
If you’re unsure about your moka pot’s design, be sure to consult the manufacturer’s instructions before proceeding. Some models may have a slightly different setup, so it’s always best to double-check.
Great job. You’ve successfully completed step 2 by placing the middle funnel section into your moka pot. Moving onto the next step, we’ll be discussing how to fill the water reservoir – so stay tuned.
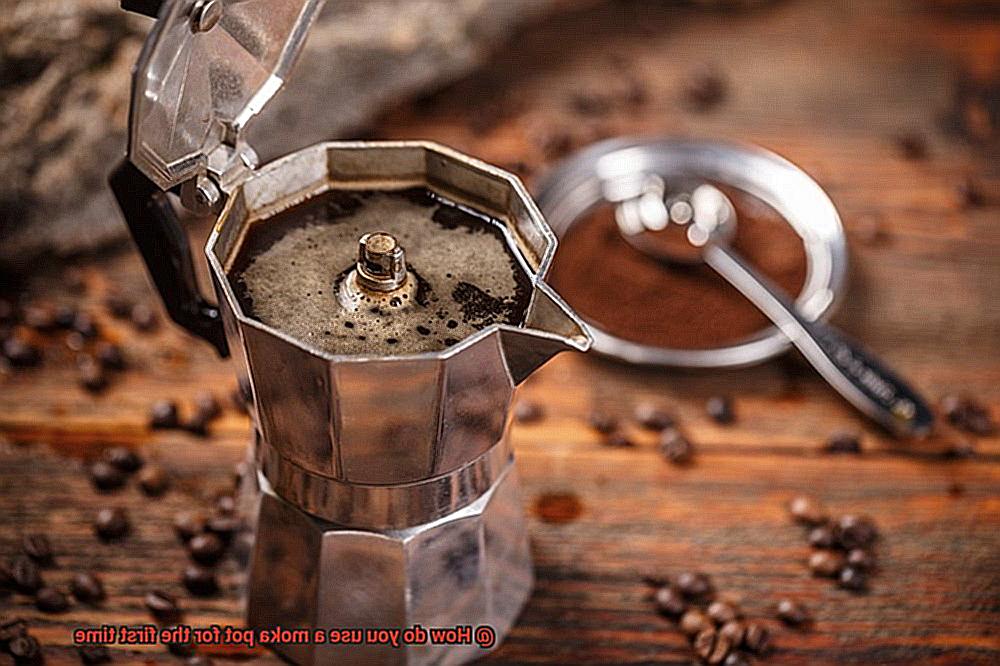
Step 3: Fill the Funnel Section with Coffee Grounds
Now that you’ve filled the bottom chamber of your moka pot with water, it’s time to move on to the next crucial step – filling the funnel section with fresh coffee grounds.
But let’s not forget about the importance of quality coffee. Choosing a high-quality coffee blend that has been ground to a medium-fine consistency is essential. Fresh coffee grounds stored correctly will ensure that your brew is not negatively impacted by stale or improperly stored coffee.
Once you have your fresh coffee grounds, take the funnel section of your moka pot and fill it up with coffee grounds. Remember not to go overboard. It’s recommended to fill the funnel section up to just below the rim, while ensuring not to pack it too tightly. This will allow for sufficient water flow through the coffee and ensure an even brew.
For larger moka pots, add more coffee grounds to achieve a stronger brew, but be careful not to overfill as this can cause blockages and affect the quality of your coffee.
After filling the funnel section with coffee grounds, give it a gentle tap to level out the surface. This simple step will ensure an even extraction of flavor from the coffee during brewing.
In summary, filling the funnel section with fresh, high-quality coffee grounds is a crucial step in using a moka pot for the first time. To recap:
- Use high-quality coffee blend that has been ground to a medium-fine consistency
- Fill up the funnel section up to just below the rim
- Avoid packing it too tightly
- Do not overfill for larger moka pots
- Give it a gentle tap
Step 4: Securely Screw on the Top Chamber
You’re one step closer to a delicious cup of coffee with your moka pot. Step 4 is all about securely screwing on the top chamber, ensuring that no steam or coffee leaks out during the brewing process.
To start, make sure the bottom chamber is filled with water up to just below the safety valve. Next, fill the middle basket with your desired amount of coffee grounds and level it off with a straight edge. Remember not to tamp down the coffee too tightly, as this can result in a bitter taste.
Now, it’s time to screw on the top chamber. Hold onto the handle of your moka pot with one hand and use the other hand to turn the top chamber clockwise until it’s firmly in place. But be careful not to tighten it too much, as this can cause damage to your moka pot.
When screwing on the top chamber, make sure you’re not using excessive force. Doing so can damage the threads and compromise the seal, leading to leaks and a subpar cup of coffee.
Once the top chamber is securely screwed on, it’s time to brew. Place your moka pot on medium heat on your stove and watch as water and coffee grounds create a magical elixir of flavor. Keep an eye on the brewing process and remove the pot from heat once all the coffee has brewed through.
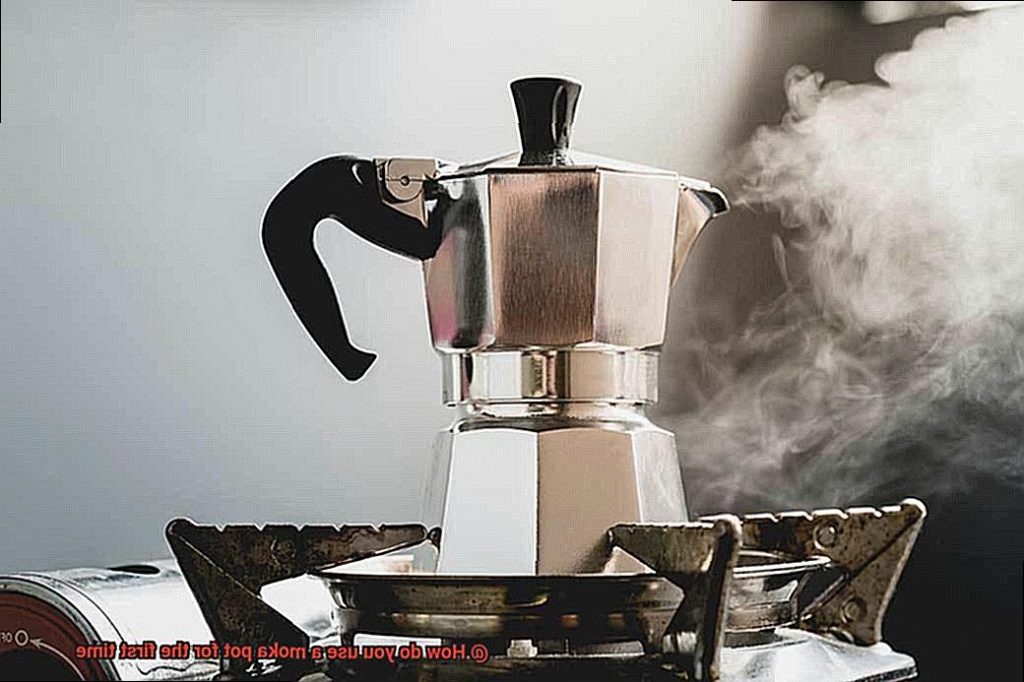
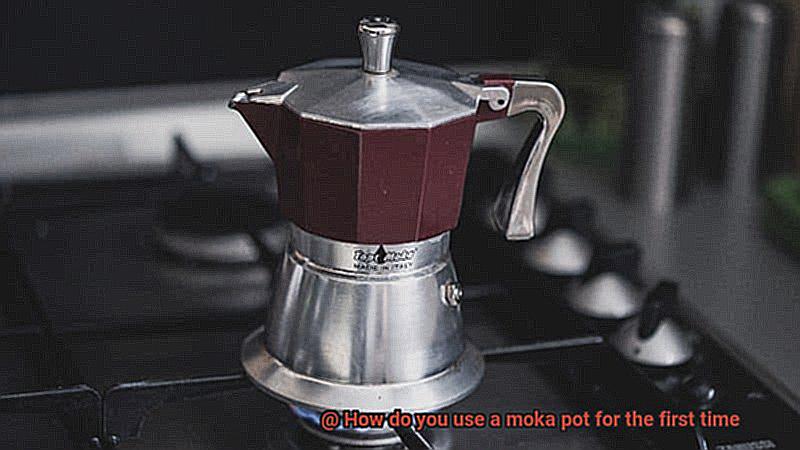
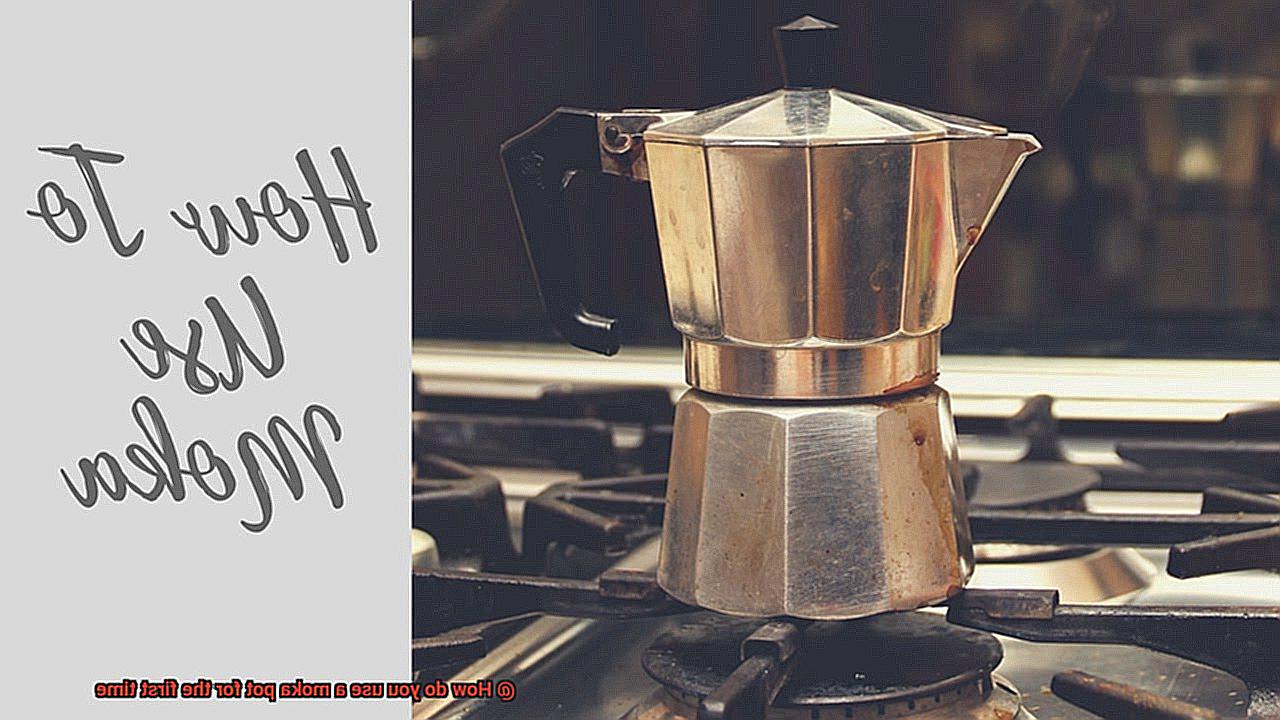
Step 5: Place the Moka Pot on a Stovetop Burner
Ah, the aroma of freshly brewed coffee in the morning is the perfect start to any day. And if you’re a coffee enthusiast, you know that using a moka pot can take your coffee game to the next level. But, it can be daunting to use it for the first time. Fear not, because I’m here to guide you through Step 5: Placing the Moka Pot on a Stovetop Burner.
Before placing your moka pot on the burner, take a moment to ensure that the burner is clean and free of debris. This simple step prevents unwanted flavors from sneaking into your coffee, resulting in a perfect cup every time. Additionally, setting the burner to a low heat setting is crucial. This prevents your coffee from boiling too quickly and burning, ruining your much-anticipated morning brew.
Now let’s talk about positioning. Always make sure that the handle of the moka pot is facing away from the heat source. This may seem trivial, but remember that it can prevent potential injuries and burns.
Once your moka pot is on the stovetop burner, it’s time to watch your coffee come to life. As it starts brewing and bubbling up into the top chamber, you can adjust the heat slightly to prevent overflow – but never leave it unattended. Safety is paramount.
Step 6: Monitor the Brewing Process
Ah, the sweet aroma of freshly brewed coffee… all thanks to your trusty moka pot. You’ve reached Step 6: monitoring the brewing process, where you’ll truly become a moka pot aficionado. But why is this step so crucial? Let’s break it down.
Brewing time can vary based on the size of your moka pot and the heat source you’re using. But beware. Leaving your moka pot unattended can lead to over-extraction and a bitter taste. On the other hand, under-extraction results in weak and sour coffee. We want to avoid those outcomes at all costs.
So what’s the solution? Keep an eye (and ear) on your moka pot. As it brews, listen for the gurgling sound coming from the spout – that’s your cue that it’s ready. You can also peek at the top chamber of your moka pot to see coffee starting to come out of the spout. Once you spot that, turn off the heat source and remove your moka pot.
But wait, don’t pour just yet. Give it a minute or two to cool down before enjoying your perfectly brewed cup of coffee. This allows any remaining steam to escape and ensures that your coffee is at its optimal temperature.
To summarize, monitoring the brewing process is essential when using a moka pot for the first time. Follow these steps to achieve a perfect cup of coffee:
- Stay close and keep an eye on your moka pot
- Listen for the gurgling sound
- Observe the top chamber for coffee flow
- Turn off the heat source once you see coffee coming out of the spout
- Allow it to cool down before pouring
Step 7: Remove from Heat Once You Hear a Gurgling Sound
Before we dive into the importance of this step, let’s ensure you’re using the right heat source for your moka pot. While gas stovetops are ideal, electric stovetops and other heat sources can work too. Once your moka pot is set up on the chosen heat source, wait patiently for that satisfying gurgling sound.
Ah, the gurgling sound – it’s the signal that your coffee is ready to be enjoyed. The steam generated from boiling water pushes through the coffee grounds and up into the top chamber, indicating that all the water has been extracted from the bottom chamber. This is precisely when you want to remove the moka pot from heat.
Over-extraction is a nightmare for coffee lovers, resulting in bitter and unpleasant-tasting coffee. To avoid this tragedy, you must take Step 7 seriously and remove your moka pot from heat once you hear that sweet gurgling sound. Remember to use oven mitts or a towel when handling hot surfaces to keep yourself safe.
Now comes the exciting part – opening the top chamber and pouring that liquid gold into your mug. Be cautious. The steam inside can be scorching hot and cause burns if it comes into contact with your skin. Use oven mitts or a towel to twist off the top chamber safely.
To summarize:
- Use the correct heat source for your moka pot.
- Wait patiently for that satisfying gurgling sound.
- Remove the moka pot from heat once you hear it.
- Use oven mitts or a towel when handling hot surfaces.
- Open the top chamber carefully.
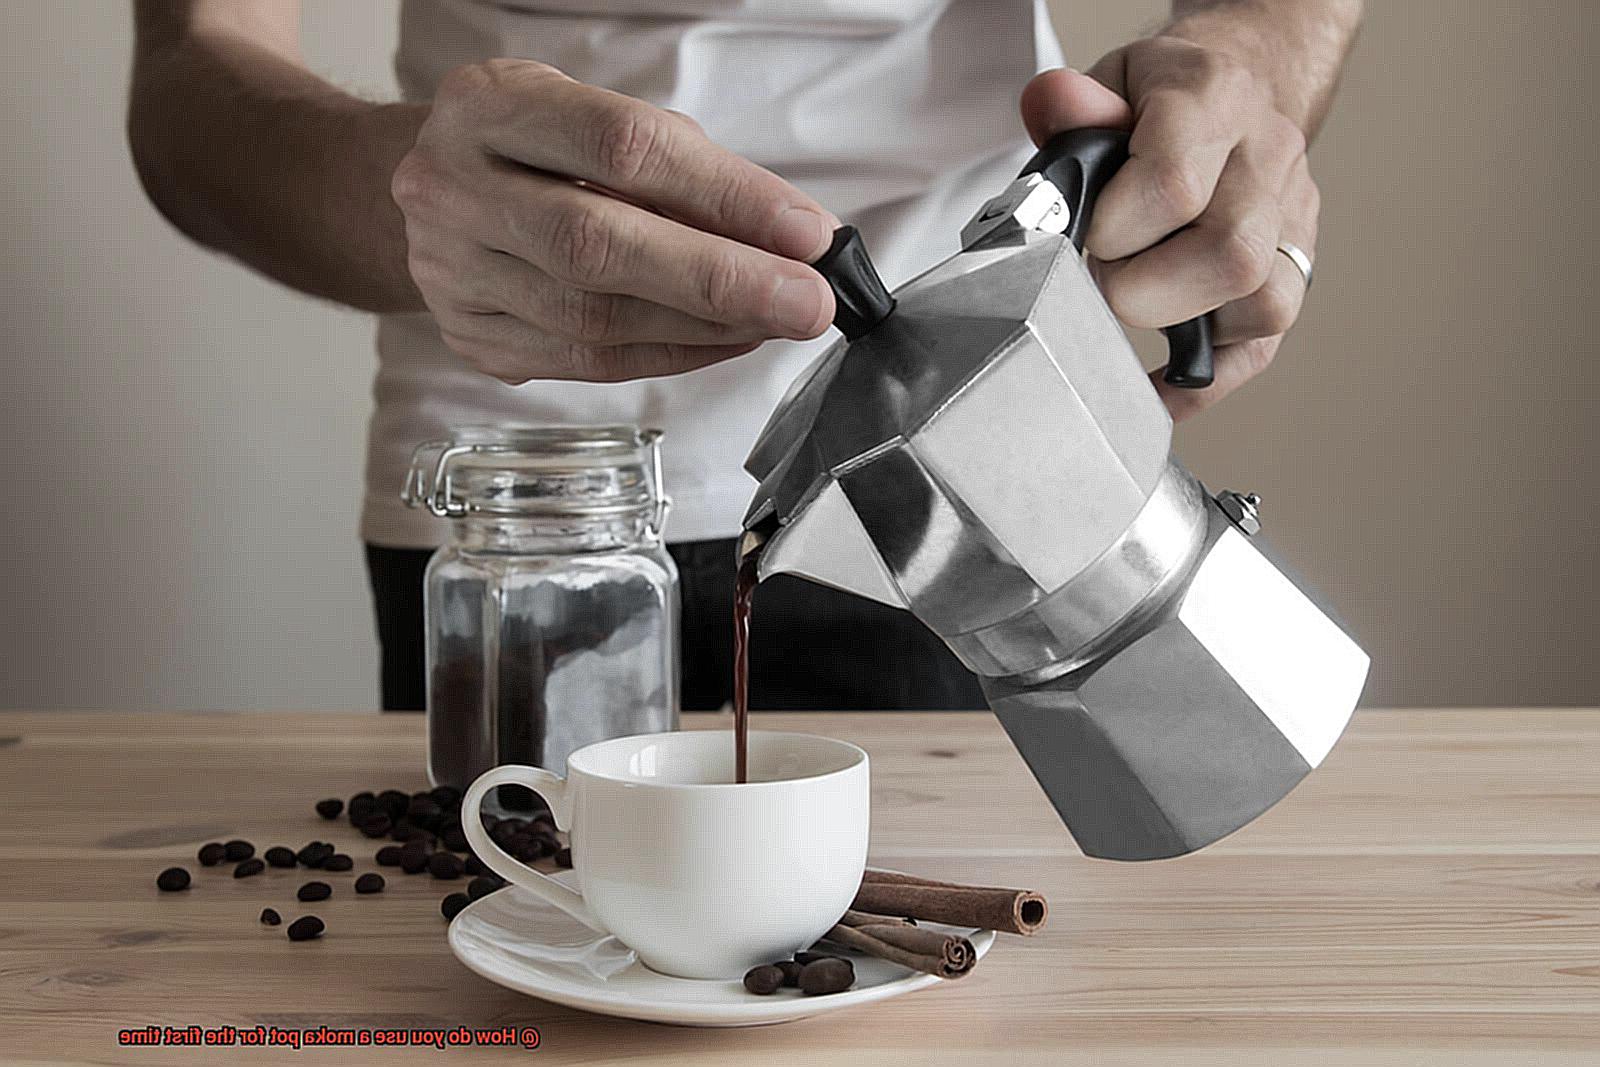
Step 8: Pour Your Freshly Brewed Coffee
You’ve reached the final step of your moka pot coffee brewing journey – pouring your freshly brewed coffee. This step may seem simple, but it’s crucial to ensure that you get the perfect cup of coffee.
To fully appreciate the flavors of your moka pot coffee, it’s essential to remember that it is stronger than drip coffee but not quite as strong as espresso. Therefore, opt for small espresso cups rather than large mugs.
Now, let’s dive into the pouring process, but safety first. Remove the moka pot from the heat source and use oven mitts or a cloth to protect your hands from the hot metal. Once it has cooled down slightly, unscrew the top and get ready to pour.
Pouring your coffee requires some finesse and a gentle touch. Be mindful not to pour too quickly or aggressively as this can cause the coffee to splash out of the cup and create a mess. Take your time and pour slowly, allowing the coffee to settle in the cup before adding more.
Once you have poured all of your delicious coffee, take a moment to appreciate its aroma and flavor before adding any milk or sugar. It’s recommended to try your first cup without any additives so that you can fully savor the unique flavors of your moka pot coffee.
In summary, here are some tips on how to pour your freshly brewed coffee from a moka pot:
- Use small espresso cups
- Protect your hands with oven mitts or a cloth
- Pour gently and slowly
- Allow the coffee to settle in the cup before adding more
- Try your first cup without any additives
rpyBYuu-wJI” >
Conclusion
To sum it up, using a moka pot for the first time may seem daunting, but with proper guidance and tips, you can make your coffee experience smooth and unforgettable. Start by filling the bottom chamber with filtered or bottled water up to just below the safety valve. Ensure that the middle funnel section fits snugly in place and level with the top of the bottom chamber.
Using fresh high-quality coffee grounds is key to achieving a perfect cup of coffee. Avoid overfilling or packing too tightly as this can impact even brewing. Securely screw on the top chamber without overtightening.
When placing your moka pot on a stovetop burner, ensure that it’s clean and set at low heat while keeping the handle away from the heat source. Keep an eye on the brewing process to avoid under-extraction or over-extraction which can lead to weak or bitter-tasting coffee.
Finally, remove your moka pot from heat once you hear a gurgling sound indicating that all water has been extracted from the bottom chamber. Pouring requires some finesse and a gentle touch to avoid splashing out of cups.
With these tips in mind, you are now ready to enjoy rich, aromatic espresso from your homemade moka pot.