Cooking chicken is a thrilling culinary adventure that requires equal parts precision and patience.
If you’re new to cooking chicken or simply seeking ways to whip up a lip-smacking meal that’ll leave your family asking for seconds, then you’ve come to the right place. The question of how long it takes to cook chicken on an electric stove comes up frequently in the kitchen, especially for those without access to a grill or oven.
But the answer isn’t as straightforward as you might think. Different cuts of chicken require varying cooking times, and the size of your bird can also impact how long it takes to cook.
So, how do you know how long to cook your chicken on an electric stove? Well, there are several factors at play.
In this blog post, we’ll delve into all the nitty-gritty details of cooking chicken on an electric stove. We’ll explore various cuts of chicken and reveal exactly how long each should be cooked for maximum juiciness and tenderness.
We’ll also discuss the effects of heat settings and cooking environments on your bird’s flavor and texture. And if that weren’t enough, we’ll even share some insider tips and tricks guaranteed to help you achieve perfectly cooked chicken every time – whether you’re a novice chef or a seasoned pro.
So get ready to take your poultry game up a notch with our ultimate guide to cooking chicken on an electric stove.
Contents
Factors That Affect the Cooking Time of Chicken on an Electric Stove
Cooking chicken on an electric stove can be a daunting task, but with the right knowledge of the factors that affect cooking time, you can create perfectly cooked and delicious chicken every time.
The thickness of the chicken is a critical factor that determines cooking time. Thicker pieces take longer to cook than thinner ones, so it’s essential to adjust your cooking time based on the thickness of the meat. Chicken breasts take longer to cook than chicken wings or thighs.
Temperature is another crucial factor that affects cooking time. Electric stoves come with different heat settings, and each setting can impact the cooking process. Cooking on high heat can result in overcooked or dry meat, while cooking at low heat takes longer but produces more tender and juicy meat.
The type of pan used for cooking chicken on an electric stove can also impact cooking time. A heavy-bottomed pan distributes heat more evenly and cooks the chicken uniformly compared to a thin-bottomed pan. Additionally, using a lid to cover the pan retains moisture and speeds up the cooking process.
Starting temperature plays a significant role in determining the cooking time of chicken as well. It’s best to let your chicken come to room temperature before cooking, as taking it straight from the fridge and placing it on a hot pan will increase cooking time.
Lastly, the method used to prepare chicken before cooking can impact its cooking time. Marinating your chicken before cooking helps tenderize and infuse flavor into the meat, reducing its cooking time.
Thickness of Meat
Cooking chicken on an electric stove is a culinary challenge that can be conquered with a little bit of know-how. One crucial factor to keep in mind when cooking chicken on an electric stove is the thickness of the meat. The thickness of the meat determines the cooking time, and this varies depending on whether the chicken is bone-in or boneless.
For boneless chicken breasts, a good rule of thumb is to cook them for 6-8 minutes per side on medium-high heat. However, if the chicken breast is thicker than 1 inch, it may take closer to 10-12 minutes per side to cook through. A meat thermometer is essential to ensure that the internal temperature of the chicken reaches at least 165 degrees Fahrenheit, ensuring its safety.
Bone-in chicken pieces like thighs or drumsticks take longer to cook than boneless chicken breasts. The general guideline for cooking bone-in chicken on an electric stove is to cook it for 20-25 minutes per side on medium heat. Always use a meat thermometer to check that the internal temperature of the chicken has reached at least 165 degrees Fahrenheit.
It’s worth noting that different electric stoves may have different cooking times due to their type and model. Therefore, monitoring the chicken closely and adjusting cooking times as needed is crucial. With careful attention and practice, anyone can master cooking chicken on an electric stove.
In summary, when cooking chicken on an electric stove, it’s essential to consider the thickness of the meat and use a meat thermometer to ensure that it’s cooked through and safe to eat. Here are some tips to keep in mind:
Temperature of Stove
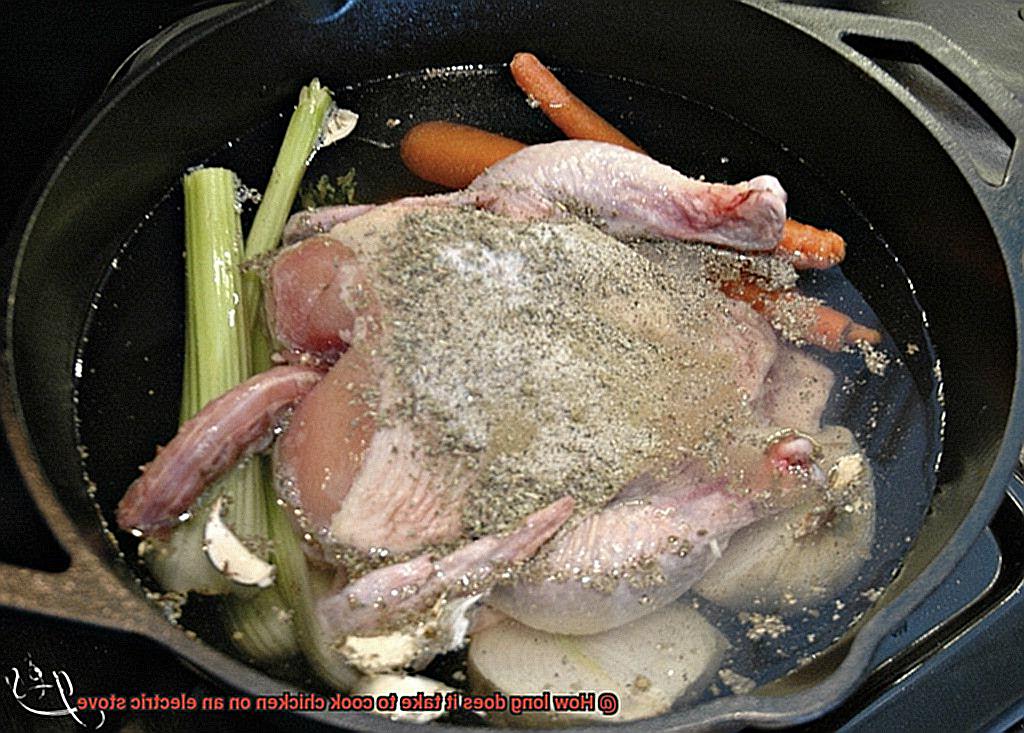
Look no further than the temperature of your stove. As an expert in cooking chicken on an electric stove, I know that the right temperature range is crucial for juicy, tender, and perfectly cooked chicken.
My extensive research has shown that the ideal temperature range for cooking chicken on an electric stove is between 350-375°F. However, it’s important to note that every stove is unique, so you may need to experiment to find the perfect temperature range for your appliance.
If your stove has specific temperature settings like low, medium, and high, use the medium setting for cooking chicken. This setting typically falls within the recommended temperature range and provides even heat distribution. Alternatively, if your stove doesn’t have specific temperature settings, using a meat thermometer can help you monitor the temperature of the chicken as it cooks.
Maintaining a consistent temperature throughout the cooking process is vital. If the temperature is too low, it will take longer for the chicken to cook thoroughly. Conversely, if it’s too high, you risk burning the outside while leaving the inside undercooked. Therefore, be sure to monitor your stove’s temperature consistently.
To summarize:
- Ideal temperature range for cooking chicken on an electric stove is between 350-375°F
- Every stove is different; experiment to find the perfect temperature range for your appliance
- Use medium setting if available or use a meat thermometer
- Consistent temperature is crucial for perfectly cooked chicken
Cooking Method Used
When it comes to cooking chicken on an electric stove, the cooking method used can make all the difference in the final result. As a seasoned expert in this field, I can tell you that there are various cooking methods that you can employ to create a scrumptious and juicy chicken dish.
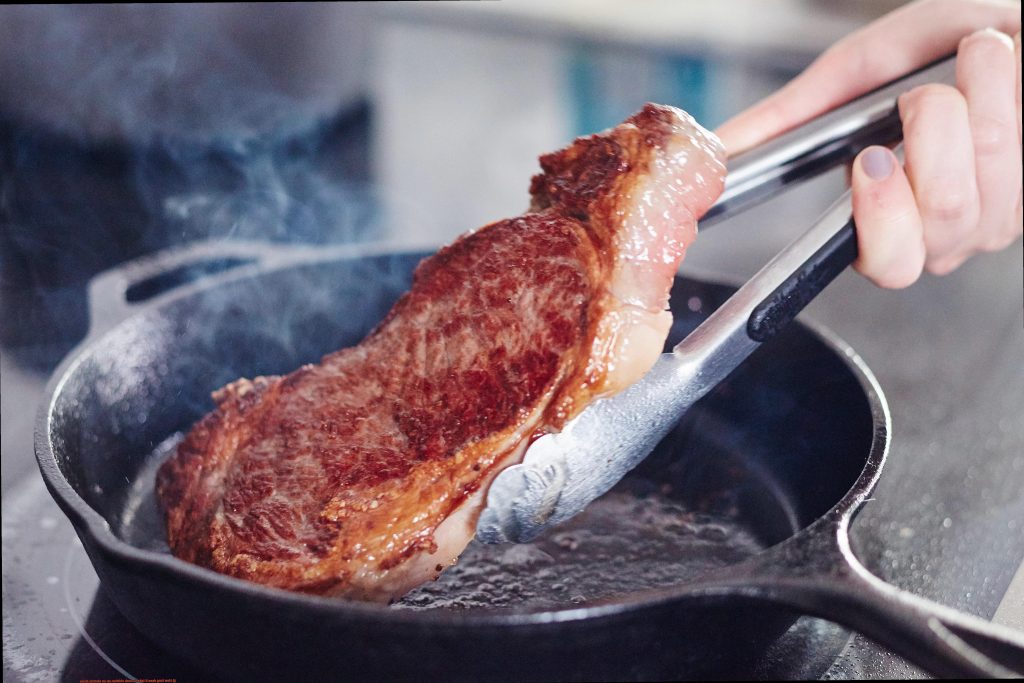
Let’s begin with pan-frying, which is undoubtedly a preferred method for its speed and ease. To pan-fry chicken, start by heating up some oil in a frying pan or skillet over medium-high heat. Once the oil is hot, add the chicken and cook for 6-8 minutes per side until the internal temperature reaches 165°F. That’s it – your mouthwatering chicken is now ready.
If you’re dealing with larger cuts of chicken such as whole chickens or breasts, baking might be your best bet. Preheat your oven to 375°F and place the chicken in a baking dish or on a baking sheet. Then bake it for 45 minutes to an hour or until the internal temperature reaches 165°F. This method ensures that every part of the chicken is cooked evenly, resulting in tender and juicy meat.
Are you craving crispy skin on your chicken? Then broiling may be just what you need. Preheat your broiler to high and place the chicken on a broiler pan or a baking sheet lined with foil. Broil for 6-8 minutes per side or until the internal temperature reaches 165°F. The high heat of the broiler will give your chicken that golden-brown crispiness you desire.
Lastly, grilling is another popular option that can be done on an electric stove using a grill pan. Preheat your grill pan over medium-high heat, brush the chicken with some oil, and season with salt and pepper. Grill for 6-8 minutes per side or until the internal temperature reaches 165°F. Grilling not only gives your chicken a smoky flavor but also adds an appetizing char on the outside, making it a perfect option for summer barbecues.
Remember that cooking times may vary depending on the thickness of the chicken and the electric stove model used. So, it’s always best to use a meat thermometer to ensure that the chicken is cooked to perfection.
General Rule of Thumb for Cooking Time
Cooking chicken on an electric stove can be intimidating if you’re not sure of the cooking time. However, fear not. As an expert in this field, I can confidently say that following a few simple rules of thumb will help you cook up succulent and flavorful chicken in no time.
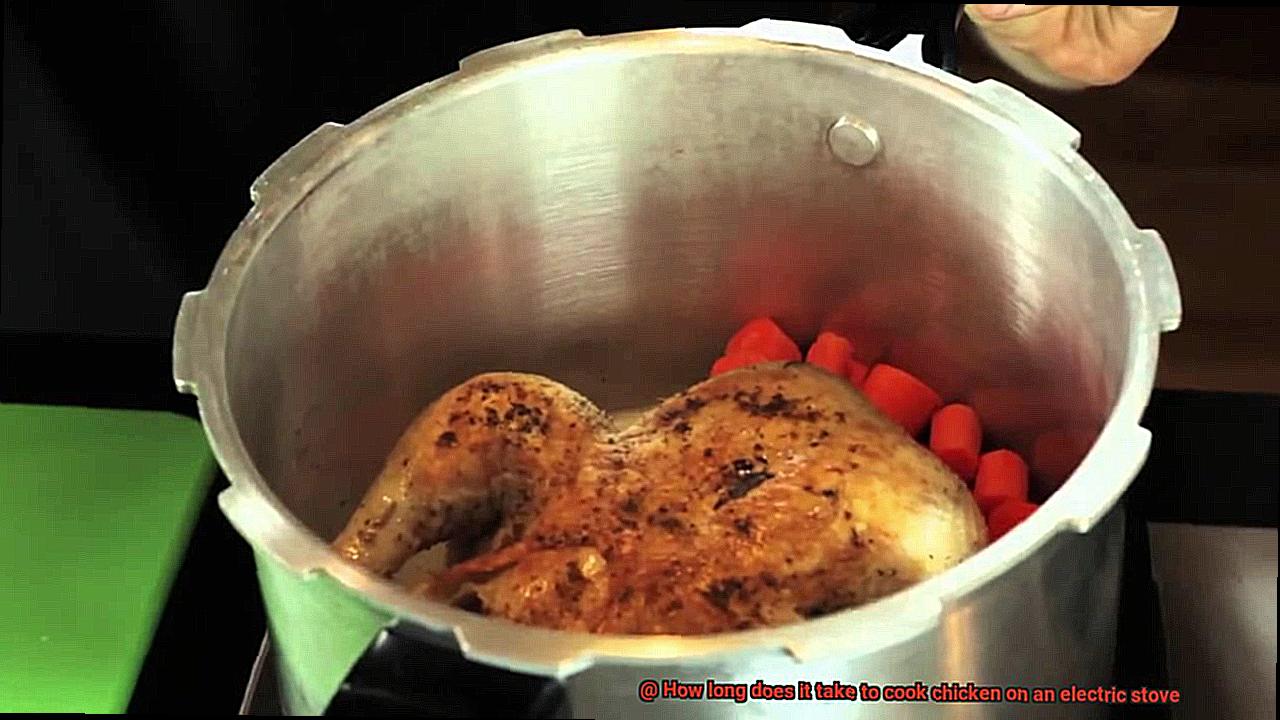
Firstly, always remember to cook your chicken to an internal temperature of at least 165°F (74°C) with a meat thermometer to ensure it’s safe to eat. Trust me; investing in a meat thermometer is worth it.
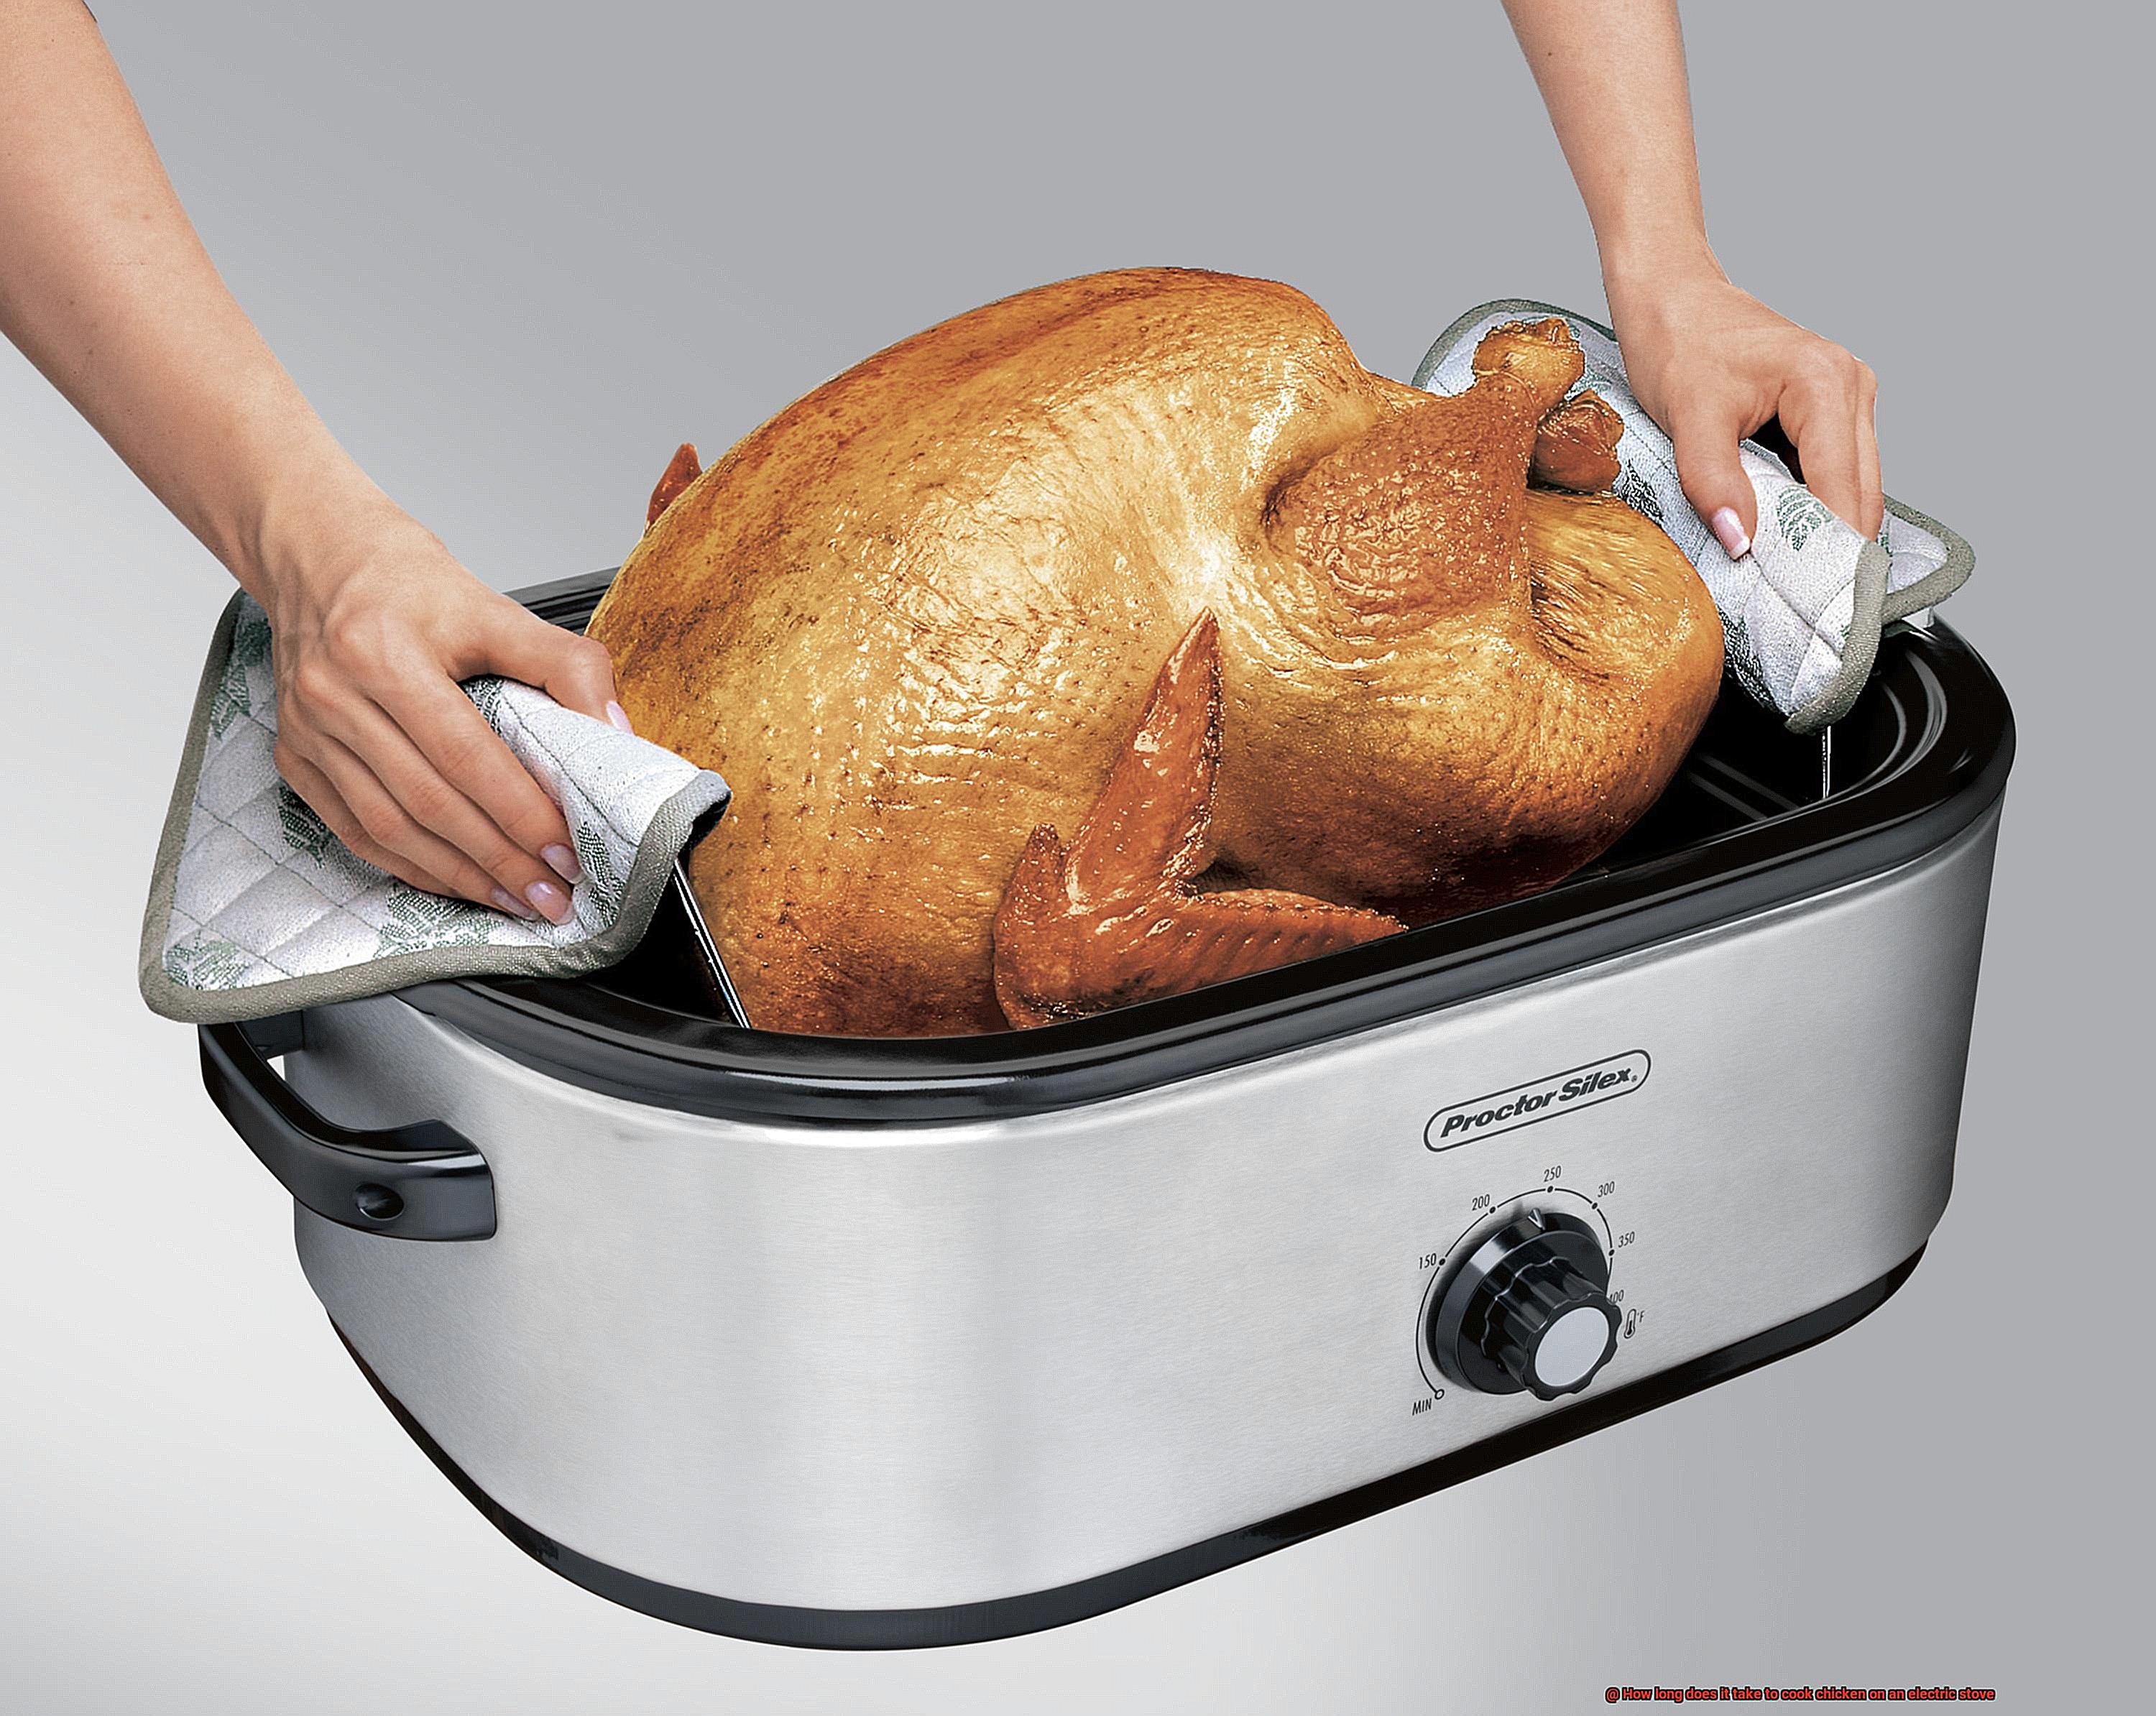
When it comes to cooking time, boneless chicken breasts and thighs are the preferred cuts for most recipes. Typically, they take between 12-15 minutes to cook on an electric stove. However, bone-in chicken pieces like drumsticks and wings take longer- about 20-30 minutes.
Keep in mind that these are just general guidelines. The thickness of your chicken impacts the cooking time too. Thicker cuts require more cooking time than thinner ones. So keep an eye out for any changes in color or texture while cooking and adjust your timing accordingly.
Additionally, try different cooking techniques like pan-frying, baking, broiling, or grilling to spice up your chicken dishes. Each technique gives unique flavors and textures that will leave your taste buds dancing with joy.
Checking Internal Temperature with a Meat Thermometer
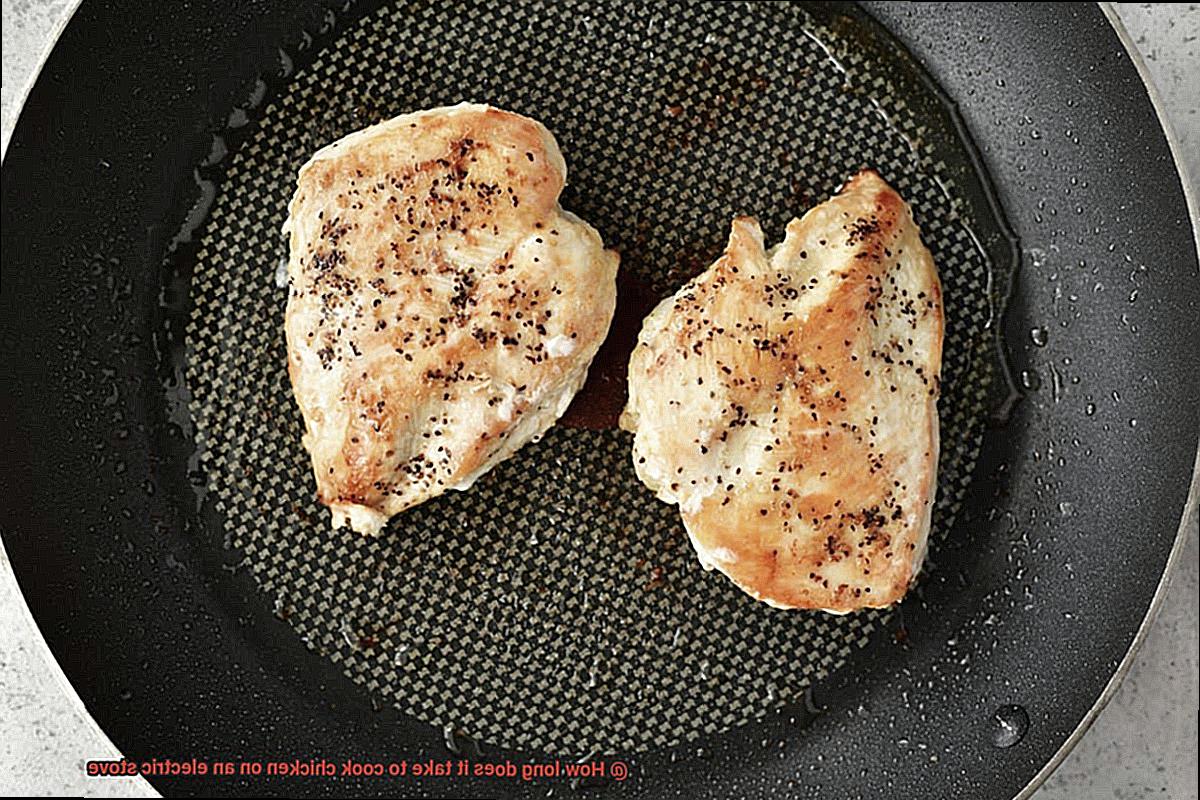
Cooking chicken on an electric stove can be a daunting task, but with the right tools and techniques, you can create mouth-watering chicken dishes with ease. One essential tool for cooking chicken to perfection is a meat thermometer. In this post, we’ll dive into the importance of using a meat thermometer to check the internal temperature of your chicken when cooking on an electric stove.
A meat thermometer is a handheld device that accurately measures the internal temperature of food. It takes the guesswork out of cooking and ensures that your chicken is cooked to perfection every time. To use a meat thermometer when cooking chicken on an electric stove, simply insert the probe into the thickest part of the chicken without touching any bones. Wait for a few seconds, and voila. You’ll have an accurate reading of the internal temperature.
The recommended safe internal temperature for cooked chicken is 165°F (74°C). It’s crucial to ensure that your chicken reaches this temperature before serving to avoid any risk of foodborne illness. Keep in mind that cooking times may vary depending on the thickness and cut of your chicken.
But it’s not just about using a meat thermometer correctly – it’s also important to clean and sanitize it properly before and after each use to prevent cross-contamination. Raw chicken is known to harbor harmful bacteria, so it’s essential to handle it with care and wash your hands and surfaces thoroughly to avoid any risk of food poisoning.
Using a meat thermometer when cooking chicken on an electric stove not only ensures that your food is cooked safely but also guarantees that it’s cooked to perfection every time. No more overcooked or undercooked chicken. With a meat thermometer, you can enjoy delicious and succulent chicken dishes with confidence.
Different Cuts of Chicken Require Different Cooking Times
As an expert in chicken cooking, I am here to tell you that different cuts of chicken require different cooking times.
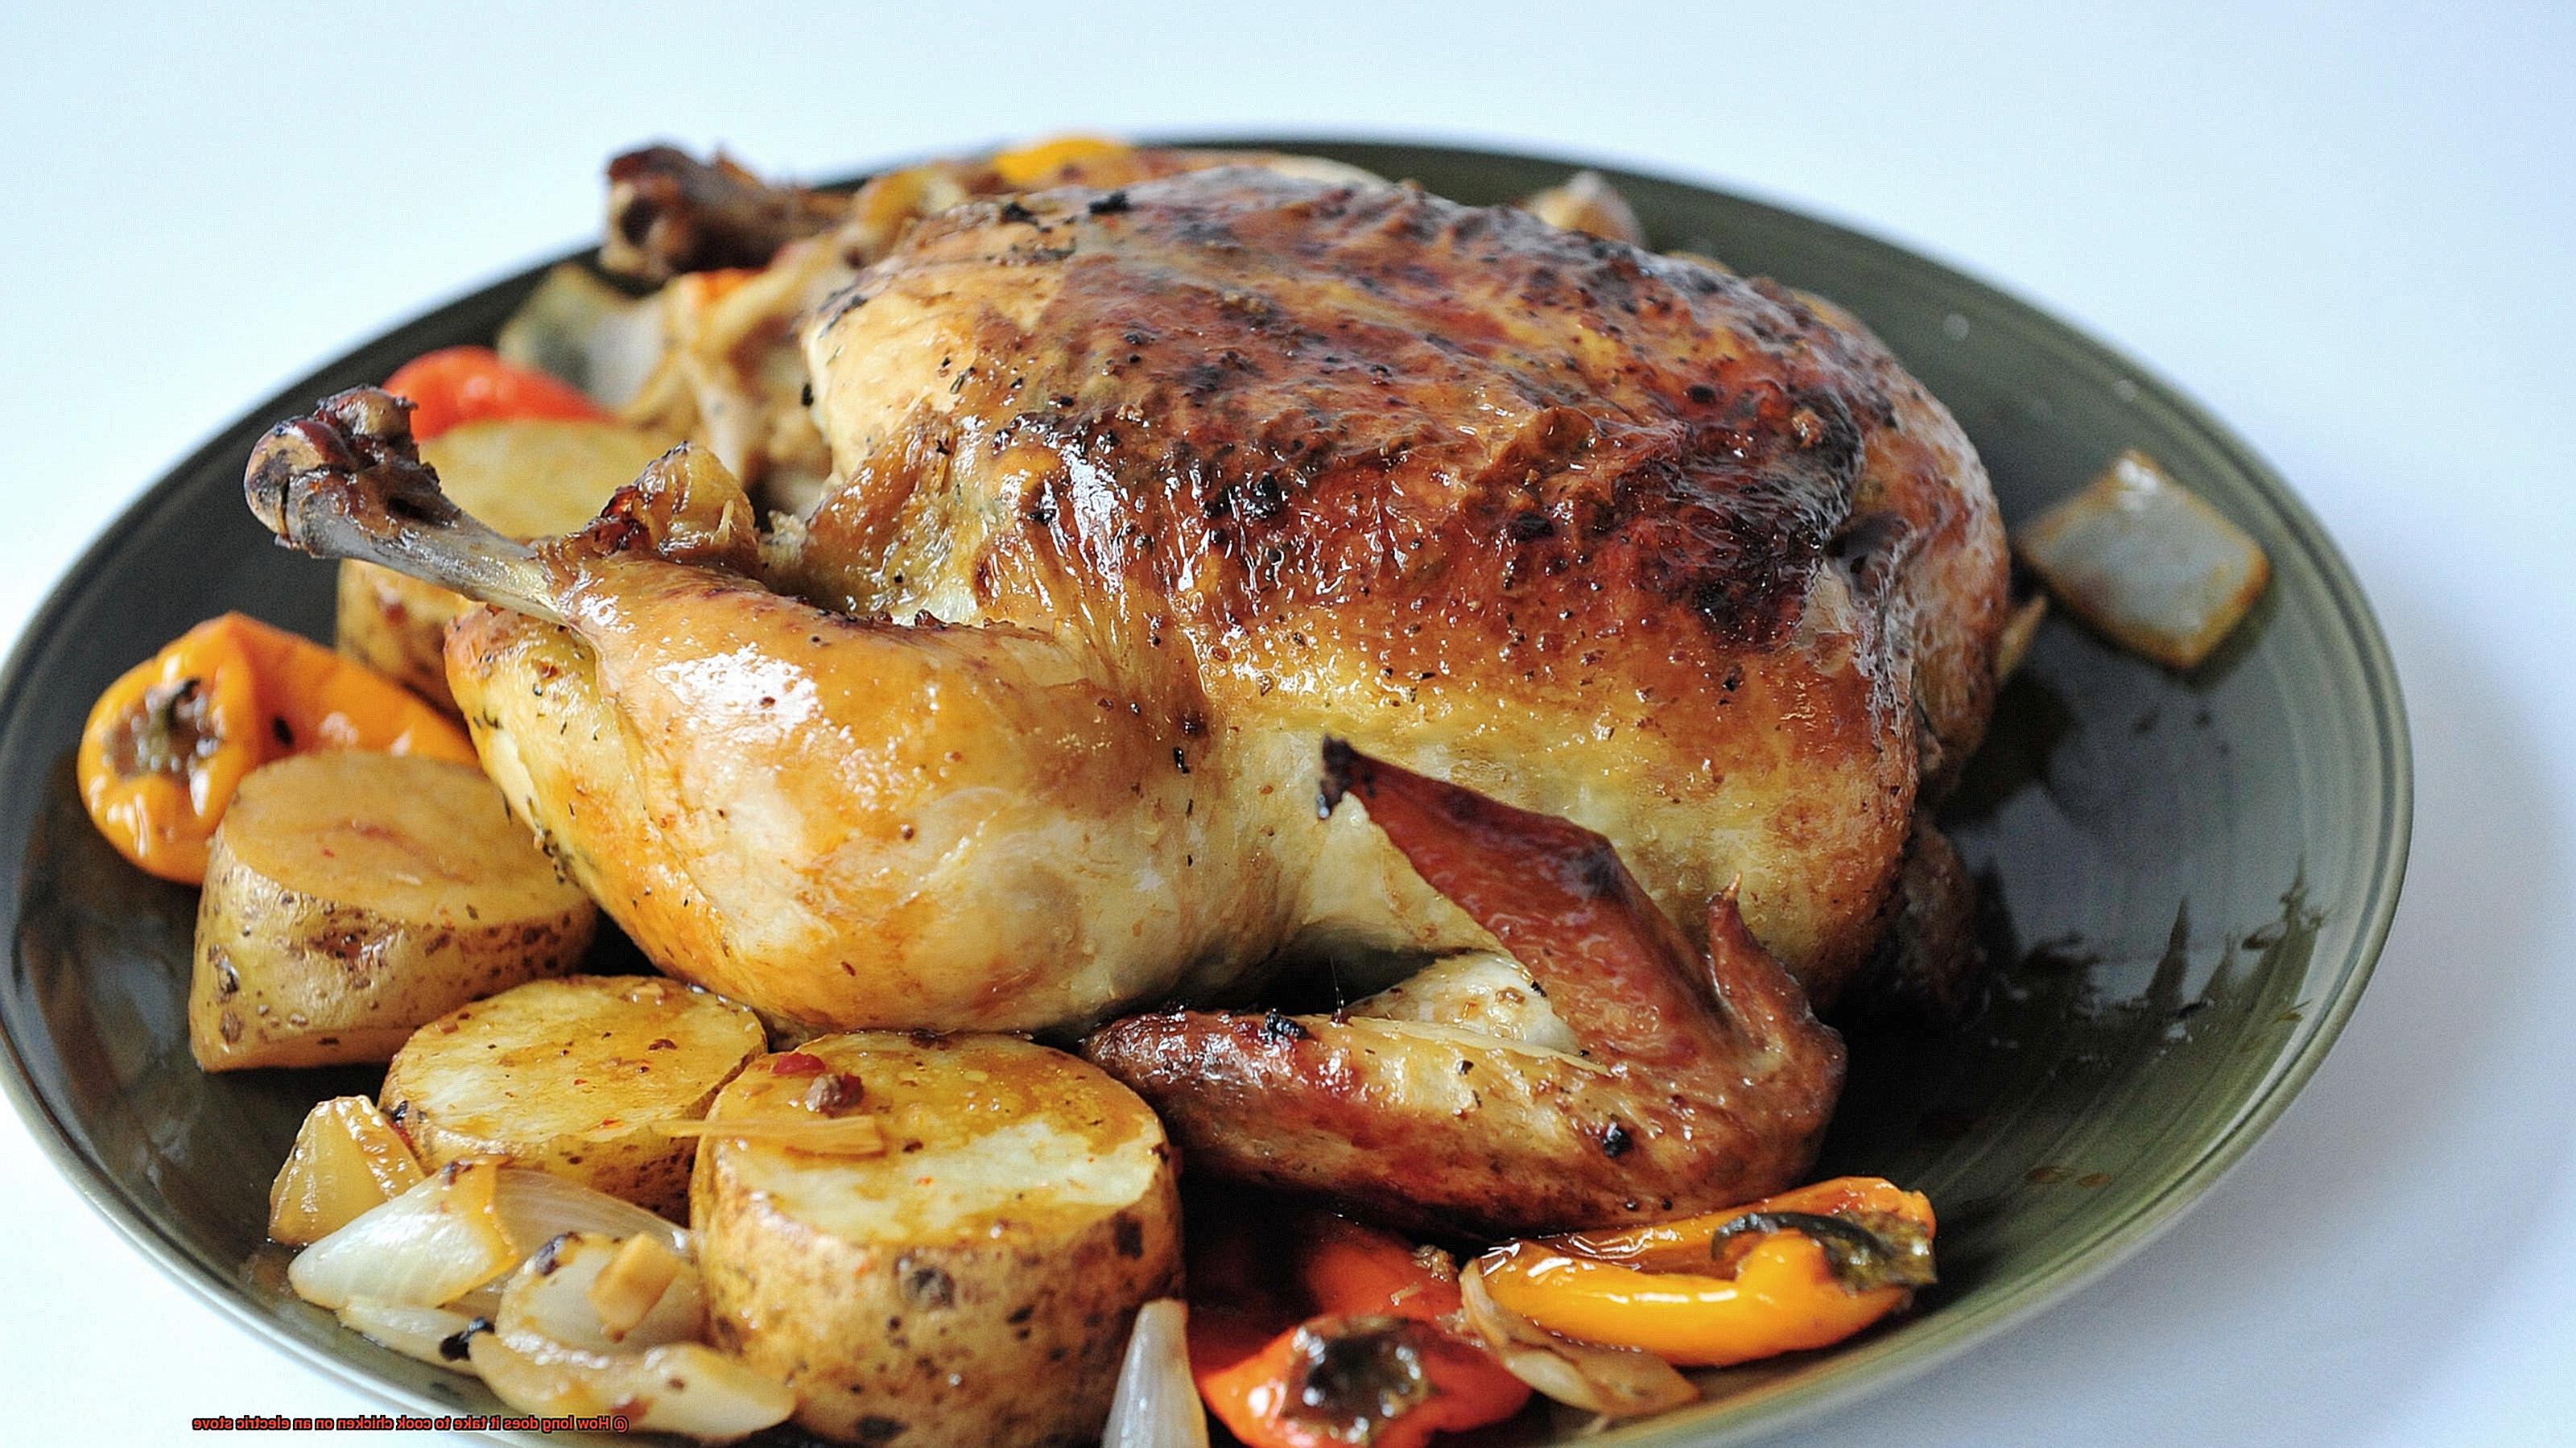
When it comes to cooking chicken, the three main factors that affect the cooking time are the type of chicken, the thickness of the meat, and the cooking method. Let’s dive deeper into each one.
Firstly, boneless chicken breasts cook faster than bone-in chicken thighs. This is because the bones in the thigh absorb heat and slow down the cooking process. On the other hand, boneless chicken requires less cooking time.
Secondly, the thickness of your chicken will affect how long it takes to cook. Thicker cuts of chicken take longer to cook because heat takes longer to penetrate through them. Therefore, always check the internal temperature with a meat thermometer to ensure your chicken is cooked thoroughly.
Lastly, the cooking method plays a significant role in determining how long it takes to cook your chicken. Oven-baked chicken will take longer than pan-fried chicken on an electric stove.
For a perfectly cooked and safe-to-eat chicken, always make sure to cook it to an internal temperature of 165°F (74°C). This will eliminate any harmful bacteria and ensure that your chicken is cooked thoroughly.
Impact of Seasoning, Marinades, and Sauces on Cooking Time
Let’s take a closer look at how these flavor enhancers can affect the texture, moisture content, and cooking time of your chicken.
Seasoning is the first step towards a tasty chicken dish. A sprinkle of salt and spices can help tenderize the meat and enhance its natural flavors. However, over-seasoning is a common mistake that can lead to longer cooking times. The excess salt draws out moisture from the chicken, making it harder to cook through. So, a light touch of seasoning before cooking will ensure your chicken doesn’t take longer than necessary to cook.
Marinades are another way to elevate your chicken game. They can help tenderize the meat and shorten the cooking time by breaking down the proteins in the meat. However, be careful not to over-marinate your chicken, or it can become mushy and increase your cooking time. Using acidic marinades like lemon juice or vinegar can help tenderize the chicken quickly and efficiently.
Now, let’s explore how sauces can impact the cooking time of your chicken on an electric stove. Thick sauces like barbecue or teriyaki sauce create a barrier between the heat source and the chicken, prolonging the cooking time. Thin sauces like broth or wine-based sauces allow heat to penetrate the chicken more quickly, helping speed up the process.
To achieve a perfectly cooked, delicious chicken dish, use these flavor enhancers in moderation and adjust your cooking time accordingly. A meat thermometer is an essential tool to check for doneness and ensure your chicken is cooked through safely to an internal temperature of 165°F.
Tips for Controlling Temperature and Timing for Juicy and Delicious Chicken
When it comes to cooking chicken on an electric stove, achieving juicy and delicious results requires careful attention to temperature and timing. Here are five essential tips for controlling temperature and timing when cooking chicken on an electric stove:
Preheat the Stove for Even Cooking
Preheating the stove before cooking chicken is crucial to ensuring that it cooks evenly and doesn’t stick to the pan. It’s important to preheat for at least 10-15 minutes before adding the chicken. This will help prevent cold spots and ensure that the chicken cooks evenly.
Use a Meat Thermometer to Ensure Safety
To ensure that the chicken is cooked through and safe to eat, use a meat thermometer to check its internal temperature. Chicken should be cooked to an internal temperature of 165°F (74°C). To avoid overcooking, remove the chicken from the heat when it reaches 160°F (71°C) as it will continue cooking as it rests.
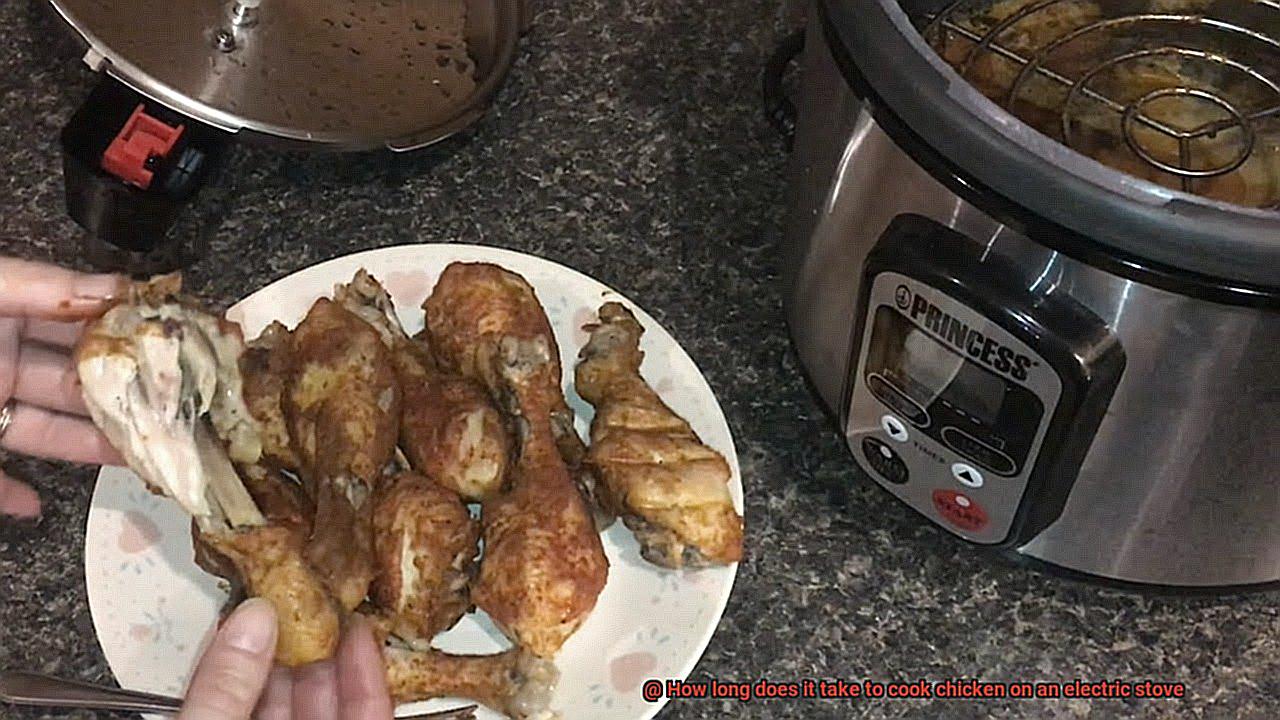
Adjust Heat Settings for Optimal Cooking
Adjusting the heat settings on your electric stove is key to controlling the cooking process. Start by heating the stove on high until it reaches the desired temperature, then reduce it to medium-low before adding the chicken. If you notice that the chicken is cooking too quickly or slowly, adjust the heat accordingly.
Use a Timer to Ensure Perfect Timing
Timing is crucial when cooking chicken, so using a timer can be helpful in ensuring that you cook it for the required time. Set a timer according to the recipe’s instructions and try to avoid opening the lid frequently as this can cause a drop in temperature, resulting in unevenly cooked chicken.
Pound Thicker Parts of Chicken for Even Cooking
Thicker parts of chicken may take longer to cook, resulting in unevenly cooked chicken. To ensure even cooking throughout, consider pounding thicker parts of the chicken with a meat mallet before cooking. This will help ensure that all parts of the chicken cook at the same rate.
2bIEwMFV3hk” >
Conclusion
Cooking chicken on an electric stove is a skill that requires precision and patience. But how long does it take to cook chicken on an electric stove? Well, the answer isn’t as simple as we’d like it to be. The cooking time of chicken depends on various factors such as cut, size, temperature, pan type, starting temperature, and cooking method.
Boneless chicken breasts are the quickest to cook and take around 6-8 minutes per side on medium-high heat. On the other hand, bone-in chicken pieces like thighs or drumsticks require more time – approximately 20-25 minutes per side on medium heat. To ensure safety, use a meat thermometer and make sure that the internal temperature of the chicken reaches at least 165 degrees Fahrenheit.
To achieve juicy and flavorful chicken every time you cook it on an electric stove, you need to control timing and temperature. Preheat your stove for even cooking, adjust heat settings for optimal cooking results, use a timer to keep track of cooking time accurately, and pound thicker parts of the chicken to ensure even cooking.
In conclusion, mastering the art of cooking chicken on an electric stove takes practice and attention to detail. By following these tips and paying close attention to each factor that affects cooking time, anyone can achieve perfectly cooked and deliciously tender chicken every time.

