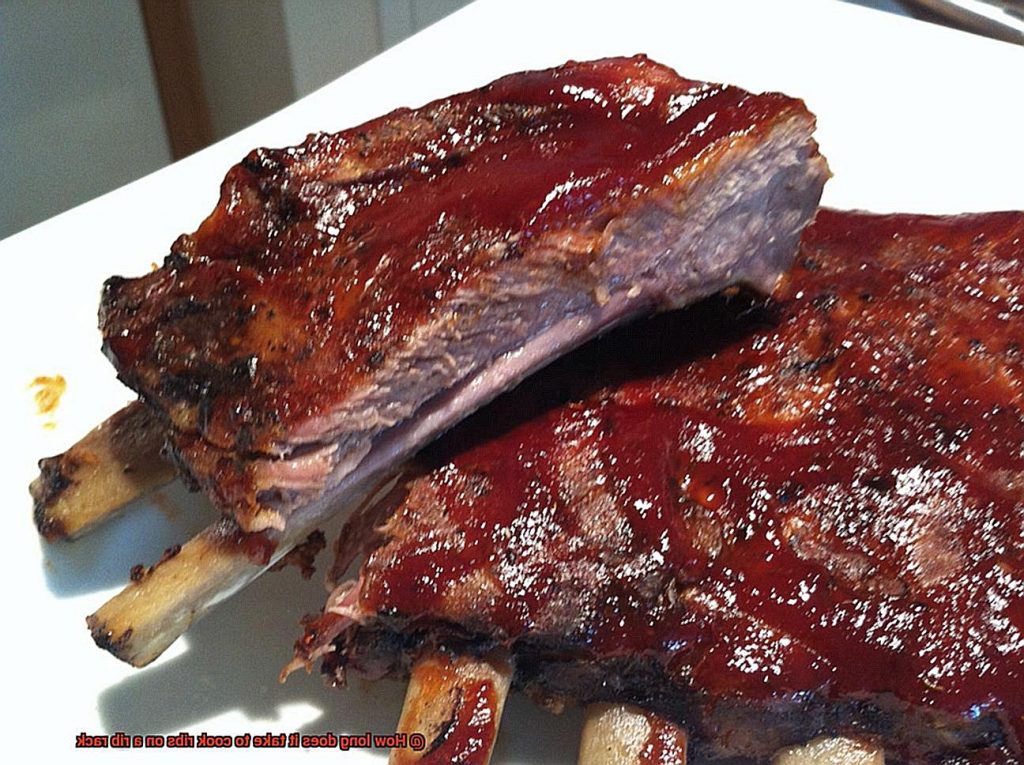
Imagine a warm, sunny day and the tantalizing aroma of perfectly cooked ribs wafting through the air. But before you can indulge in this savory delight, you need to know how long it takes to cook ribs on a rib rack. Don’t worry, my fellow grill enthusiasts, I’ve got your back.
Let’s start with the basics. Ribs on a rack require at least three hours of low heat cooking to achieve that melt-in-your-mouth tenderness we all crave. While it may seem like a long time, trust me – it’s worth the wait. And if you’re feeling adventurous, turn up the heat towards the end for that irresistible charred crust.
Whether you prefer smoking or grilling your ribs, the cooking time remains relatively constant. It all depends on your chosen temperature and technique. But once you master this art form, your taste buds will thank you for years to come.
So sit back, crack open a cold one, and let’s explore the magical world of rib rack cooking times together.
Contents
What is a Rib Rack?
That’s where the rib rack comes in. A rib rack is a nifty device that keeps ribs upright and evenly spaced during grilling or smoking. This allows for better airflow and even cooking, resulting in tender, juicy ribs every time.
Rib racks come in different types, including vertical and horizontal ones. The vertical rack holds the ribs upright, while the horizontal rack lays them flat. Additionally, some rib racks come equipped with a drip pan to catch any juices or marinades that may drip off during cooking.
Using a rib rack has many benefits, such as preventing the ribs from sticking together or becoming too crowded on the grill. It also makes it easier to baste and flip the ribs, ensuring they cook evenly. Plus, using a rib rack ensures your ribs come out tender and juicy.
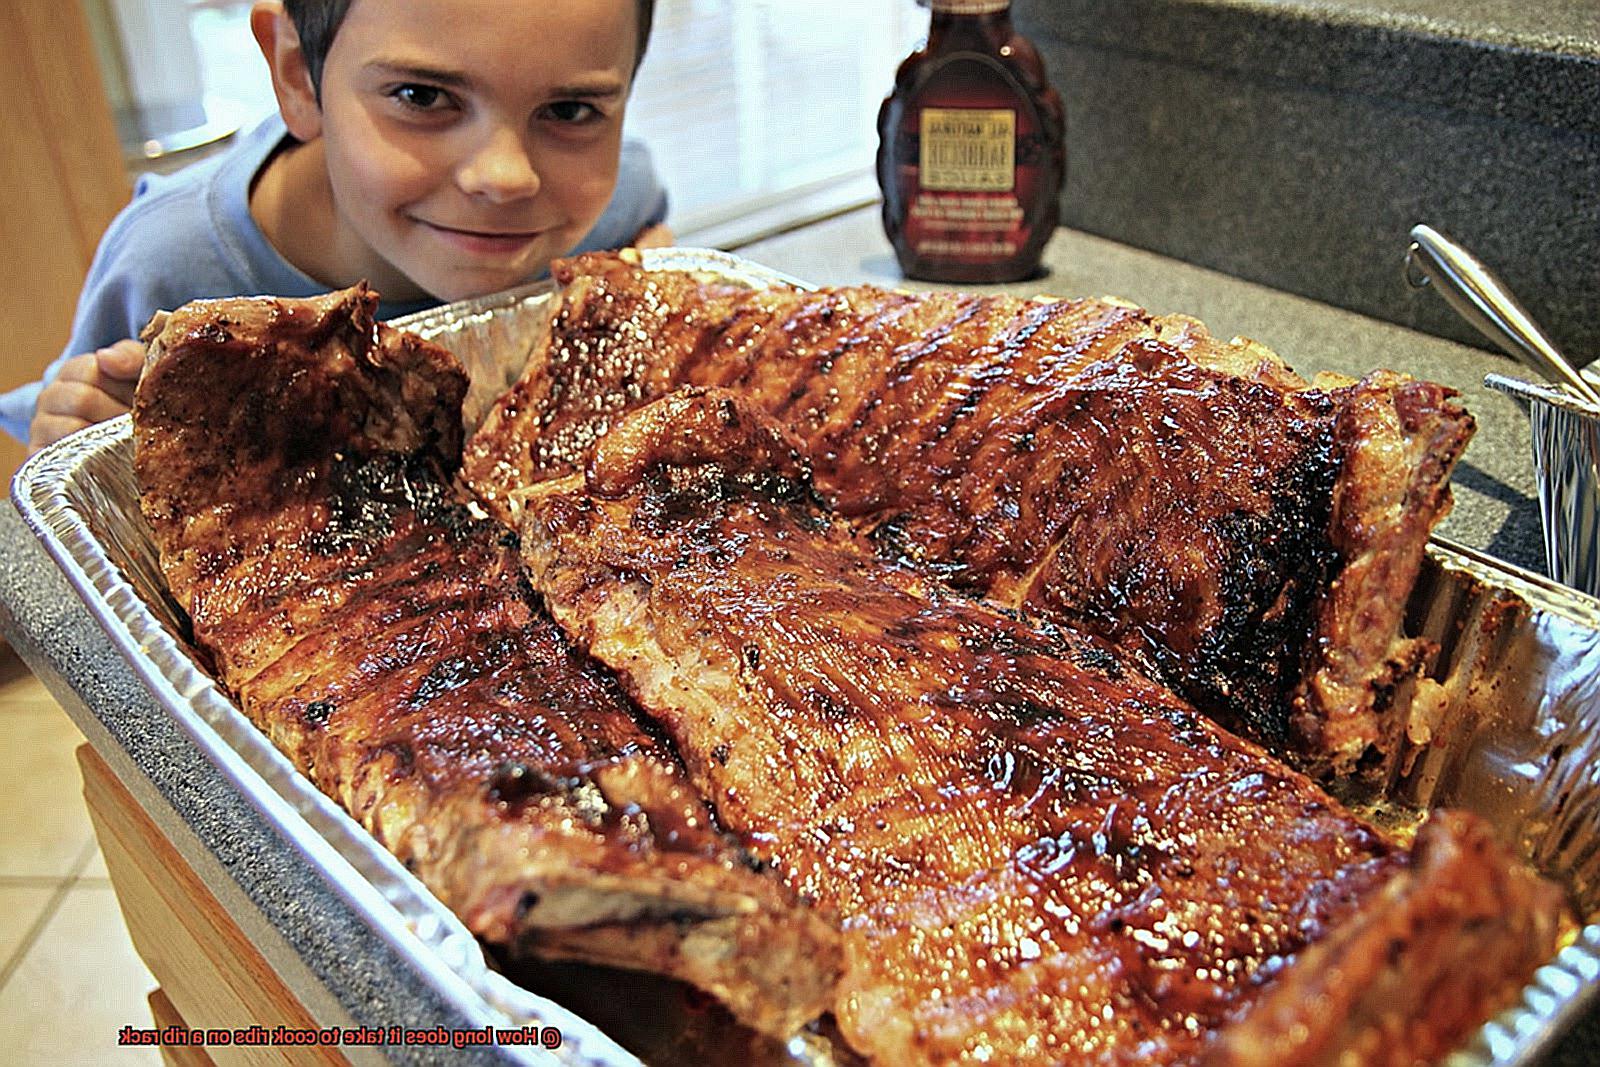
When using a rib rack, it’s important to remember that low and slow is the way to go. This means cooking the ribs at a low temperature for an extended period of time. Typically, it can take 3-6 hours to cook the perfect rack of ribs, depending on factors such as the type of grill or smoker used, temperature setting, and meat thickness.
Many people prefer wrapping their ribs in foil (known as the “Texas crutch”) to help lock in moisture and speed up the cooking process. However, others prefer leaving their ribs unwrapped for a more traditional BBQ flavor. Regardless of which method you choose, it’s important to monitor the internal temperature of the meat using a meat thermometer to ensure it reaches a safe temperature and is cooked to your desired level of tenderness.
A rib rack can be used for different types of ribs, including baby back, spare, or beef ribs. It can also be used in the oven for roasting large quantities of ribs for a group or party.
Factors that Affect Cooking Time
A rib rack is a must-have for any serious pitmaster, but before you dive in, it’s crucial to understand the factors that can affect cooking time.
First and foremost, the type of ribs you’re using will play a major role. Baby back ribs are smaller and thinner than spare ribs, so they’ll cook faster. St. Louis-style ribs, on the other hand, are larger and thicker, so they may require a longer cooking time. Knowing which type of rib you’re working with is the first step towards perfectly cooked meat.
The thickness of your meat is equally important. Thicker cuts will take longer to cook through than thinner ones. This is where a meat thermometer comes in handy – it’s the best way to ensure that your meat has reached a safe temperature for consumption.
Of course, the temperature of your grill or oven is yet another factor that can impact cooking time. If your equipment isn’t hot enough, your ribs will take longer to cook. Take the time to preheat your grill or oven to the desired temperature before adding your meat.
Last but not least, the cooking method you choose will have a significant effect on cooking time. Smoking or braising your ribs will take several hours, while grilling or baking them will be faster. Consider your schedule and choose a method that works for you.
Low and Slow: The Key to Perfectly Cooked Ribs
If you want to achieve the ultimate in mouth-watering, fall-off-the-bone ribs, then the key is simple – low and slow cooking.
Cooking ribs on a rib rack may seem daunting, but with patience and attention to detail, you’ll be able to create a flavor-packed masterpiece that will have your guests begging for more. The secret to achieving tender and juicy meat is to cook them at a low temperature for an extended period of time. This allows the flavors to develop slowly and evenly, resulting in a deliciously succulent dish.
Here are some important sub-topics to keep in mind when cooking ribs on a rib rack:
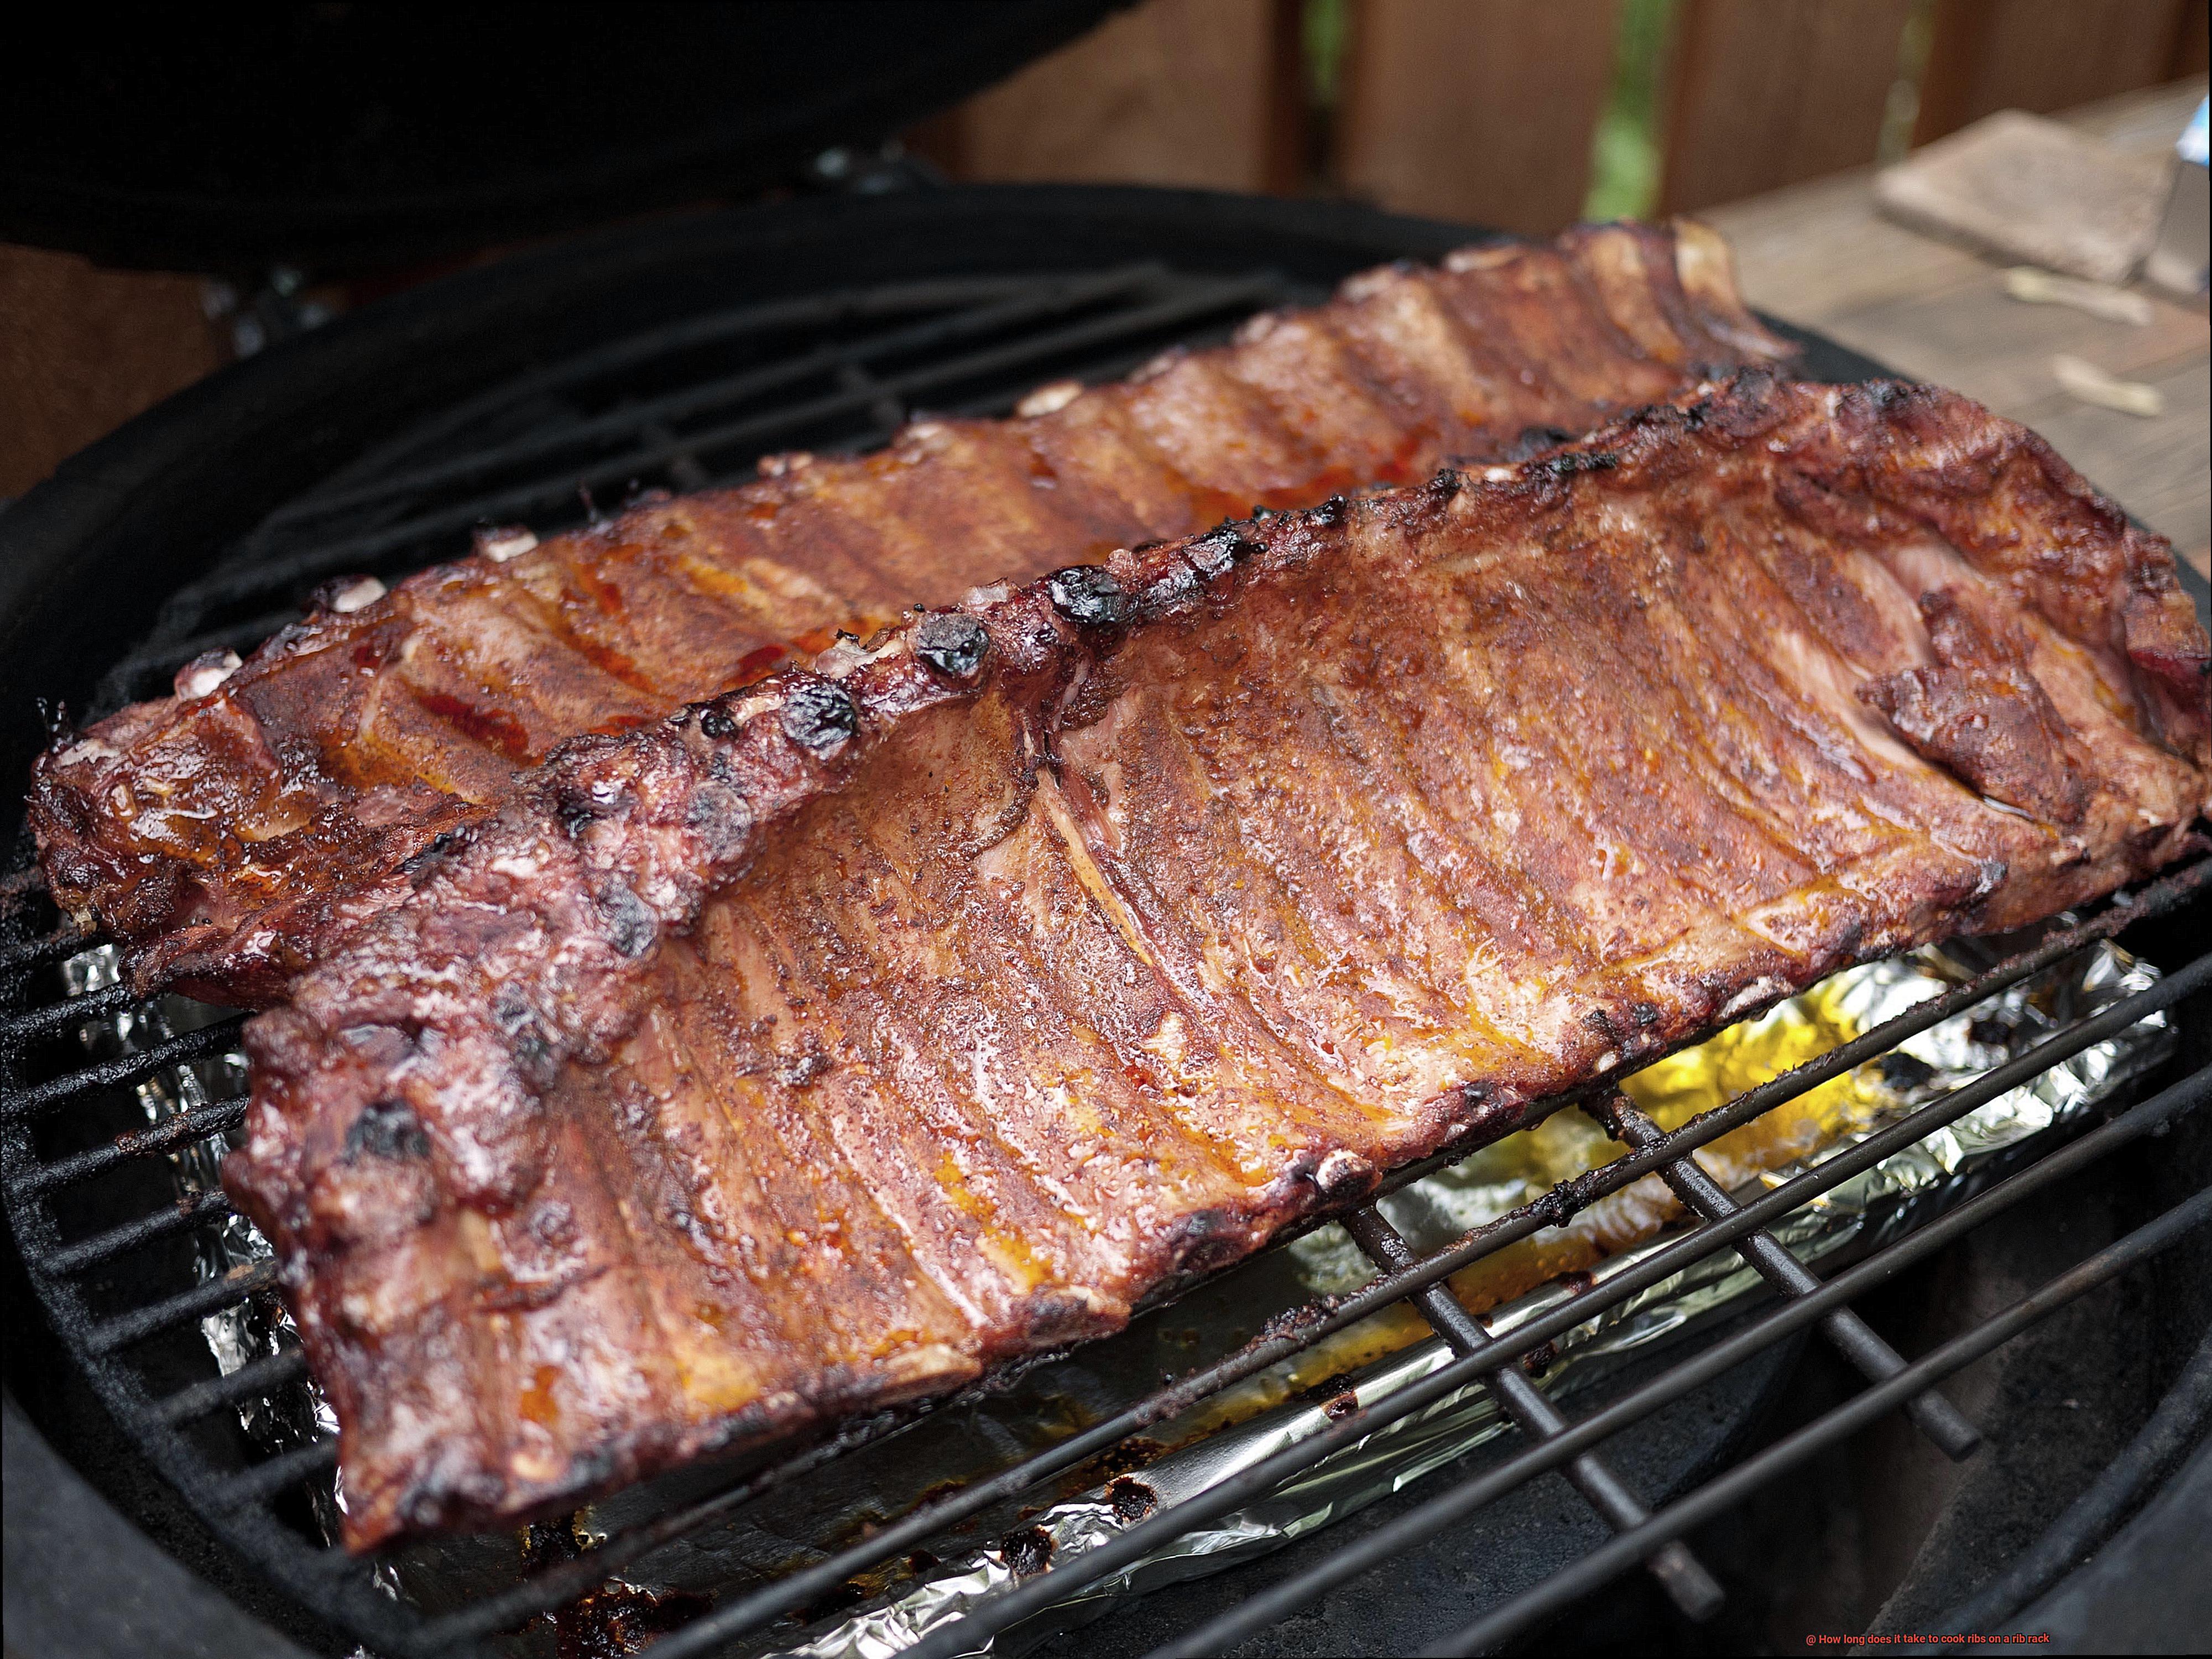
- Temperature: To get started, preheat your grill or smoker to a temperature of around 225-250 degrees Fahrenheit. This will ensure that the meat cooks slowly and evenly, allowing it to absorb all those delicious smoky flavors.
- Cooking Time: The exact cooking time will depend on various factors, such as the size of the ribs and the type of smoker or grill being used. A good rule of thumb is to cook your ribs for approximately 4-6 hours on a rib rack. However, it’s crucial to monitor the internal temperature of the meat using a meat thermometer to ensure that it has reached a safe temperature of 145 degrees Fahrenheit.
- Basting or Mopping: Adding flavor and moisture to your ribs is important, but it’s essential not to overdo it. Basting or mopping your ribs with a marinade or sauce during the cooking process can help to add flavor and keep them moist, but this should be done sparingly to avoid drying out the meat.
- Resting: Once you’ve removed your ribs from the grill or smoker, it’s important to let them rest for at least 10 minutes before slicing. This allows the juices to redistribute throughout the meat, resulting in a more flavorful and tender dish.
Wrapping Ribs in Foil (The “Texas Crutch”)
When it comes to cooking ribs on a rib rack, there are several methods to choose from. But if you want to elevate your rib game, look no further than the “Texas Crutch” technique. This popular method involves wrapping the ribs in foil during the cooking process to create a sealed environment that leads to perfectly tender and flavorful meat.
Used by pitmasters in Texas and other parts of the South, where barbecue is practically a religion, the Texas Crutch method is all about creating a cozy little sauna for your ribs. Here’s how it works: after seasoning your ribs with your desired rub or marinade, place them on a rib rack and start cooking over indirect heat. After about an hour, wrap the ribs tightly in foil, making sure to seal all edges.
The foil will help trap in moisture and create steam, which will help tenderize the meat and infuse it with flavor. Cook for another 1-2 hours, depending on the size and thickness of your ribs, before removing the foil and returning them to the grill for a final char. This step is crucial to achieving that perfect balance of tender meat and crispy exterior.
But don’t stop there – experiment with different rubs and marinades to find the perfect flavor profile for your taste buds. And remember to keep an eye on your cooking times and temperatures to ensure that your ribs come out juicy and packed with flavor.
In summary, here are some key takeaways for using the Texas Crutch method:
- Start with a generous coating of your preferred seasoning
- Wrap the ribs in foil after about an hour of cooking over indirect heat
- Cook for an additional 1-2 hours, depending on rib size and thickness
- Remove foil and return to grill for a final char
- Experiment with different rubs and marinades to find your perfect flavor profile
- Keep an eye on cooking times and temperatures
Monitoring Internal Temperature with a Meat Thermometer
Mastering the art of monitoring internal temperature with a meat thermometer is the secret to achieving perfectly cooked, safe-to-eat, and flavorful ribs.
But not all meat thermometers are created equal. Invest in a digital meat thermometer, which is fast, accurate, and comes with a probe that can be inserted into the thickest part of the meat. This means you can monitor the temperature without having to open up the grill or smoker frequently, resulting in less cooking time and juicier ribs.
When cooking ribs on a rib rack, it’s crucial to remove them from the grill or smoker before inserting the probe. This ensures an accurate reading and prevents any interference. Carefully insert the probe into the thickest part of the meat, taking care not to touch any bones or the rib rack itself. After waiting for a few seconds until the thermometer stabilizes, read the temperature.
For pork ribs, the internal temperature should reach 145°F for safe consumption. However, if you prefer your ribs more tender and fall-off-the-bone, you can cook them up to 190°F. Monitoring internal temperature with a meat thermometer ensures that you achieve your desired level of tenderness while also ensuring that your ribs are safe to eat.
But why is this important? Opening up the grill or smoker frequently to check on internal temperature can result in longer cooking times, potentially drying out the meat. Using a meat thermometer eliminates this problem by allowing you to monitor internal temperature without losing heat and moisture.
Estimating Cooking Time
Before you start, it’s essential to know how to accurately estimate cooking time. After all, no one wants overcooked or undercooked ribs that are tough and dry. As an expert in estimating cooking time for ribs on a rib rack, let me share some tips and tricks to help you achieve perfectly cooked and deliciously tender meat.
The first key to success is low and slow cooking. You need to cook your ribs at a low temperature for an extended period, allowing the meat to cook slowly and evenly, breaking down the connective tissues for tender and flavorful meat. The ideal temperature range for cooking ribs on a rib rack is between 225°F and 250°F.
Another factor that affects cooking time is the thickness of the meat. Thicker cuts of meat will require more time to cook than thinner cuts. Therefore, it’s crucial to consider the thickness of your ribs when estimating cooking time. Different types of ribs may also have varying cooking times. For example, baby back ribs may cook faster than spare ribs.
To accurately estimate cooking time, use a meat thermometer to check the internal temperature of the meat. The ideal internal temperature for cooked ribs is 145°F, but most people prefer their ribs to be falling off the bone tender, which requires a higher internal temperature of around 195°F.
To get perfectly cooked ribs, start by seasoning your meat with your favorite rub or marinade. Preheat your grill to the ideal temperature range and place your rib rack on the grill. Let them cook low and slow for about 3-4 hours, checking the internal temperature with a meat thermometer every hour until they reach your desired level of tenderness.
It’s important to note that different grill types may affect cooking time as well. Charcoal grills may require more attention and adjustment due to fluctuating temperatures, while gas grills may provide more consistent heat.
Tips for Cooking Ribs on a Rib Rack
If you’re planning a barbecue or just want to impress your family and friends with some delicious ribs, then this is the guide for you. Here are five steps to cooking perfect ribs on a rib rack.
Step 1: Choose the Right Ribs
Selecting the right type of ribs is crucial for success. While baby back and spare ribs are popular options, don’t be afraid to try St. Louis-style or beef ribs for variety. Look for meat with good marbling, which will help keep it moist and tender.
Step 2: Remove the Membrane
Removing the membrane from the back of the ribs is essential for proper seasoning. Use a paper towel to grip the membrane and pull it off in one piece. This may take some practice, but it’s worth the effort for better flavor.
Step 3: Season Your Ribs
Season your ribs with a dry rub or marinade to give them more flavor. Dry rubs consist of a blend of spices such as paprika, brown sugar, garlic powder, and salt. Marinades can be made with ingredients like soy sauce, apple cider vinegar, and honey. Let your ribs sit for at least 30 minutes to allow the seasonings to penetrate the meat.
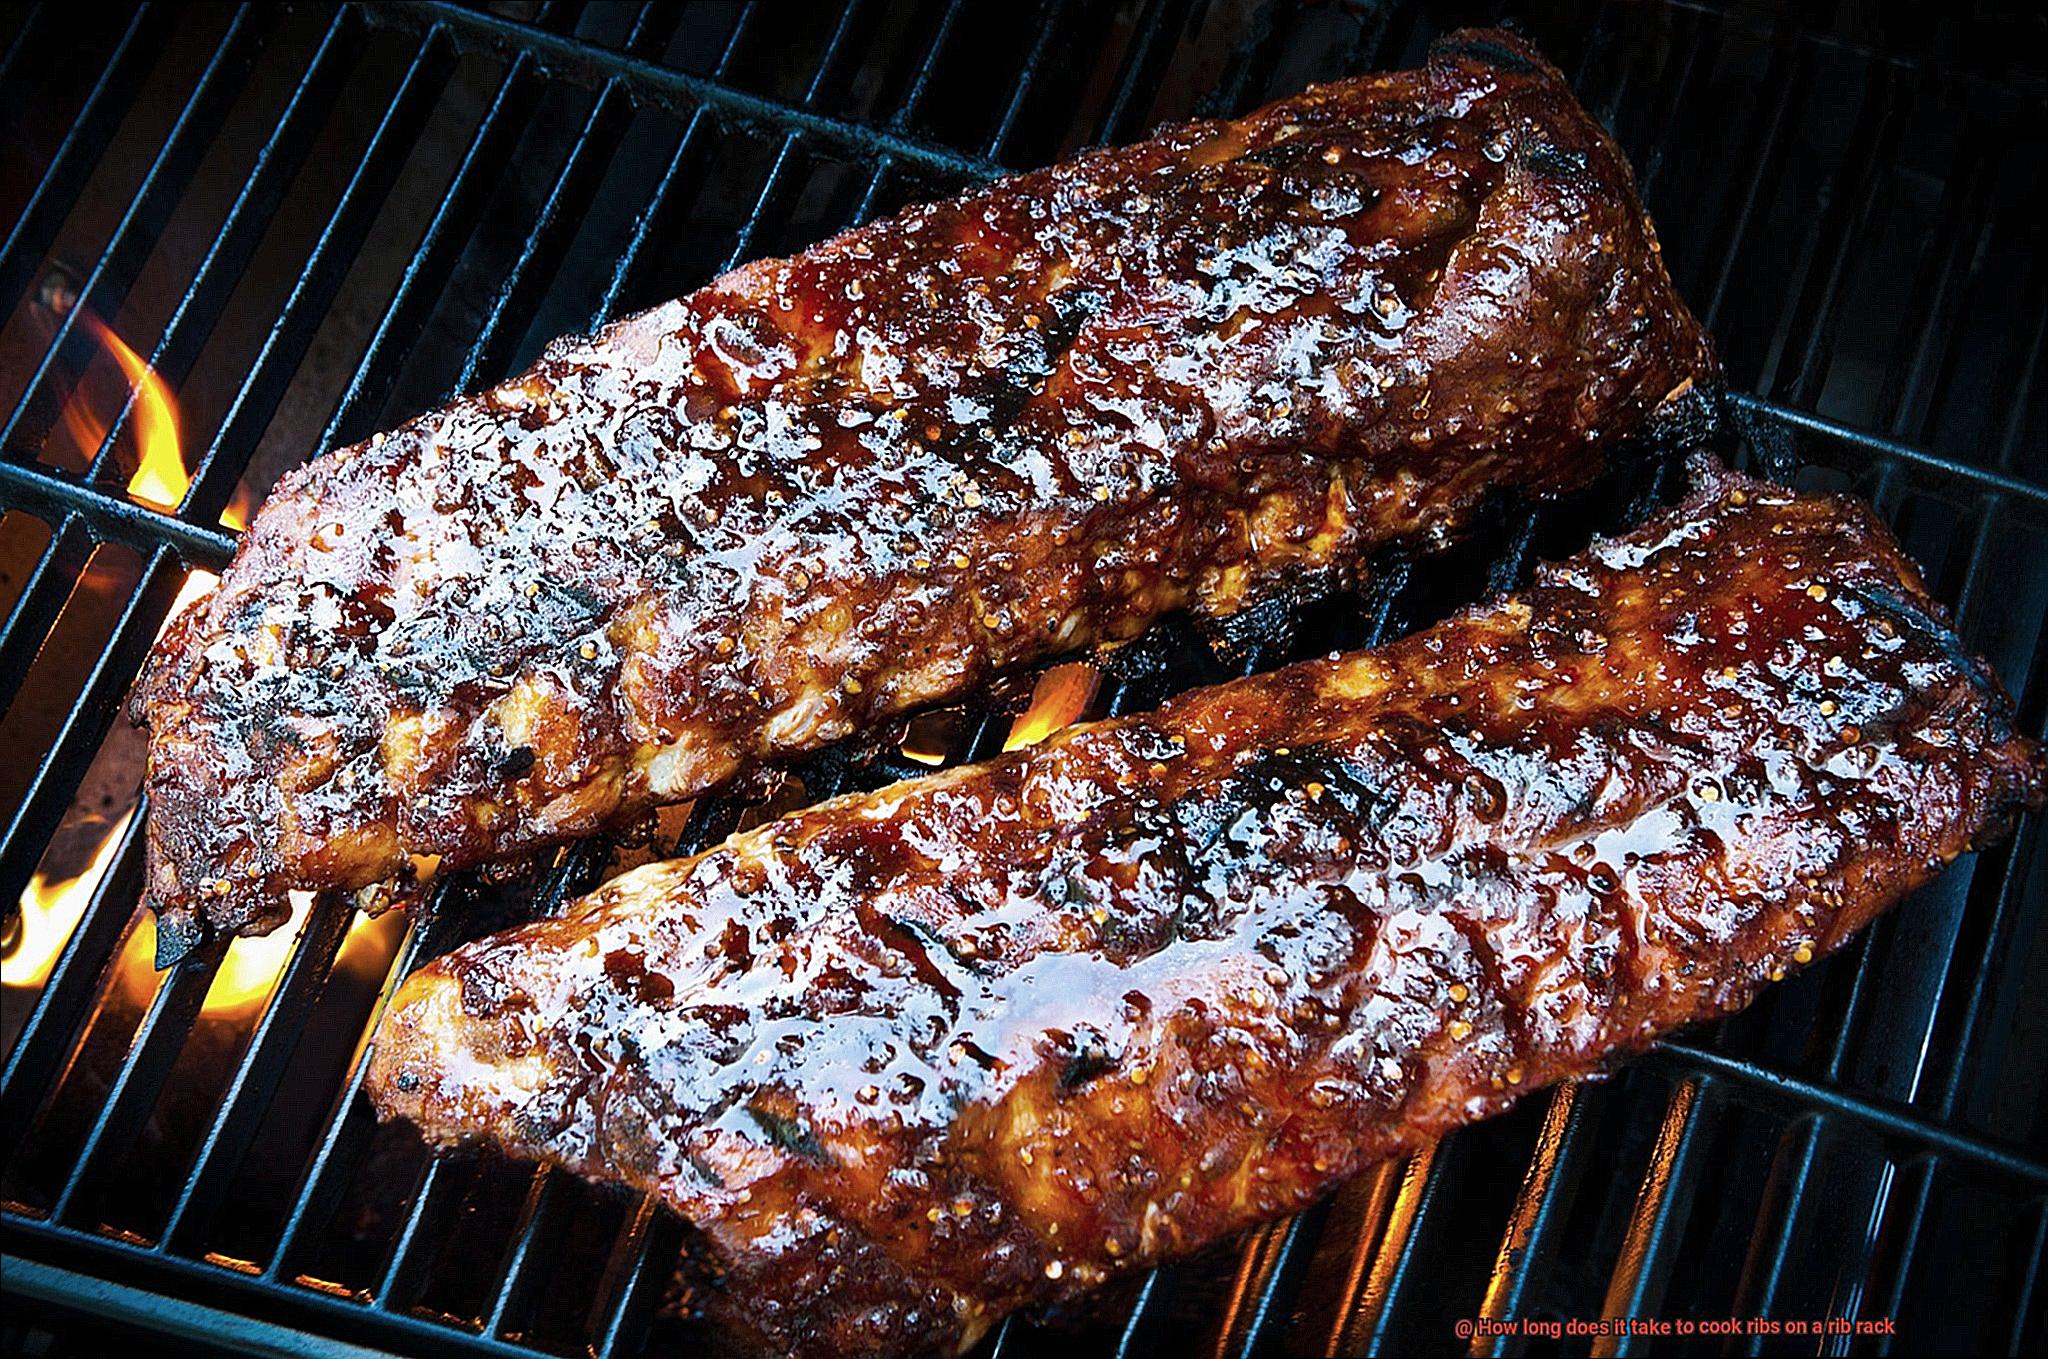
Step 4: Cook Your Ribs on a Rib Rack
When cooking your ribs on a rib rack, place them with the meaty side facing up to allow fat to drip down and baste the meat as it cooks. Use indirect heat by positioning your ribs away from direct flames or heat sources. Try using a smoker or charcoal grill and place your ribs on the opposite side of the fire.
Step 5: Monitor Your Temperature and Rest Your Ribs
Use a meat thermometer to check for doneness. A good rule of thumb is to cook your ribs until they reach an internal temperature of 145°F for pork or 160°F for beef. Depending on the thickness of your meat and the temperature of your grill or smoker, this could take anywhere from 2-6 hours. Once your ribs are cooked to perfection, let them rest for a few minutes before slicing and serving. Resting allows the juices to redistribute throughout the meat and helps ensure tender, flavorful results.
vtFsNWngi2c” >
Conclusion
In conclusion, cooking ribs on a rib rack is an art that requires patience and attention to detail. The secret to achieving fall-off-the-bone tenderness and flavor explosion is low and slow cooking. This method allows the flavors to develop slowly and evenly, resulting in juicy, tender meat that will make your taste buds sing.
Using a rib rack has many benefits, including preventing the ribs from sticking together or becoming too crowded on the grill. It also makes it easier to baste and flip the ribs for even cooking. But don’t forget that factors such as rib thickness, type of ribs used, temperature of the grill or oven, and chosen cooking method can all affect cooking time.
To ensure your ribs are safe to eat and packed with flavor, monitoring internal temperature with a meat thermometer is crucial. Whether you prefer wrapping your ribs in foil using the “Texas Crutch” technique or experimenting with different rubs and marinades, following these tips will help you achieve mouth-watering perfection every time.