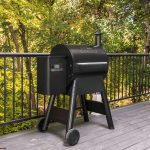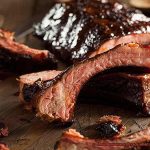
Picture this: you take a bite of a perfectly cooked rack of ribs that fall off the bone, with just the right amount of smokiness and flavor. Sounds mouth-watering, right? Well, the secret to achieving this level of culinary excellence is by using a pellet grill. If you’re not familiar with pellet grills, no worries. They offer a unique and convenient way to smoke meat, and they’ve become increasingly popular among home cooks and professional chefs alike.
But how do you cook rack of ribs on a pellet grill? Fear not – it’s easier than you might think. In this post, we’ll walk you through all the steps, from preparing your ribs to seasoning them, and finally cooking them to perfection.
We’ll cover important topics such as:
- Choosing the right type of wood pellets for that perfect smokiness and flavor.
- Prepping your ribs for cooking like trimming and removing the membrane.
- Applying a flavorful rub to enhance the meat and add depth to the dish.
- Setting up your pellet grill for indirect heat and consistent temperature.
- Cooking those ribs slowly and lowly for several hours until fully tender and flavorful.
By following these essential steps, you’ll end up with an impressive and delicious rack of ribs that will have everyone coming back for seconds. So grab your apron, put on some tunes, and get ready for an unforgettable BBQ experience.
Contents
What are Ribs?
Ribs are a succulent cut of meat that originates from the ribcage of animals like cows and pigs. These long, curved bones are surrounded by meat, making them a delicious and popular option for grilling. There are various types of ribs to choose from, including baby back ribs, spare ribs, and St. Louis-style ribs.
Baby back ribs are the most commonly used for grilling and are smaller and more tender than other rib cuts. Spare ribs, on the other hand, are larger with more meat but can be tougher when cooked improperly. St. Louis-style ribs are a trimmed version of spare ribs that have a more uniform shape and are easier to cook.
To prepare ribs for cooking on a pellet grill, it is crucial to start with cleaning and trimming the rack. This means removing the membrane on the underside of the rack to allow for better flavor penetration during cooking. Additionally, trim any excess fat from the ribs to prevent flare-ups and ensure even cooking.
Once cleaned and trimmed, season the ribs with your preferred dry rub or marinade. Be generous with the seasoning, making sure it covers all sides of the ribs. Let the seasoned ribs sit at room temperature for at least 30 minutes before placing them on the pellet grill. This will allow the meat to come to room temperature and cook more evenly.
When it comes to cooking ribs on a pellet grill, maintaining a low and slow temperature is key. Preheat your grill to 225-250°F before placing the seasoned ribs on the grill with the bone side down. Close the lid and let them cook for about 3-4 hours. To keep the meat moist and flavorful, you can spray them with apple juice or vinegar every hour or so.
After 3-4 hours, check the internal temperature of the meat with a meat thermometer. The internal temperature should be around 180-190°F for perfectly cooked ribs. Once done, remove the ribs from the grill and let them rest for a few minutes before serving.
Choosing the Right Type of Ribs
Get ready to elevate your BBQ game with the perfect ribs. As a seasoned grill master, I know that choosing the right type of ribs is crucial to achieving that mouth-watering flavor and texture. With so many options out there – baby back ribs, spare ribs, and St. Louis-style ribs – it can be overwhelming to decide which one to use for your cooking method. But fear not, I’m here to help you understand the differences between each type and make an informed decision.
Let’s start with baby back ribs. These little guys are cut from the top of the ribcage between the spine and the spare ribs. They are smaller and leaner than spare ribs, making them a popular choice for grilling. Their tender meat and sweet flavor will have your taste buds singing with delight. If you’re looking for a quick and easy meal that still packs a punch, baby back ribs are your best bet.
Next up, we have spare ribs. These meaty cuts come from the belly area of the pig and are larger than baby back ribs. What sets them apart is their high-fat content, which gives them a rich and savory flavor that is perfect for slow-cooking methods like smoking or braising. Spare ribs are ideal for those who love their meat juicy and full of flavor.
Lastly, we have St. Louis-style ribs – a variation of spare ribs that have been trimmed down to remove the sternum bone and cartilage, resulting in a more uniform shape. They have a meatier texture than baby back ribs and a more substantial flavor profile than spare ribs. If you’re looking for something in between baby back and spare ribs, St. Louis-style is your best bet.
When selecting your ribs, look for cuts that have a good amount of meat on them with a layer of fat on top – this will ensure juicy and succulent meat. The meat should be firm to the touch and not too soft or mushy. Additionally, make sure to check for any signs of discoloration or foul odor, as these could indicate spoilage.
Ultimately, the type of rib you choose comes down to personal preference and cooking method. If you’re grilling, baby back ribs are the way to go while spare ribs and St. Louis-style ribs are better suited for slow-cooking methods like smoking or braising. Whatever type you choose, always opt for high-quality cuts for the best results.
Preparing the Ribs for Cooking
Preparing ribs for cooking is a crucial step in achieving that mouth-watering, finger-licking deliciousness we all crave. As an expert in all things BBQ, let me guide you through the necessary steps to get your ribs ready for the grill.
Step 1: Remove the Membrane
The first step in preparing your ribs for cooking is removing the membrane or silver skin from the back of the rack. Don’t overlook this step, as it will make a huge difference in the final result. Use a sharp knife to loosen one end of the membrane and then pull it off with a paper towel. Trust me, this will allow the smoke and seasoning to penetrate the meat more effectively and prevent the ribs from becoming tough.
Step 2: Trim Excess Fat
While fat is necessary for flavor and tenderness, too much fat can ruin your ribs. Use a sharp knife to remove any large pieces of fat, leaving a thin layer on top of the meat. This will prevent flare-ups and ensure that your ribs are cooked evenly. Remember, quality over quantity.
Step 3: Season Generously
Now it’s time to take your ribs to flavor town. Use a dry rub or marinade of your choice and apply it generously and evenly on both sides of the rack of ribs. The seasoning will create a flavorful crust on the outside of the meat while keeping it moist and tender on the inside. Don’t be shy with your spice rubs – this is where you can get creative and experiment with different flavors.
Step 4: Let Them Rest
After seasoning your ribs, let them sit at room temperature for about 30 minutes before placing them on the grill. This will allow the seasoning to penetrate the meat further and ensure more even cooking. Trust me, patience is key here. You’ll thank yourself later when you bite into that perfectly cooked rib.
Seasoning the Ribs
Fear not, as seasoning is the secret ingredient that can take your ribs from ordinary to extraordinary. As an expert on the subject, I’m here to guide you through the process of seasoning your ribs to perfection.
Firstly, ensure that your rack of ribs is dry before applying any seasoning. This may seem like a minor detail, but it’s crucial in achieving maximum flavor. Use paper towels to pat down the meat and remove any excess moisture.
Next comes the fun part – applying the rub. A rub is a blend of spices and herbs that infuse the meat with flavor and texture. You can either purchase pre-made rubs or create your own using ingredients such as paprika, brown sugar, garlic powder, onion powder, and cumin. When applying the rub, make sure to coat both sides of the ribs evenly. You can use your hands or a brush to ensure even distribution.
It’s important not to go overboard with the rub; too much can overpower the natural taste of the meat. Allow the ribs to sit for at least 30 minutes (or up to 24 hours in the fridge) after applying the rub. This gives the seasoning time to penetrate into the meat and create a delectable crust on the outside.
In addition to a dry rub, some people like to baste their ribs with sauce while they cook on the pellet grill. This adds an extra layer of flavor and moisture to the meat, but be careful not to add too much sauce too early in the cooking process as it can burn and create a bitter taste.
To recap:
- Dry your ribs before applying any seasoning
- Apply a dry rub evenly to both sides of the meat
- Let your ribs sit for at least 30 minutes to allow flavors to meld together
- Consider basting with sauce for an added burst of flavor
Preheating the Pellet Grill
Then it’s time to master the art of preheating your pellet grill. As an expert, I’m here to guide you through the process and help you achieve mouth-watering, fall-off-the-bone ribs that will impress your guests.
To begin, start by filling your hopper with high-quality wood pellets. These pellets are essential to give your ribs that signature smoky flavor that is unmatched. Then, set your grill to the ideal temperature for cooking ribs, usually around 225°F to 250°F. Wait patiently for the grill to heat up, which typically takes between 10-15 minutes. While you wait, prepare your rack of ribs by removing any excess fat or silver skin and applying a dry rub or marinade to enhance the flavor.
Once your grill reaches the desired temperature, it’s time to get cooking. Place your rack of ribs on the grates and close the lid. Resist the temptation to open the lid frequently during cooking – doing so will cause heat loss and increase cooking time. Instead, use a meat thermometer to monitor the internal temperature of your ribs until they reach a range of 190°F to 205°F. This usually takes between 3-5 hours, depending on how thick your rack of ribs is.
Some additional tips to keep in mind:
- Clean your grill grates before preheating to ensure that they are free from debris and ready for cooking.
- Consider using a pellet blend that complements the flavors in your dry rub or marinade.
- If you’re looking for a deeper smoky flavor, you can add wood chips or chunks directly to the fire pot before preheating.
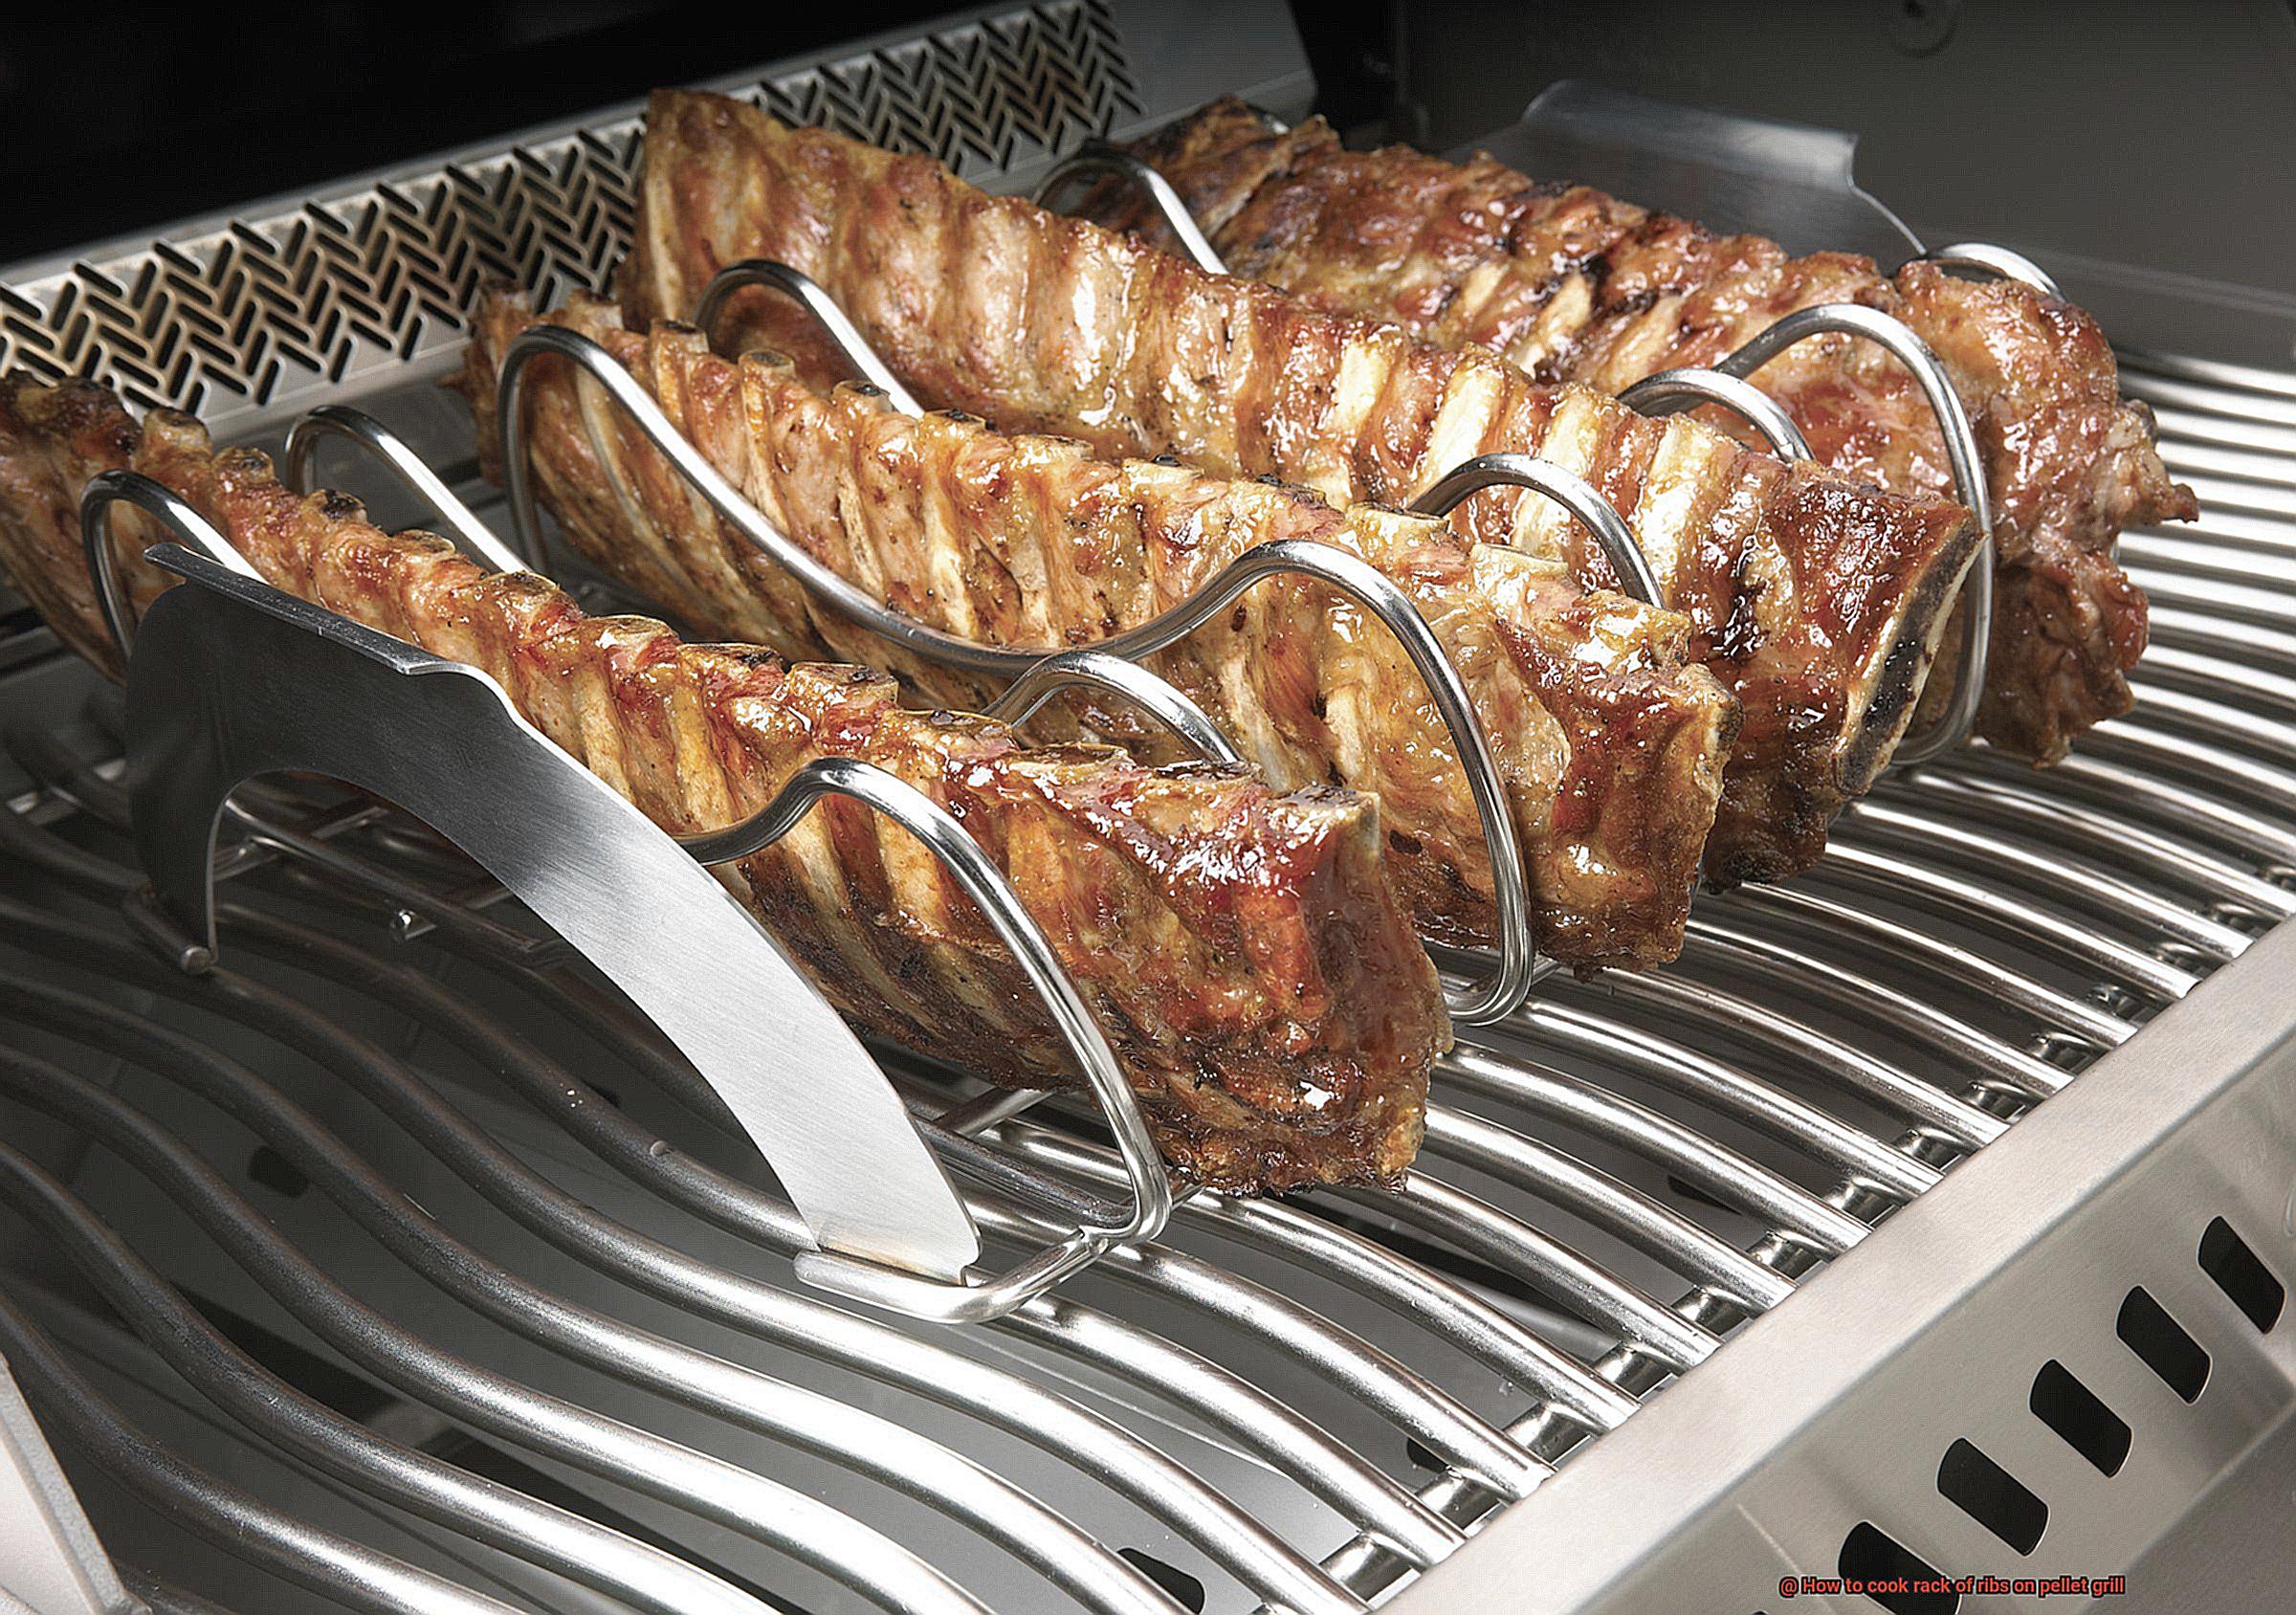
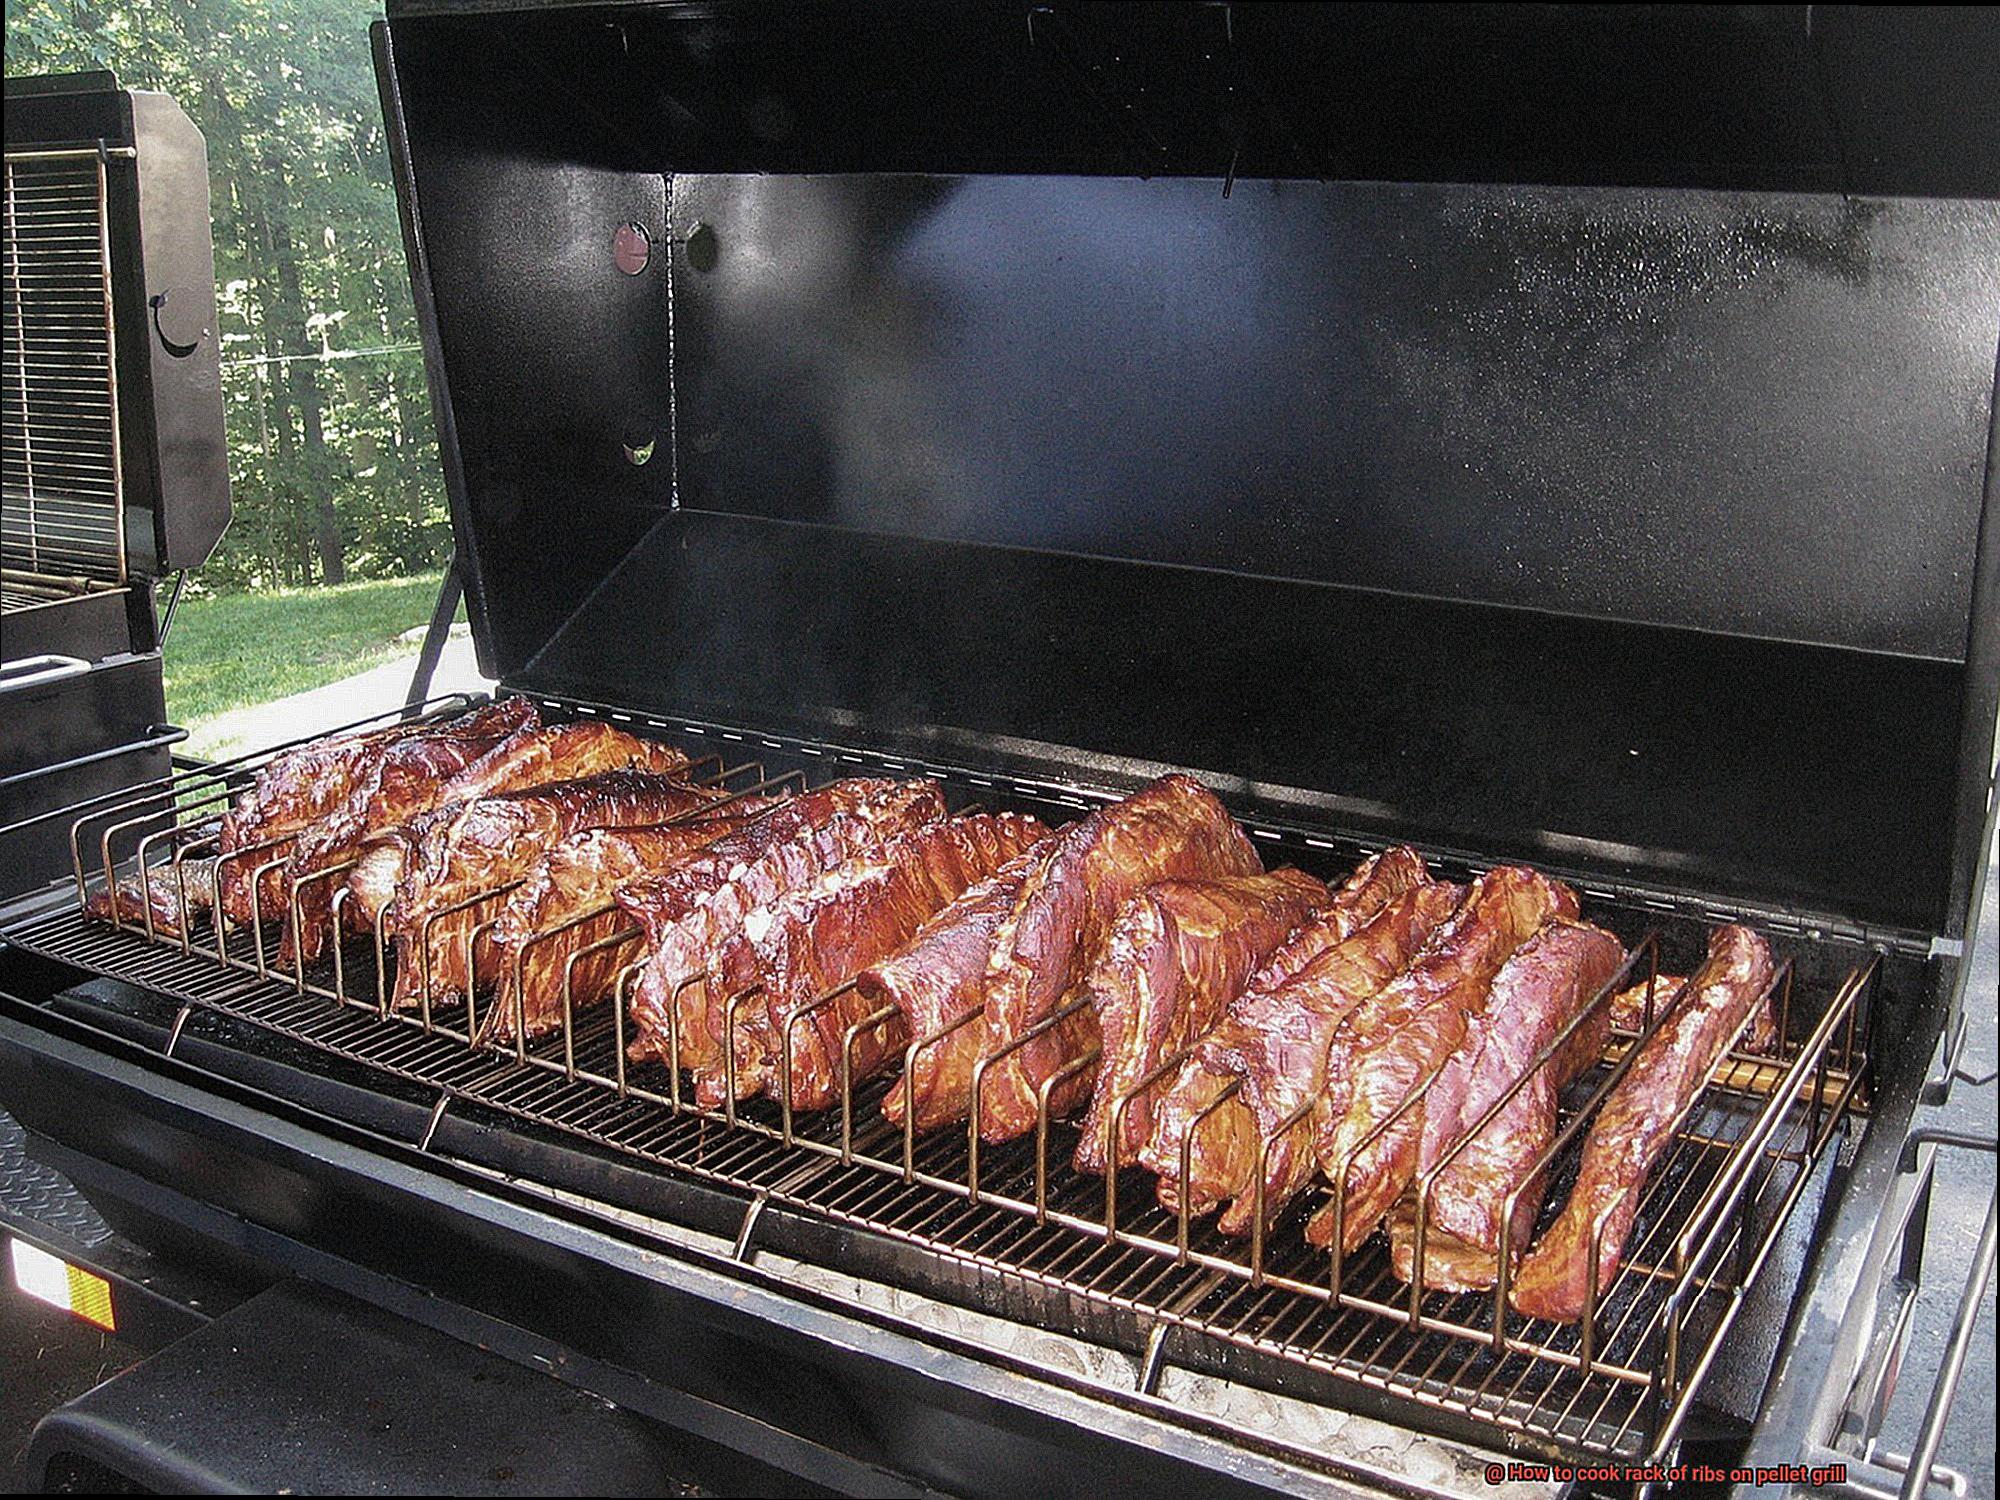
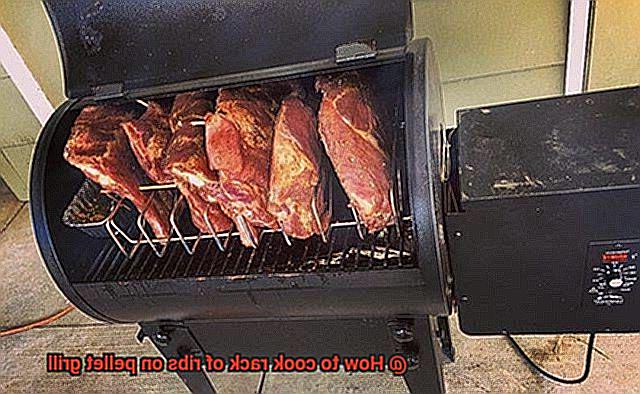
Cooking the Ribs on a Pellet Grill
Look no further than cooking ribs on a pellet grill for the most succulent and tender ribs your taste buds have ever experienced. As a seasoned expert in this art, I’m here to guide you through the process step-by-step.
First things first, choosing the right type of ribs can make or break your dish. Baby back ribs are a popular choice, but don’t be afraid to mix it up with spare ribs or St. Louis-style ribs for a meatier option. Whatever you choose, make sure they are high-quality and fresh for the best results.
Next, it’s time to prepare your ribs for their flavor journey. Remove the membrane from the back and trim any excess fat. Then, season them generously with your favorite dry rub or marinade. Don’t hold back with the seasoning – it’s what will give each bite that delectable flavor.
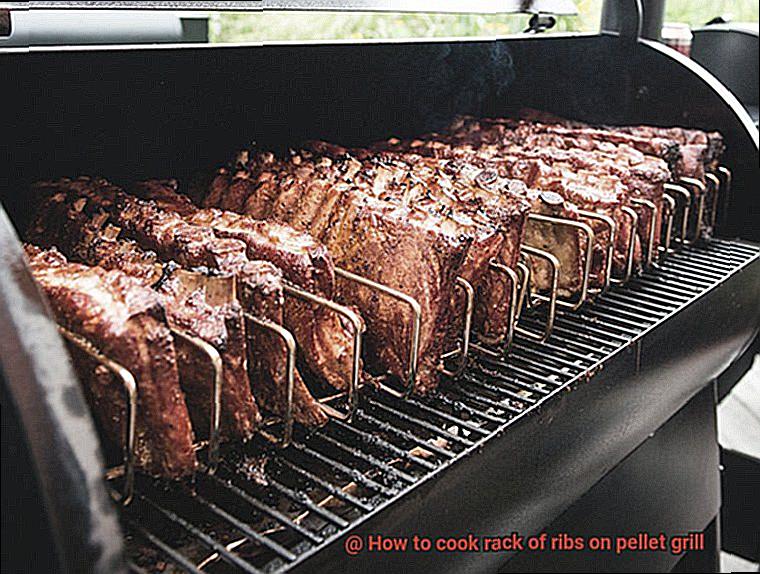
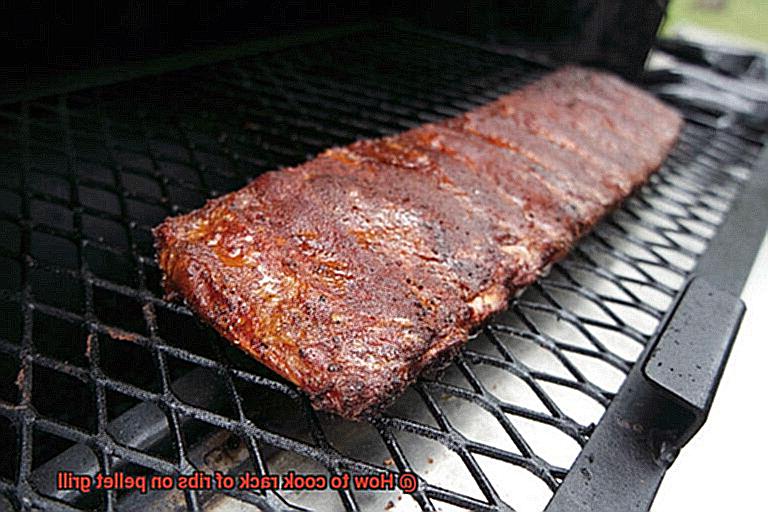
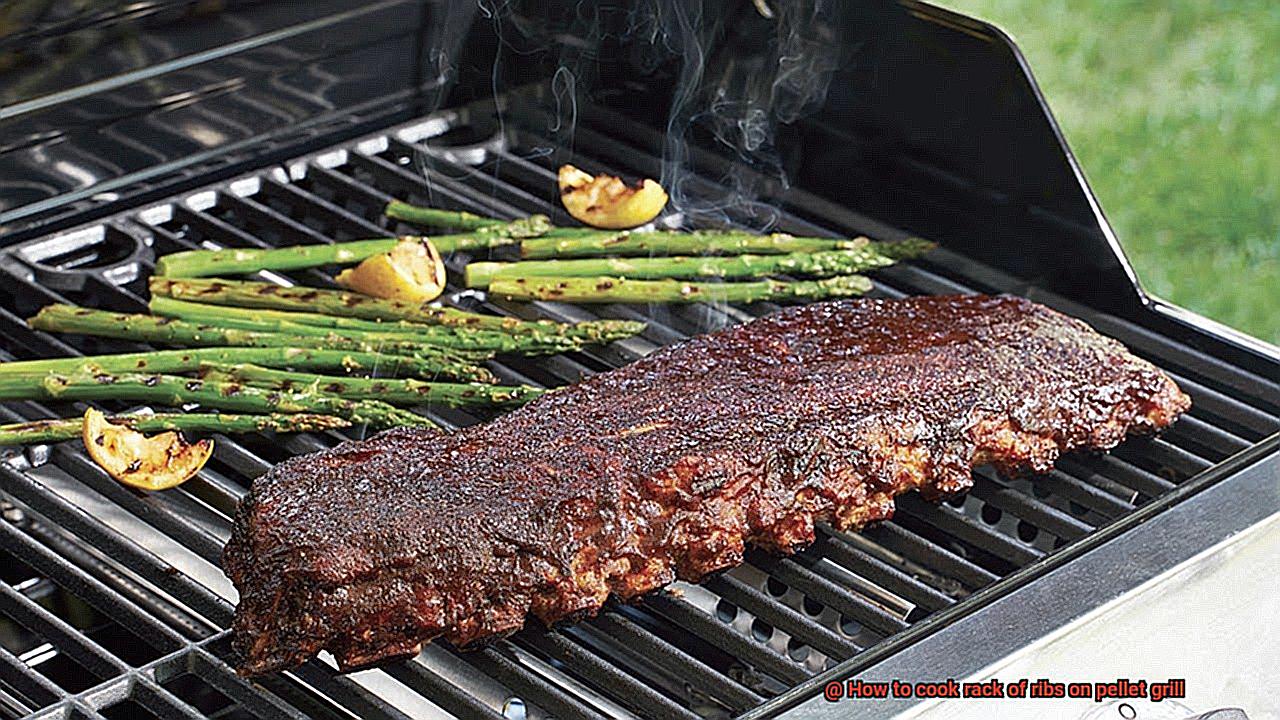
Now it’s time to ignite your pellet grill and set the temperature to 225°F. Place your seasoned ribs bone-side down on the grates and close the lid to let them cook low and slow for about 3 hours. This slow-cooking process allows the flavors to penetrate deep into the meat, creating an explosion of taste in every bite.
After 3 hours, it’s time to wrap your ribs in aluminum foil with a bit of liquid to help keep them moist. Whether you choose apple juice or beer as your liquid, this step is crucial for ensuring maximum juiciness and tenderness. Return the wrapped ribs to the grill for another 2-3 hours until they reach an internal temperature of 190°F.
Once your ribs have reached perfection, remove them from the grill with care and let them rest for 10-15 minutes before slicing and serving. Trust me when I say that these ribs will be the star of any barbecue or dinner party.
Keeping the Ribs Moist
Don’t worry, because I have the secret to keeping your ribs moist and juicy. It’s all about the right techniques and equipment.
First things first – we need to talk about the importance of a water pan. This is a simple yet effective accessory that can be placed in your pellet grill to add moisture to the cooking environment. Fill it up with hot water and place it directly beneath the ribs. As the water evaporates, it creates steam that will keep your ribs from drying out. It’s an inexpensive solution that will make a big difference in your cooking.
Next up is the “Texas crutch” technique. Wrapping your ribs in foil or butcher paper is a surefire way to trap in moisture and create a steamy environment that will keep your meat juicy. Do this about halfway through the cooking process, and wrap them tightly. This technique is used by professional pitmasters for good reason – it works like magic.
Last but not least, you need to cook your ribs at the right temperature for the right amount of time. Pellet grills are perfect for slow-cooking meats like ribs, but patience is key here. Aim for a temperature of around 225-250 degrees Fahrenheit and cook for 5-6 hours (but always check with a meat thermometer to ensure they’re cooked perfectly).
To sum it up, here are our top tips for keeping your ribs moist:
- Use a water pan to add moisture to the cooking environment.
- Wrap your ribs in foil or butcher paper using the “Texas crutch” technique.
- Cook at the right temperature for the right amount of time.
Checking Internal Temperature
One crucial step in this process is checking the internal temperature of the meat. This ensures that the ribs are cooked thoroughly and safe to eat. Don’t worry, we have got you covered with some expert tips to help you achieve perfectly cooked ribs every time.
Firstly, it’s important to note that ribs should be cooked for at least 2-3 hours and reach an internal temperature of around 160°F before starting to check the temperature regularly. This gives you a good starting point for monitoring the internal temperature.
To check the internal temperature of your ribs, you will need a meat thermometer. The proper way to use it is by inserting it into the thickest part of the meat, without touching any bones, and waiting for a few seconds until you get a reading. This gives you an accurate reading of the internal temperature.
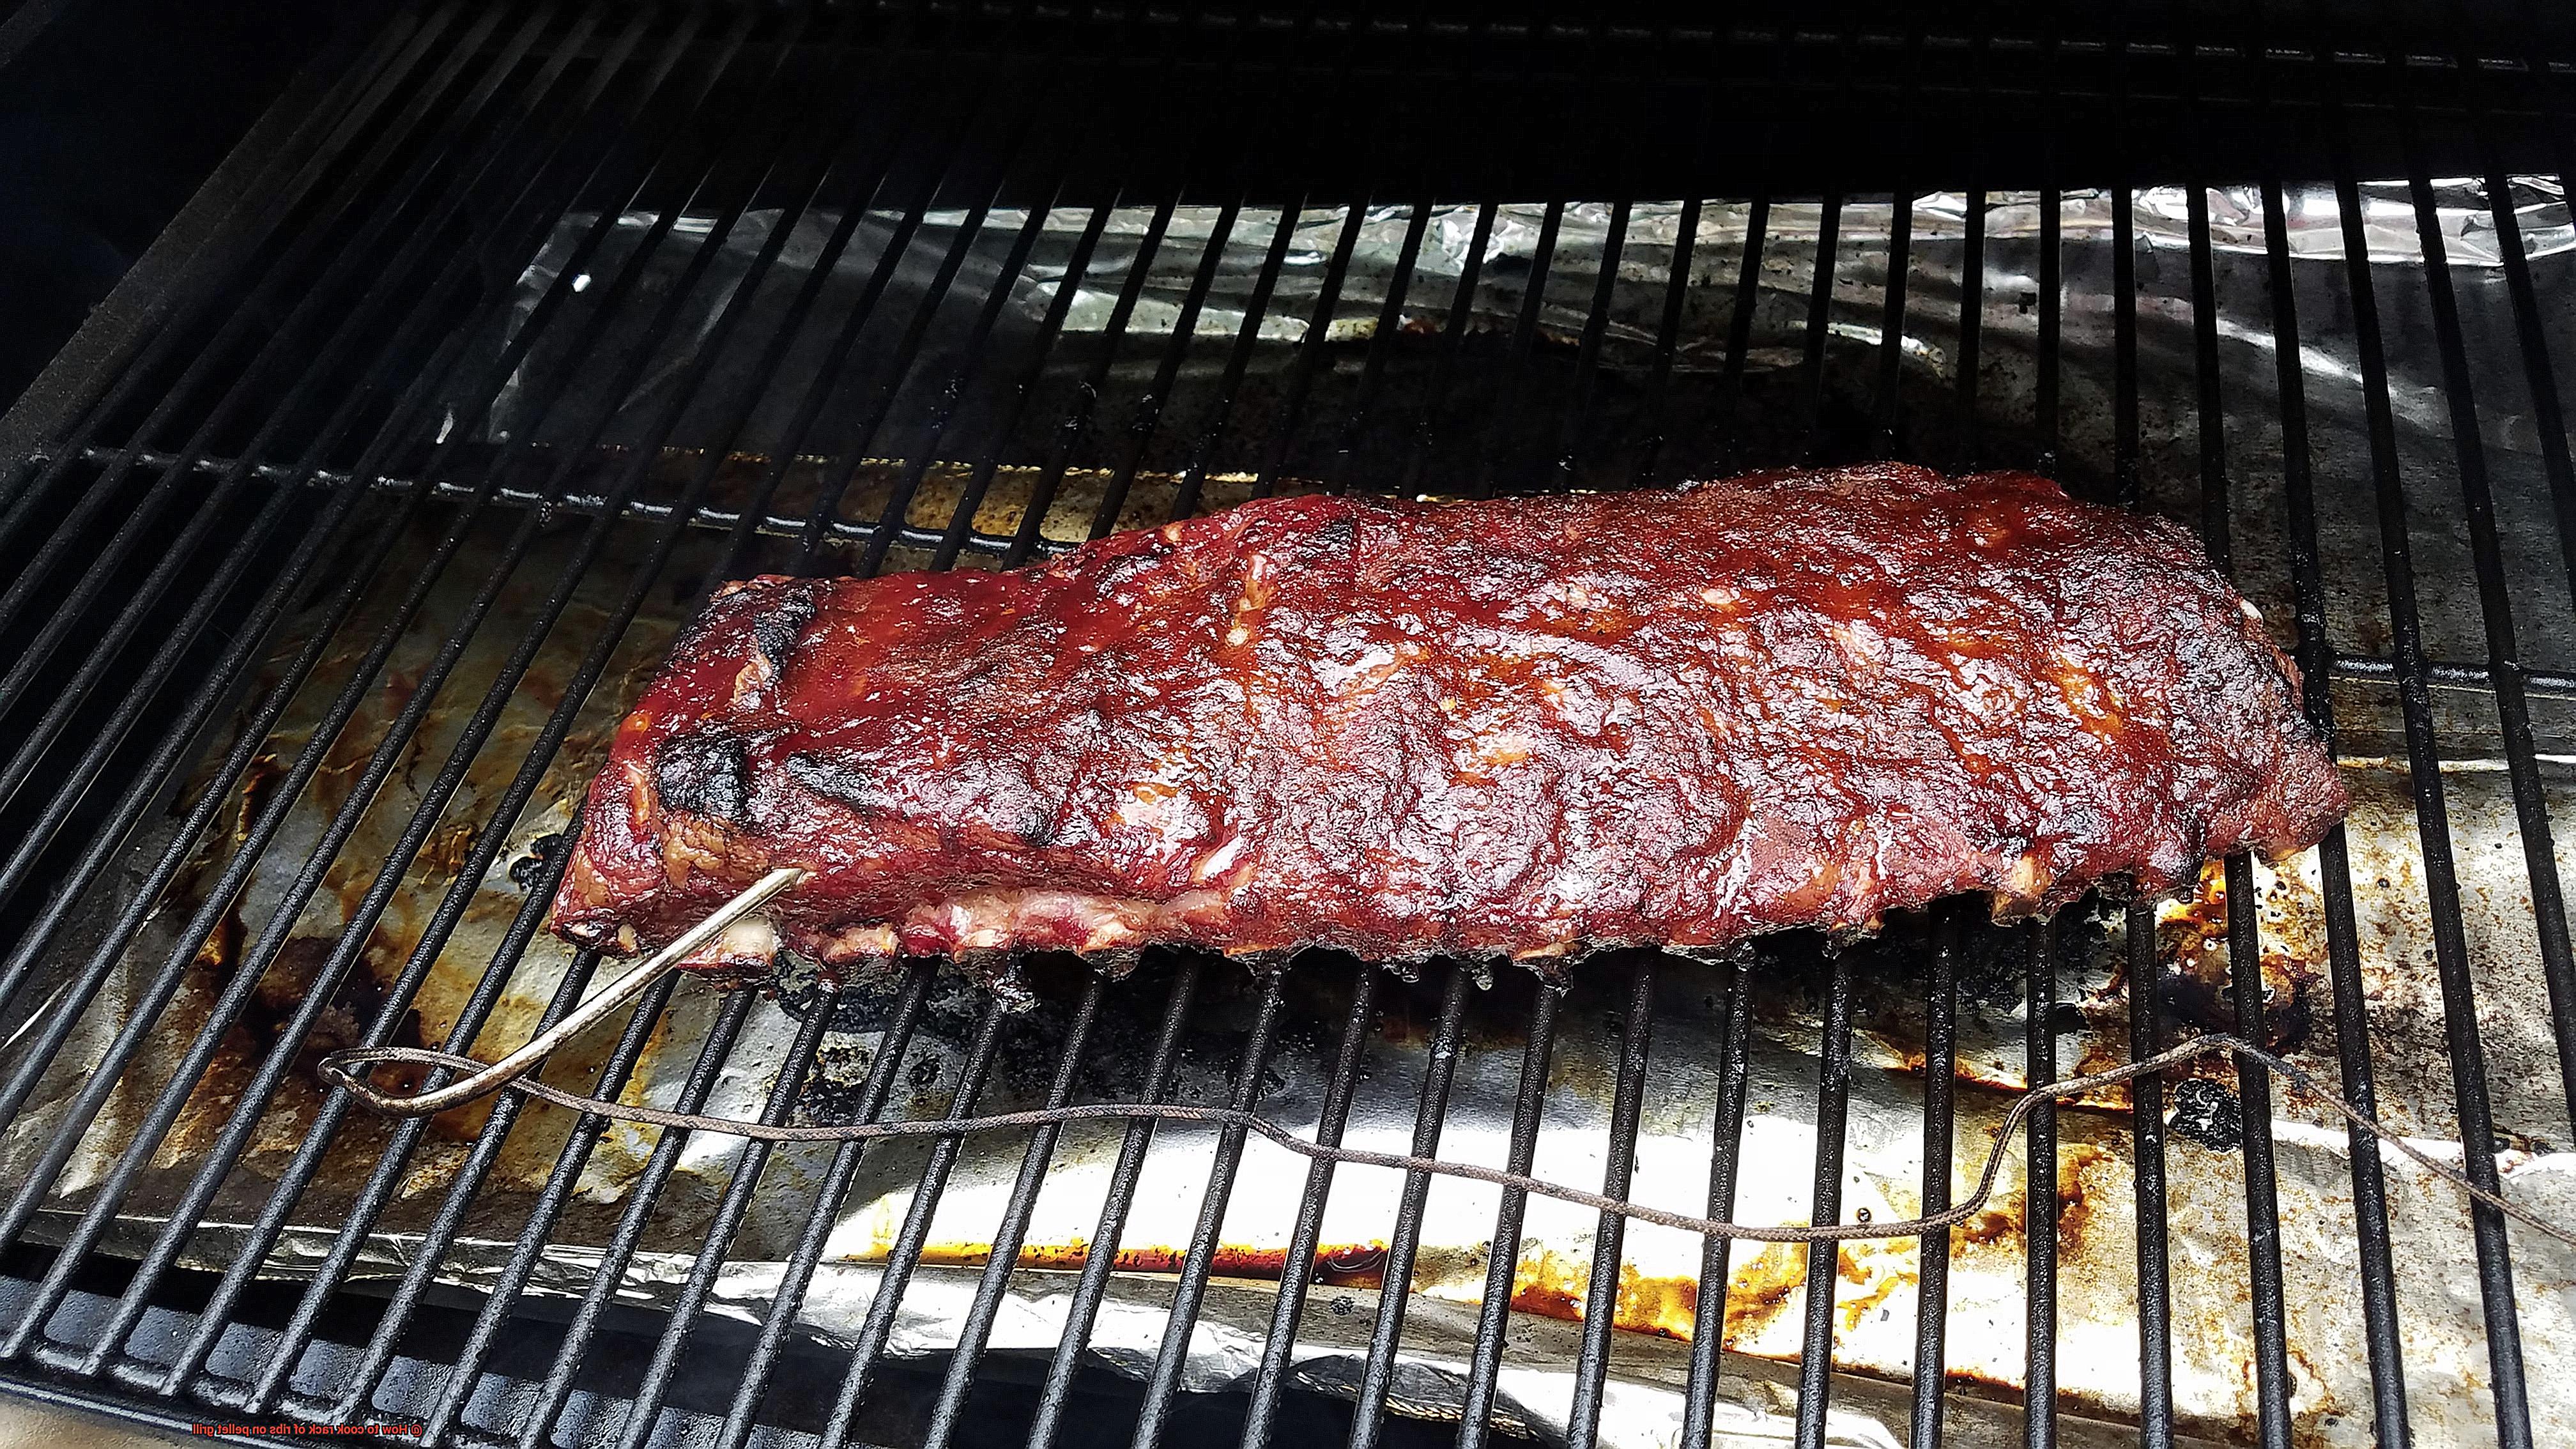
The ideal temperature range for cooked ribs is around 180-190°F. If your thermometer reads below this range, keep cooking the ribs until they reach the desired temperature. However, it’s essential to avoid opening the lid of your pellet grill frequently to check the temperature as it can cause heat loss and impact cooking time. So, investing in a wireless meat thermometer that allows you to monitor the internal temperature without opening the lid is recommended.
In summary, here are some tips to help you check the internal temperature of your rack of ribs on a pellet grill:
- Cook your ribs for at least 2-3 hours and reach an internal temperature of around 160°F before starting to check regularly.
- Use a meat thermometer by inserting it into the thickest part of the meat without touching any bones.
- Aim for an internal temperature range of 180-190°F.
- Invest in a wireless meat thermometer to monitor the internal temperature without opening the lid.
r4LIluCQmDs” >
Conclusion
In conclusion, don’t let the thought of cooking rack of ribs on a pellet grill intimidate you. With the right preparation and techniques, you can create succulent, fall-off-the-bone ribs that will tantalize your taste buds. The secret lies in selecting the right type of ribs, properly removing the membrane and trimming excess fat, generously seasoning with dry rubs or marinades, and preheating your pellet grill to 225-250°F for indirect heat and consistent temperature.
To achieve juicy and tender meat, keeping moisture during the cooking process is vital. You can add moisture to the cooking environment by using a water pan or wrap your ribs in foil or butcher paper using the “Texas crutch” technique. Don’t forget to regularly check internal temperature with a meat thermometer to ensure that your ribs are thoroughly cooked and safe to eat.
By following these essential steps and tips, you’ll be able to cook mouth-watering rack of ribs on a pellet grill that will leave everyone wanting more.