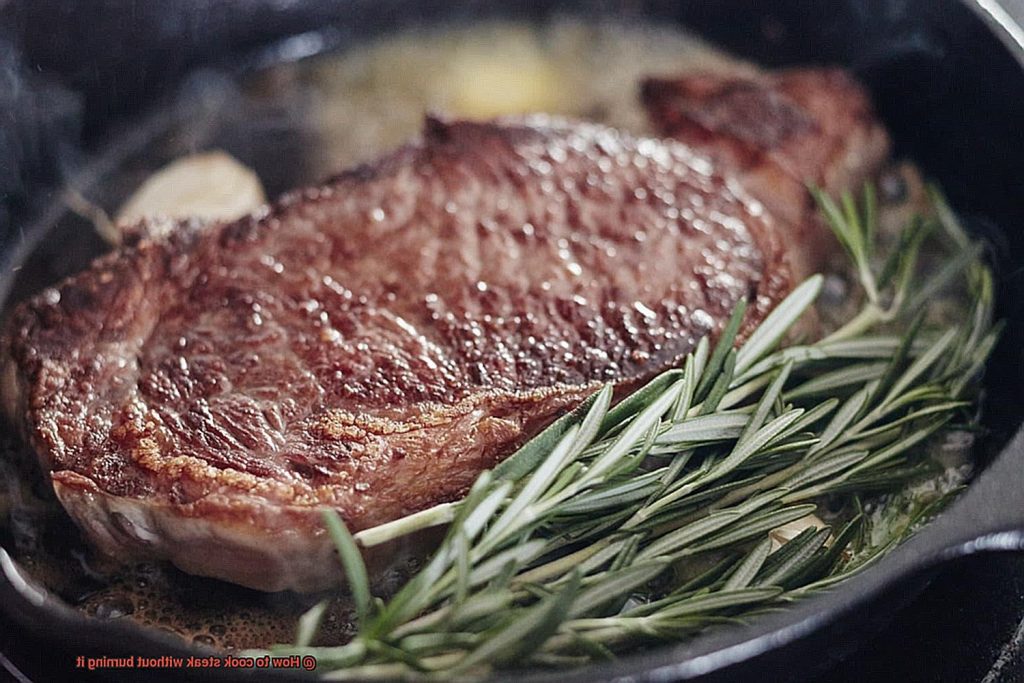
Are you tired of watching your steak turn into a charred mess every time you cook it? Do you crave the taste of a succulent, juicy steak without having to leave your own kitchen? Look no further. Cooking steak can be a challenge, but with my expert tips, you’ll be able to cook the perfect steak without any burning mishaps.
Choosing the right cut of meat is crucial. Some cuts are more prone to burning than others, so it’s important to select one that’s suitable for your cooking style. Additionally, allowing your steak to reach room temperature before cooking will ensure even cooking throughout.
Seasoning is another key factor in achieving mouth-watering flavor. Don’t be afraid to get creative with herbs and spices – they can make all the difference.
However, timing and heat control are ultimately what will determine whether or not your steak is cooked to perfection. By using the right cooking method and technique, you’ll achieve just the right level of doneness without any burnt edges.
Finally, let your steak rest before slicing into it. This allows the juices to redistribute within the meat, resulting in an even juicier and more flavorful bite.
With these tips under your belt, you’re well on your way to becoming a true steak master. Say goodbye to burnt steaks and hello to restaurant-quality meals from your own kitchen.
Contents
Choosing the Right Cut of Steak
The secret to a perfectly cooked steak lies in choosing the right cut. The thickness and marbling of the steak play a critical role in cooking time and temperature, ultimately determining whether or not it will be burnt.
If you want to avoid overcooked, dry meat, then the ribeye is your go-to cut. With its generous amount of fat marbling, this cut stays moist and tender while cooking. Its thickness allows for a longer cooking time, reducing the risk of burning. Plus, that fat is where all the flavor lives.
On the other hand, if you prefer a leaner cut, the filet mignon is an excellent choice. While it has less fat than the ribeye, it still has enough to keep it moist during cooking. Its smaller size also means it cooks faster, reducing the risk of burning.
For those looking for a balance between lean and fatty cuts, the sirloin is a good option. It has less fat than the ribeye and filet mignon but still has enough marbling to keep it moist while cooking. Its thickness also allows for longer cooking times without burning.
However, not all cuts are created equal when it comes to avoiding burn marks. Thinner cuts like flank or skirt steak require quick cooking methods like grilling or stir-frying to prevent burning. Cooked for too long or at too high of a heat, these cuts can quickly become charred.
In addition to selecting the right cut, some simple steps can ensure a perfectly seared steak without burning. Proper seasoning with salt and pepper before cooking enhances the natural flavors of the meat and creates a delicious crust when searing. Preheating your pan or grill to a high temperature before adding the steak ensures even and quick cooking.
But most importantly, resist the urge to constantly flip or move the steak around in the pan while cooking. This can cause uneven cooking and may result in burnt spots. Let the steak cook undisturbed for a few minutes on each side before flipping it once. And don’t forget to use a meat thermometer to check the internal temperature of the steak to ensure desired doneness.
Seasoning the Steak
Fear not. As an expert in the field, I’m here to share with you the secret to seasoning your steak for maximum tastiness and juiciness.
First things first, before seasoning your steak, let it sit at room temperature. This helps it cook evenly and ensures that the seasoning penetrates the meat properly. Now, there are many ways to season a steak, but the most popular method is to use a blend of salt, pepper, and garlic powder. The salt draws out the moisture from the steak while the pepper and garlic add an extra burst of flavor.
Another approach is to marinate your steak for several hours before cooking. This involves mixing oil, vinegar, herbs, and spices in a bowl and letting the steak soak in it. Not only does this add flavor, but it also tenderizes the meat.
Whichever method you choose, make sure to apply the seasoning evenly on both sides of the steak. However, avoid over-seasoning as this can overpower the natural flavor of the meat.
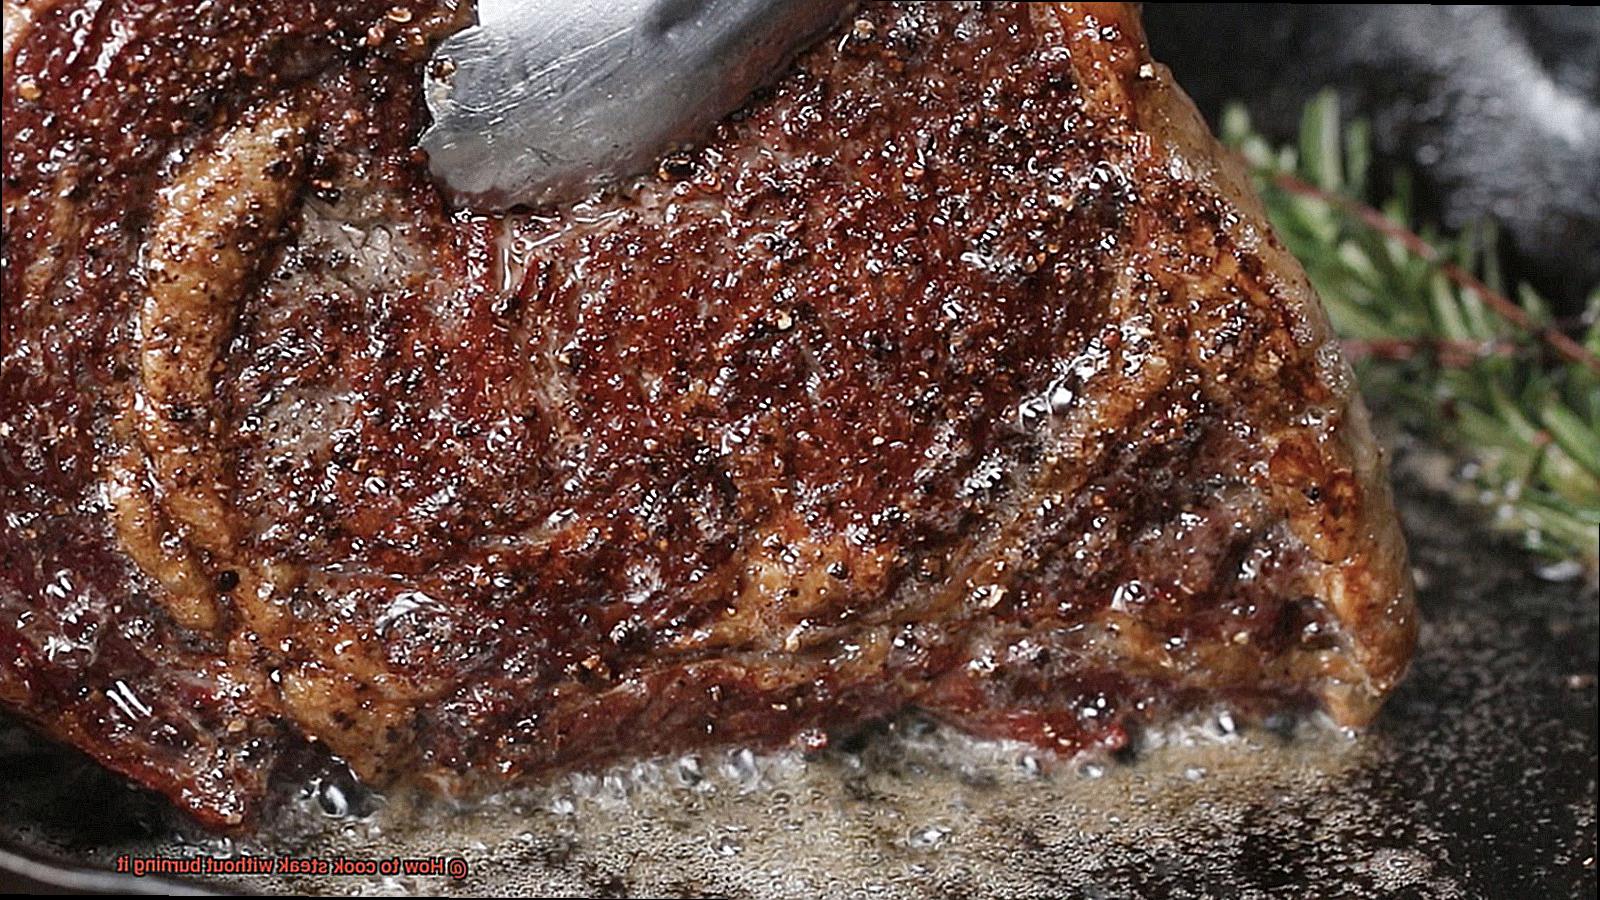
Once you’ve seasoned your steak, let it rest for at least 30 minutes before cooking. This allows the seasoning to penetrate the meat and enhances its flavor. Pro tip: pat it dry with a paper towel to remove any excess moisture before cooking.
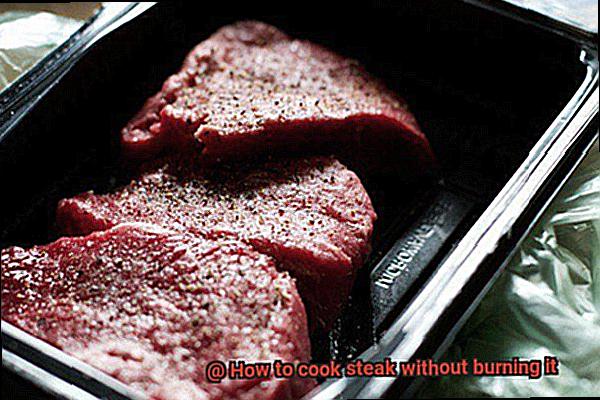
In summary, seasoning your steak is crucial in achieving a delicious and juicy result. Whether you prefer a simple salt and pepper blend or a flavorful marinade, make sure to apply the seasoning evenly and allow it to rest before cooking. With these tips in mind, you’ll be able to impress your dinner guests with perfectly seasoned steaks every time.
Preheating the Pan or Grill
If you’re looking to elevate your steak game, it’s essential to master the art of preheating your pan or grill. Without a properly preheated surface, your steak could end up with uneven cooking and burnt spots. So let’s dive into some tips and tricks for preheating like a pro.
To start, set your heat source to medium-high heat and allow your pan or grill to heat up for at least 5-10 minutes before adding the steak. This will ensure that the surface is hot enough to sear the steak properly while also distributing heat evenly.
Choosing the right type of pan or grill is also important. A heavy-bottomed cast-iron skillet or a grill with thick grates will retain heat better and provide a more even cooking surface. Avoid using thin or lightweight pans and grills as they can heat unevenly and cause your steak to burn.
Once your pan or grill is preheated, it’s time to add your steak. Use tongs to carefully place the seasoned steak onto the hot surface and let it cook for a few minutes on each side, depending on how thick your steak is and how well-done you like it.
Remember, preheating your pan or grill is essential in achieving that perfect sear on your steak. The result? A delicious caramelized crust while maintaining a juicy and tender center that’ll impress even the pickiest of eaters.
Mastering the art of preheating can make all the difference in achieving the perfect steak.
Avoid Constantly Flipping the Steak
Well, it’s time to put an end to all that frustration and cook your steak like a pro.
One of the biggest mistakes people make when cooking steak is flipping it too often. Constantly turning the steak causes it to cook unevenly, resulting in a burnt exterior and an undercooked interior. To avoid this disaster, let your steak cook on one side for several minutes before flipping it once. This will allow a delicious sear to form on the exterior of the steak while locking in all those mouth-watering juices.
Another mistake many people make is pressing down on the steak while it’s cooking. Resist that urge. Pressing down on the steak causes those precious juices to escape, resulting in a dry and overcooked piece of meat. So, let your steak cook undisturbed until it’s time to flip it over.
Lastly, adjusting the heat as needed can be crucial in preventing burnt steak. If the heat is too high, the exterior of the steak will cook too quickly, resulting in a burnt crust. And if the heat is too low, your steak won’t sear properly, leaving it looking bland and unappetizing. Therefore, make sure you adjust the heat as needed throughout the cooking process to ensure even cooking and a perfectly seared exterior.
Think of cooking a steak like creating a work of art. You wouldn’t constantly move your brush back and forth over your canvas or press down too hard, would you? No, you’d let each layer dry before adding another one. Similarly, let your steak cook on one side before flipping it once and adjusting the heat as needed.
Cooking Time and Temperature
Cooking a mouth-watering steak is like creating a masterpiece. And just like any artist, you need to have the right tools and techniques to create a dish that will make your taste buds sing. One of the most critical factors in this process is cooking time and temperature.
Think of it like baking a cake. If you take it out too early or leave it in too long, it won’t turn out the way you want it to. The same goes for steak – cooking it at the right temperature for the right amount of time is crucial for achieving that juicy, flavorful perfection.
So, what’s the ideal temperature for cooking steak? The sweet spot is between 130°F and 140°F, depending on how rare or well-done you prefer your meat. But how do you hit this sweet spot without overcooking your steak? The answer is to use a meat thermometer. This nifty tool lets you monitor the temperature of your steak as it cooks, ensuring that you take it off the heat at just the right moment.
Cooking time is also important, and this will depend on the thickness of your steak. For instance, a one-inch-thick steak should be cooked for about 4-5 minutes per side for medium-rare doneness. Thicker cuts will require longer cooking times, while thin ones will require less time on the grill or stovetop.
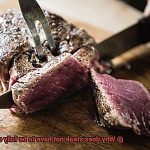
But hold on, don’t slice into that juicy-looking steak just yet. Letting it rest for a few minutes before serving is crucial. This allows the juices to redistribute within the meat, resulting in a tastier and more flavorful steak that will surely impress your guests.
Cooking time and temperature are essential factors to consider when cooking steak. Using a meat thermometer, cooking at the right temperature, and allowing the steak to rest after cooking are all crucial steps to creating a perfectly cooked, juicy, and flavorful steak that will have everyone at the table asking for seconds.
Internal Temperature Check with a Meat Thermometer
Cooking the perfect steak is an art form that requires precision and the right tools. Just like a painter needs their brush, a cook needs their meat thermometer to ensure that their steak is cooked to perfection. The internal temperature of the steak determines its level of doneness, which can range from rare to well-done. That’s why using a meat thermometer is essential when cooking steak.
To use a meat thermometer properly, insert it into the thickest part of the steak, avoiding any bones or fat. This will give you the most accurate reading. It’s important to ensure that the thermometer doesn’t touch any bones or the pan, as this can give inaccurate readings.
Once you’ve taken these precautions, take the temperature reading after removing the steak from the heat source. For rare steak, aim for an internal temperature between 120-130°F; for medium-rare, shoot for between 130-135°F; for medium, aim for between 135-145°F; for medium-well, aim for between 145-155°F, and for those who love well-done steak, aim for an internal temperature above 155°F.
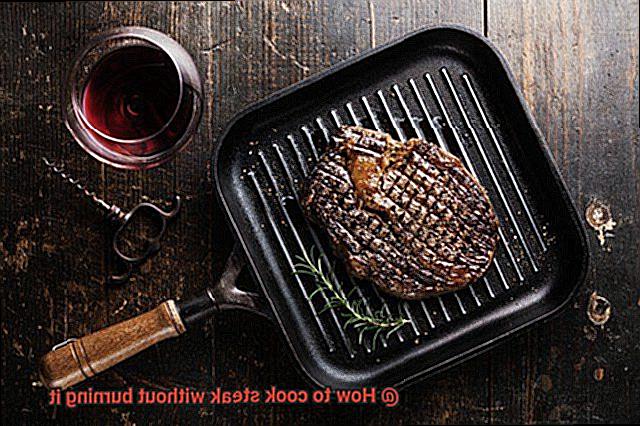
But beware that carry-over cooking can raise the temperature by a few degrees even after you’ve removed the steak from the heat source. Therefore, it’s best to remove the steak from the heat when it’s slightly below your desired level of doneness to allow for this carry-over cooking.
By using a meat thermometer to check the internal temperature of your steak, you can ensure that it’s cooked to perfection without burning it. With practice and attention to detail, you’ll soon be able to cook steaks that are juicy and flavorful every time – just like a masterpiece on a canvas.
Letting the Steak Rest Before Slicing and Serving
Cooking a steak to perfection is an art that requires attention to detail. A little-known secret to achieving a juicy and flavorful steak is letting it rest before slicing and serving. As an expert, I can attest to the importance of this step in creating a memorable dining experience.
Imagine creating a beautiful painting with a brush that’s too stiff, causing the paint to clump and smear. In the same way, cutting into a steak immediately after cooking it will cause all the precious juices to spill out, leaving you with a dry and tough steak. Letting your steak rest is like using a soft brush, allowing the juices to redistribute throughout the meat, resulting in a tender and flavorful steak.
The amount of time you let your steak rest depends on its thickness. A general rule of thumb is to rest a 1-inch thick steak for at least 5 minutes and a 2-inch thick steak for 10-15 minutes. During this time, keep the steak warm by tenting it loosely with aluminum foil.
But don’t let your steak get cold during the resting period. You can place it in a warm oven (around 200°F) for a few minutes until you’re ready to serve.
Taking the time to let your steak rest before slicing and serving is an easy step that yields big rewards. Just like using a soft brush creates a beautiful painting, letting your steak rest creates an unforgettable dining experience.
Practice and Experimentation for Perfection
But don’t be fooled, it takes practice and experimentation to achieve that level of culinary prowess.
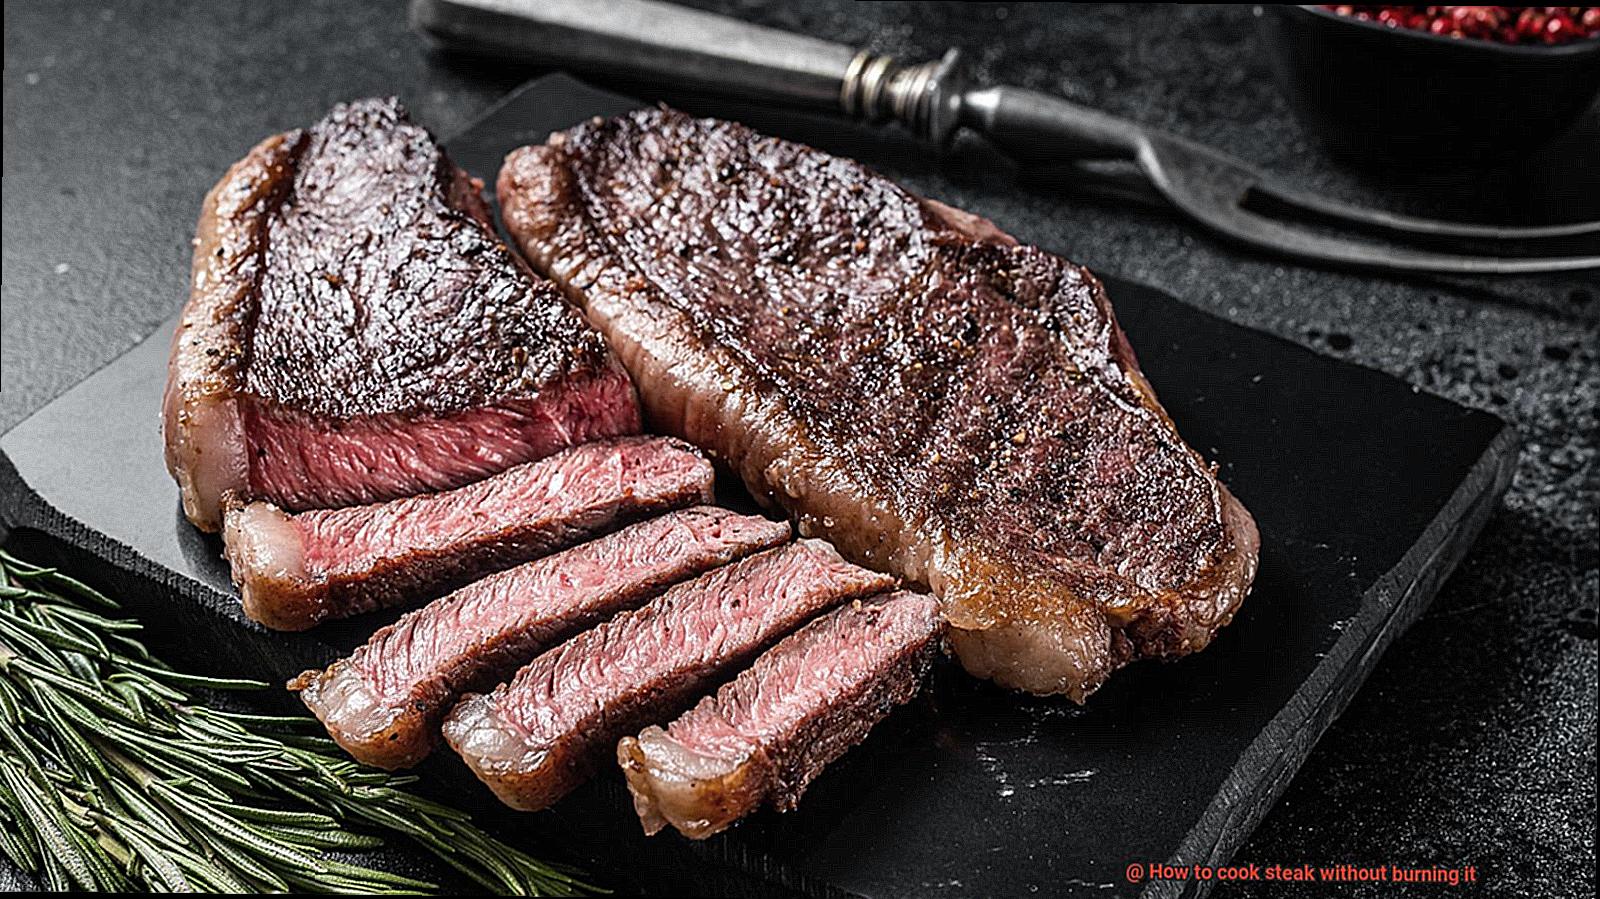
The first step towards the perfect steak is selecting the right cut of meat and seasoning it well. But that’s just the beginning. The key is to pay close attention to the temperature of your grill or pan and experiment with different cooking methods and temperatures until you find what works best for you.
Maybe you’re a fan of searing your steaks on high heat for a short amount of time, or perhaps you prefer the slow-cooked approach? Whatever your preference, remember that thickness matters. Adjust your cooking time accordingly based on the thickness of your cut of meat.
To ensure that your steak is cooked to perfection, use a meat thermometer to check the internal temperature. This little gadget will help avoid burning the outside while making sure it’s cooked to your desired level of doneness.
Don’t be afraid to ask for feedback from others or try out new recipes and techniques.
Cooking is an art form, and like any art, it requires practice and experimentation.
Try out new seasonings or marinades, test out different cooking times and temperatures.
Conclusion
In conclusion, cooking a delicious steak requires attention to detail and a willingness to experiment with different techniques. First, start by selecting the right cut of meat and seasoning it well. Be sure to preheat your pan or grill properly and avoid constantly flipping the steak while cooking. Remember, timing and heat control are essential in achieving the desired level of doneness without burning the steak.
Don’t forget to use a meat thermometer to check the internal temperature for that perfectly cooked steak. And after you’ve cooked it to perfection, let your steak rest before slicing and serving. This will allow the juices to redistribute throughout the meat, resulting in a tender and flavorful dish.
Cooking a mouth-watering steak is like creating a masterpiece – precision is key. But with practice and experimentation, anyone can become an expert at cooking steaks that are juicy, flavorful, and perfectly cooked every time.
So go ahead, choose your favorite cut of meat, get creative with seasonings and marinades, and start experimenting until you find what works best for you.

