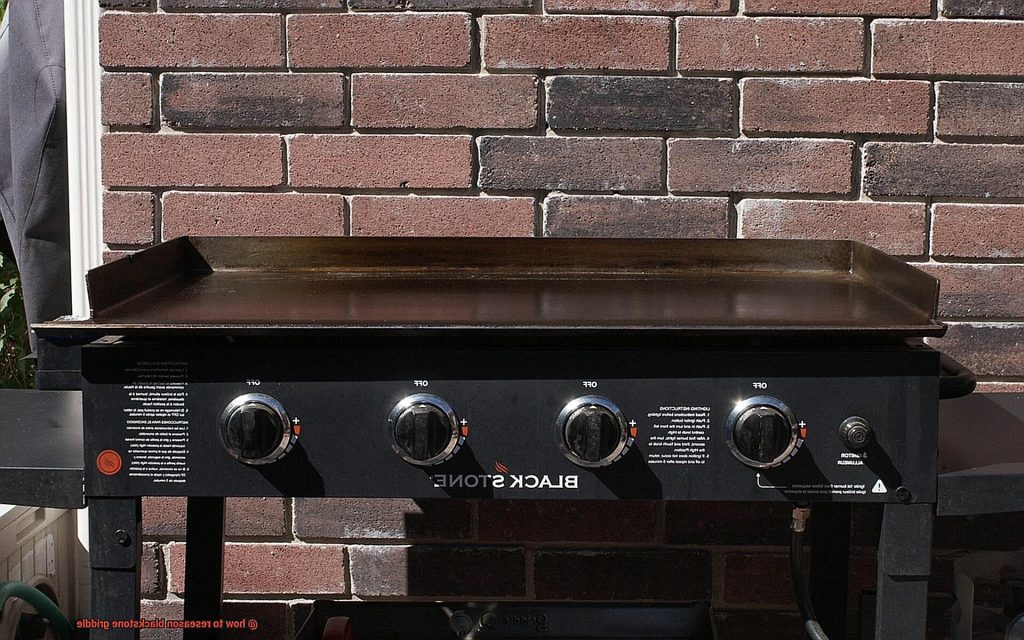
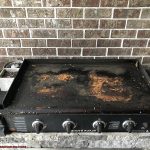
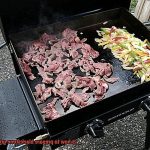
Are you a grill master who’s always on the lookout for new cooking techniques? Do you have a Blackstone griddle that’s been gathering dust because it’s lost its seasoning? If yes, don’t worry. This blog post will guide you through the process of reseasoning your Blackstone griddle and getting it back to its former glory.
The Blackstone griddle is a top-of-the-line grill that can handle any outdoor cooking challenge. Whether you’re searing steaks, frying eggs, or whipping up some pancakes, a well-seasoned Blackstone griddle is an indispensable tool in your culinary arsenal. However, if you haven’t used your griddle in a while, you may notice some rust and stickiness. But fear not. With a little elbow grease and our expert tips, your Blackstone griddle will be as good as new.
In this post, we’ll walk you through every step of the reseasoning process – from cleaning the griddle to applying oil and heat. We’ll also share some insider secrets to ensure that your Blackstone griddle stays non-stick and rust-free for years to come. So grab your cleaning supplies and let’s get started on restoring your Blackstone griddle.
Contents
What is Re-seasoning a Blackstone Griddle?
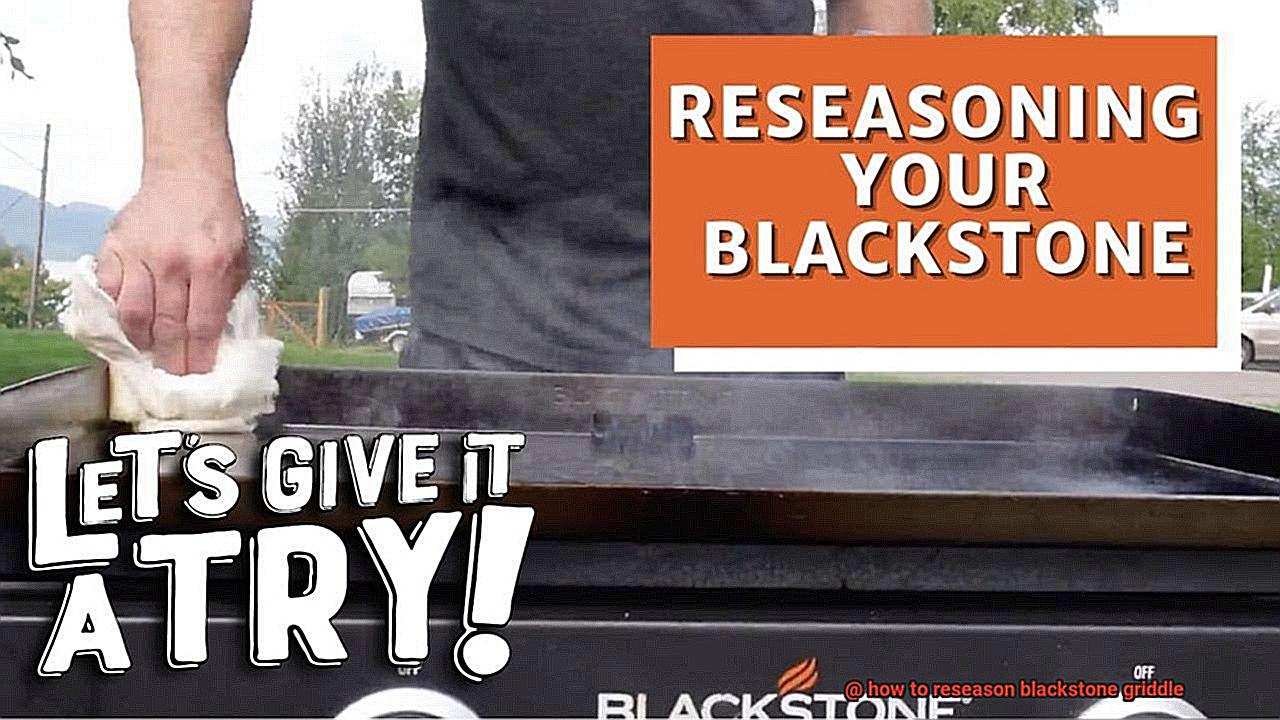
Re-seasoning your griddle is an essential task that will help keep it in tip-top condition and ensure your food cooks evenly without sticking.
Re-seasoning your Blackstone Griddle involves restoring the non-stick coating on the surface that may wear off over time due to regular use, harsh cleaning methods, or exposure to high temperatures. When the seasoning wears off, food may stick to the griddle surface, making it challenging to cook and clean.
To begin re-seasoning your Blackstone Griddle, follow these simple steps:
- Clean the surface thoroughly: Start by scraping off any leftover food debris with a scraper or spatula, then wipe the surface with a damp cloth. Avoid using soap or harsh chemicals as this can strip away the seasoning.
- Apply a thin layer of oil: Any type of cooking oil can be used, but flaxseed oil is often recommended for its ability to create a durable polymerized coating. Use a paper towel to spread the oil evenly across the griddle surface.
- Heat it up: After applying the oil, turn on the heat and let the griddle heat up until it starts to smoke. This process will bond the oil to the surface and create a non-stick layer. You may need to repeat this process several times depending on the condition of your griddle.
- Maintain it properly: After seasoning your Blackstone Griddle, make sure to maintain it correctly by scraping off any food debris after cooking and wiping down the surface with a damp cloth. Avoid using soap or harsh chemicals as this will strip away the seasoning.
Why is Re-seasoning a Blackstone Griddle Necessary?
Re-seasoning is a crucial step in maintaining the quality and longevity of your Blackstone griddle. Regular use can cause oils and other residues to build up on the surface, making it sticky and tough to clean. By re-seasoning, you create a layer of polymerized oil that restores the non-stick properties and makes cleaning a breeze.
But that’s not all – re-seasoning also protects your griddle from rust and corrosion. The oil used in seasoning creates a barrier between the metal surface of the griddle and any moisture that may come in contact with it, preventing rust from forming.
In addition to this, re-seasoning helps to eliminate any unwanted flavors or odors that may have been absorbed by the cooking surface over time. This gives you a fresh start for your next cookout without any lingering tastes or scents.
To sum it up, re-seasoning your Blackstone griddle is necessary to maintain its non-stick properties, protect it from rust and corrosion, and eliminate any unwanted flavors or odors. By following the proper steps for re-seasoning, you can prolong the life of your griddle and ensure that every cookout is a success.
How to Clean the Surface of the Griddle?
If you’re planning on reseasoning your Blackstone griddle, cleaning the surface is the first crucial step. Here are five sub-sections to help you get your griddle clean and ready for seasoning.
Preheat the Griddle
To begin with, preheat your griddle on high for 10-15 minutes. This will help loosen any stubborn food particles or grease on the surface.
Remove Large Debris
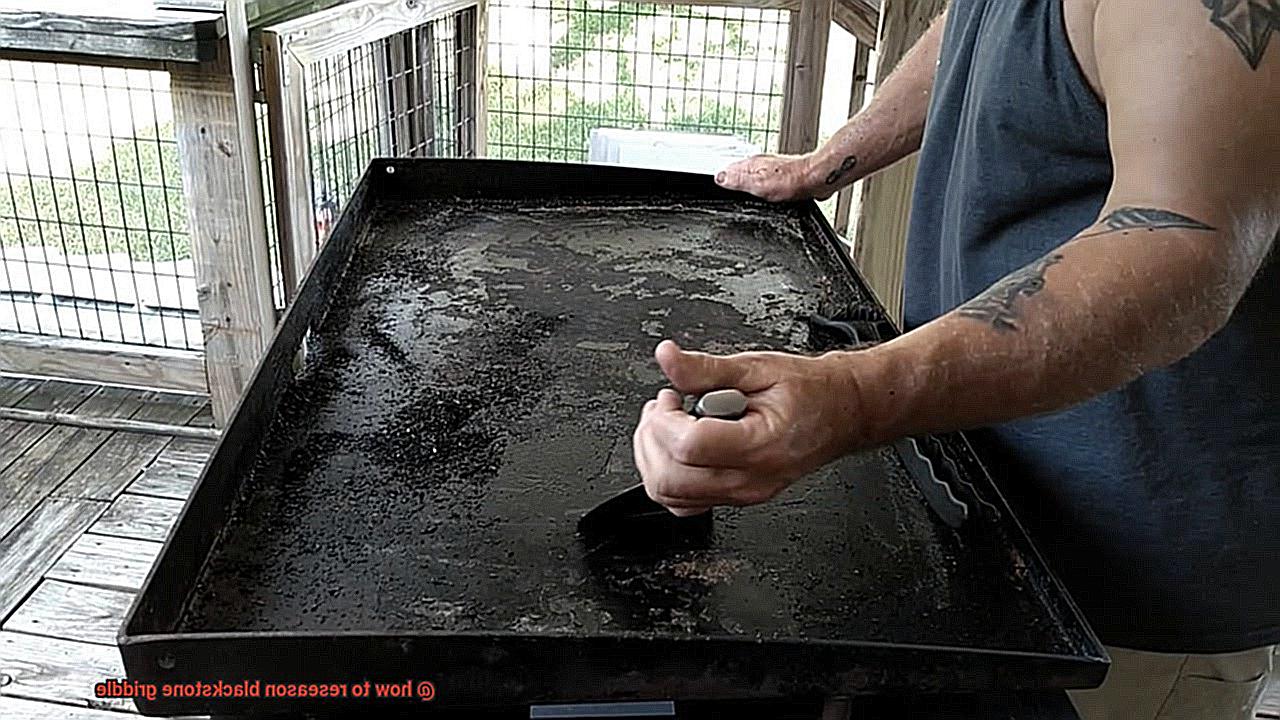
Once the surface is hot, use a scraper or spatula to remove any large debris from the surface. Make sure to be gentle and not scrape too hard, causing damage to the griddle.
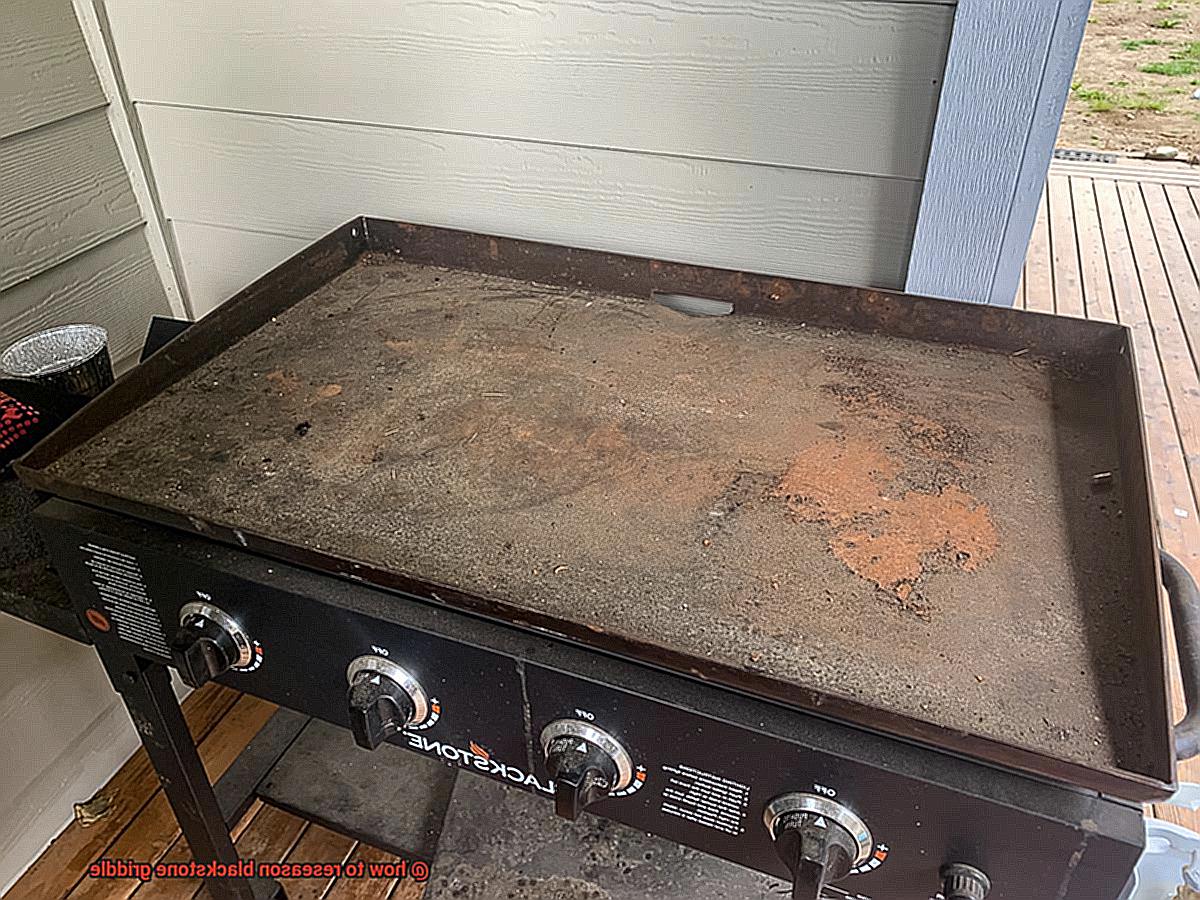
Scrub with Coarse Salt
For effective cleaning, sprinkle a generous amount of coarse salt onto the griddle surface. Then, use a paper towel or cloth to scrub in circular motions. The salt acts as an abrasive and helps remove any remaining food particles and grease.
Wipe Down the Surface
After scrubbing, wipe down the surface with a clean cloth or paper towel to remove any excess salt and debris. If there are any stubborn stains or rust spots, use a mixture of water and vinegar (1:1 ratio) to clean the surface. Apply the solution onto the spot and let it sit for a few minutes before scrubbing with a cloth or paper towel.
Dry Thoroughly
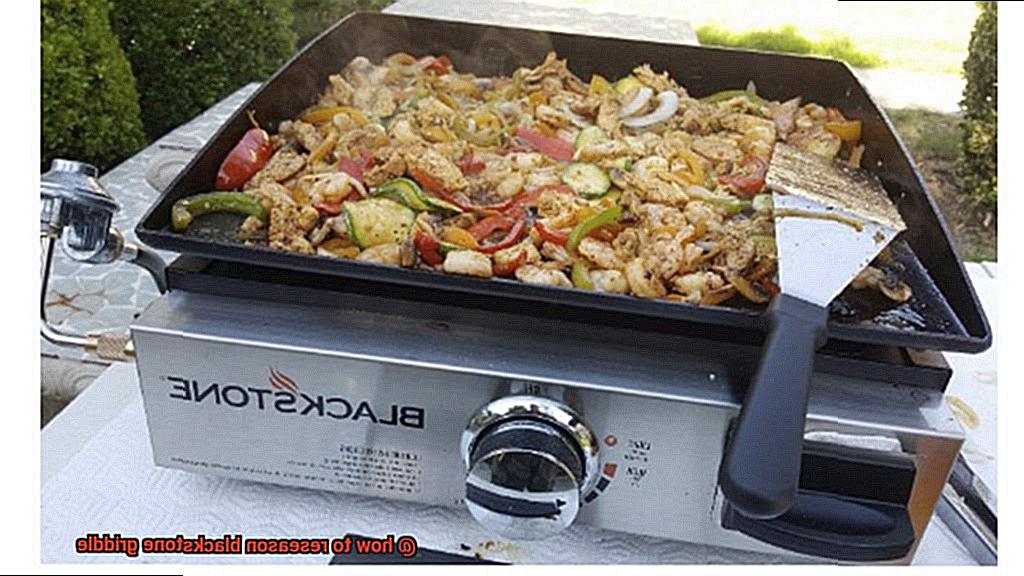
Once your griddle is clean, it’s crucial to dry it thoroughly with a clean towel or paper towel. Any excess moisture can cause rusting or damage to the surface.
It’s important to note that you should never use soap or harsh chemicals to clean the surface as it can strip away the seasoning and damage the griddle. Instead, follow these simple steps for effective cleaning before reseasoning your Blackstone griddle.
What Type of Oil Should be Used for Re-seasoning?
You may be wondering what type of oil to use to achieve the best results. Fear not because we have compiled some valuable information to help guide you in your quest for the perfect seasoning.
First and foremost, it’s crucial to select the right oil because it can significantly impact the quality of your seasoning and the taste of your food. The top three oils recommended for re-seasoning a Blackstone griddle are flaxseed oil, vegetable oil, and canola oil.
Flaxseed oil is a popular choice among many griddle enthusiasts because it creates a hard and durable seasoning that can withstand high heat. However, it can be more expensive and harder to find in stores than other options.
If you’re looking for a more affordable and widely available choice, vegetable oil and canola oil are excellent options. They both produce a good seasoning but might not be as durable as flaxseed oil, which means they may require more frequent reapplication.
It’s important to note that oils with low smoke points, such as olive oil or butter, should be avoided. These oils can burn easily and create a sticky residue on your griddle, ruining all your hard work.
Before applying any oil, ensure that your griddle is clean and dry. Use a paper towel or cloth to apply a thin layer of oil to the entire surface of the griddle. Heat the griddle on high for approximately 30 minutes to allow the oil to bond with the metal and create a protective layer of seasoning.
How to Apply the Oil and Heat the Griddle?
The first step in reseasoning your griddle is applying oil and heating it properly. Here are five sub-sections to guide you through the process.
Choose the Right Oil
To start, choose the right oil for the job. Flaxseed oil is recommended because it has a high smoke point and can withstand high temperatures, but vegetable oil or canola oil will also work. Apply a thin layer of oil onto the griddle surface using a paper towel or brush, making sure to cover the entire surface evenly.
Heat the Griddle
Next, turn on the heat to high and let it heat up for about 15-20 minutes. This allows the oil to bond with the griddle surface, creating a non-stick layer that will prevent food from sticking. During this process, you may notice some smoke or fumes coming from the griddle. This is normal and indicates that the oil is bonding with the surface.
Repeat Process 2-3 Times
After heating the griddle for 15-20 minutes, turn off the heat and let it cool down completely. Once it has cooled down, repeat this process 2-3 more times, applying a thin layer of oil each time and heating it up for 15-20 minutes. This will ensure that your griddle is well-seasoned and ready for cooking.
Maintain Your Griddle
After reseasoning your Blackstone Griddle, it’s important to maintain it properly. Use a scraper or spatula to remove any food debris after cooking, and wipe the surface down with a damp cloth. Avoid using soap or harsh chemicals, as this can strip away the seasoning.
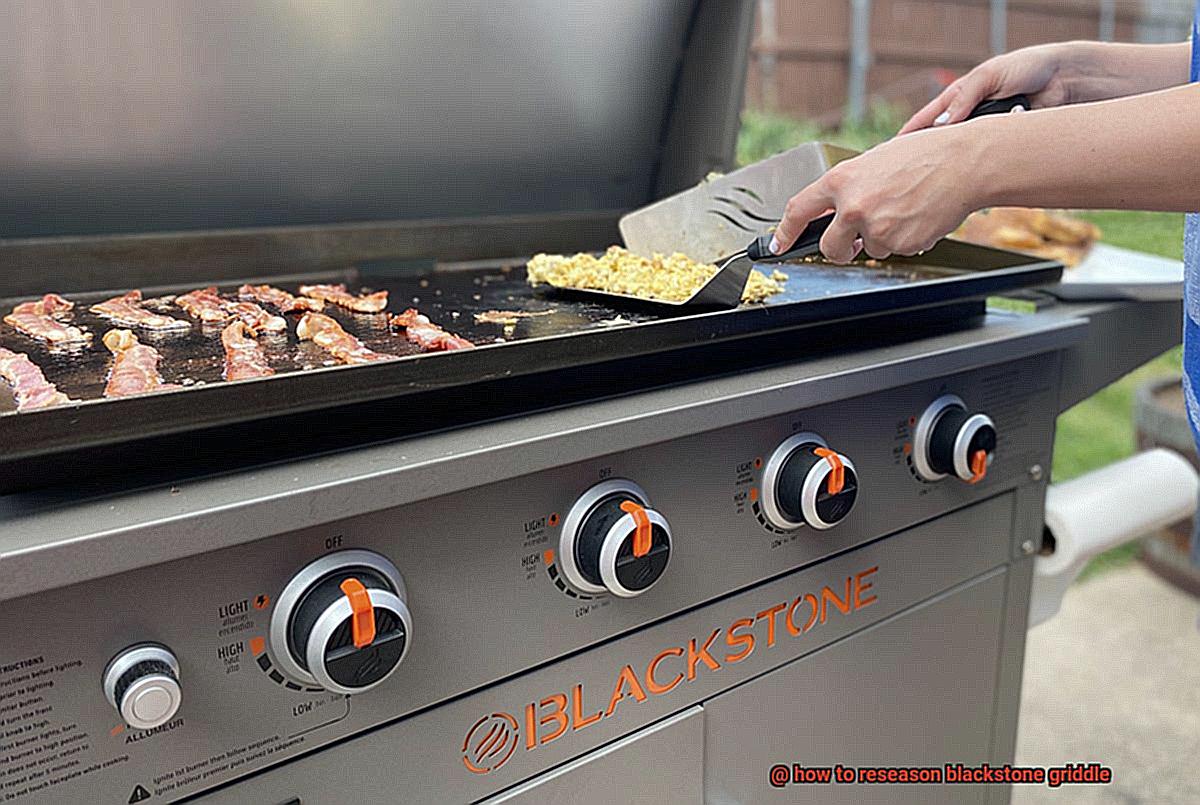
Enjoy Your Newly Seasoned Griddle
Once you’ve completed the reseasoning process and maintained your griddle properly, it’s time to start cooking. Your Blackstone Griddle will now have a non-stick surface that will make cooking a breeze. Whether you’re making pancakes, burgers, or stir-fry, your griddle is ready to handle any culinary challenge.
What are the Benefits of Re-seasoning a Blackstone Griddle?
If you’re a fan of outdoor cooking, then you know the importance of having a high-quality griddle. But even the best griddles require maintenance, and re-seasoning your Blackstone griddle is a crucial step in keeping it performing at its best. Here are just a few of the benefits of re-seasoning your Blackstone griddle.
Firstly, re-seasoning helps to restore the non-stick surface of your griddle. Over time, the seasoning on your griddle can wear off or become damaged, leading to food sticking or uneven cooking. By re-seasoning your griddle, you’ll create a smooth, non-stick surface that ensures your food cooks evenly and doesn’t stick to the surface. Say goodbye to the frustration of flipping pancakes or burgers and hello to perfect results every time.
But that’s not all – re-seasoning your Blackstone griddle also helps to protect it from rust and corrosion. Griddles are exposed to moisture during cooking, which can cause rust over time. By re-seasoning regularly, you create a protective layer that prevents moisture from penetrating the surface and causing damage. This means that your Blackstone griddle will last longer and perform better for all your outdoor cooking needs.
And if you’re tired of lingering flavors or odors affecting the taste of your meals, re-seasoning can help with that too. Strong-flavored foods like fish or onions can leave behind unwanted tastes or smells on your griddle. But by re-seasoning, you’ll eliminate these flavors and ensure that your food tastes fresh and delicious every time.
How to Maintain a Blackstone Griddle After Seasoning?
Maintaining a Blackstone griddle after seasoning is essential to ensure that it stays in top condition and performs optimally. After all, investing in a high-quality cooking appliance like a Blackstone griddle means you want to enjoy delicious meals for years to come. Here are five sub-sections to help you maintain your Blackstone griddle after seasoning:
Regular Cleaning
Cleaning your Blackstone griddle after each use is crucial to prevent the buildup of food debris and grease. This buildup can damage the seasoning that you worked so hard to create. To clean the griddle, use a scraper or spatula to remove any remaining food debris, and then wipe the surface with a damp cloth. Avoid using soap or other harsh chemicals, as this can strip away the seasoning.
Keeping it Dry
After cleaning the griddle, it is essential to dry it thoroughly with a dry towel. Moisture buildup can lead to rust formation, which can damage the griddle’s surface. If you live in a humid area, consider storing your griddle indoors or covering it with a waterproof cover when not in use.
Regular Oil Application
Applying oil to the surface of your griddle after cleaning helps protect the seasoning and prevent rust from forming. It is recommended to use high-heat cooking oil such as vegetable, canola or flaxseed oil for best results. Apply a thin layer of oil using a paper towel or cloth, making sure to cover the entire surface evenly.
Proper Storage
Proper storage is important to prevent any damage to your griddle. Keep it in a dry and well-ventilated area to prevent moisture buildup, which can lead to rust formation. Covering the griddle with a protective cover can also help protect it from dust and other debris.
Inspect for Wear and Tear
Regularly inspecting your Blackstone griddle for any signs of wear or damage is also important. If the seasoning is starting to wear off or there are any signs of rust formation, it may be time to reseason the griddle. This involves stripping off the old seasoning and applying a fresh layer of oil to create a new non-stick surface.
1UUWzPDDX6E” >
Conclusion
In conclusion, neglecting to re-season your Blackstone griddle can lead to a buildup of oils and residues that make it difficult to clean and affect its non-stick properties. However, re-seasoning is a simple yet essential task that restores the griddle’s quality and longevity.
To begin the process, thoroughly clean the surface with a scraper or spatula and damp cloth. Then, apply a thin layer of oil using flaxseed oil, vegetable oil, or canola oil before heating it until it starts smoking. Repeat this process 2-3 times depending on the condition of your griddle. After re-seasoning, maintain it by scraping off any food debris after cooking and wiping down the surface with a damp cloth.
Re-seasoning also protects your griddle from rust and corrosion by creating an oil barrier between the metal surface and moisture. Additionally, it eliminates unwanted flavors or odors absorbed over time.
Effective cleaning before reseasoning, selecting the right oil for seasoning, applying oil properly while heating up correctly are all crucial factors in prolonging its life.

