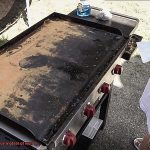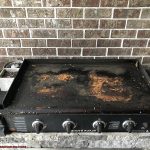
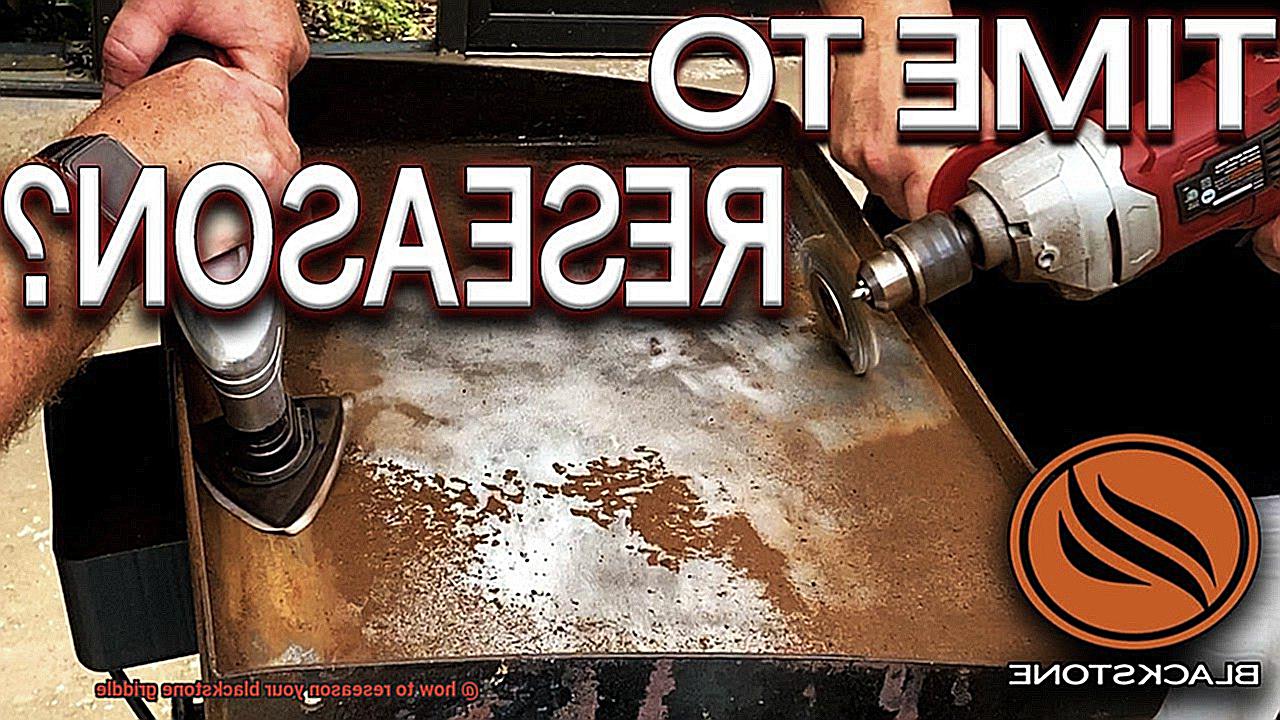
Are you a Blackstone griddle enthusiast who loves cooking up a storm? If so, you know that this versatile cooking surface is a true game-changer for any food lover. But after frequent use, even the best Blackstone griddles can lose their non-stick properties and become worse for wear. That’s when it’s time to reseason your griddle.
Re-seasoning your Blackstone griddle is an essential process that helps restore the non-stick surface and prevent rust from forming. As someone who has reseasoned my own griddle several times, I can confidently say that the results are worth the effort.
In this article, we’ll guide you through the step-by-step process of reseasoning your Blackstone griddle. From cleaning your griddle to applying oil to reseason it, we’ll cover everything you need to know. Even if you’re new to cooking on a griddle, our easy-to-follow guide will make it simple to keep your Blackstone griddle in top condition.
So what are you waiting for? Grab your apron and let’s get started on restoring your Blackstone griddle’s non-stick glory.
Contents
What is Reseasoning?
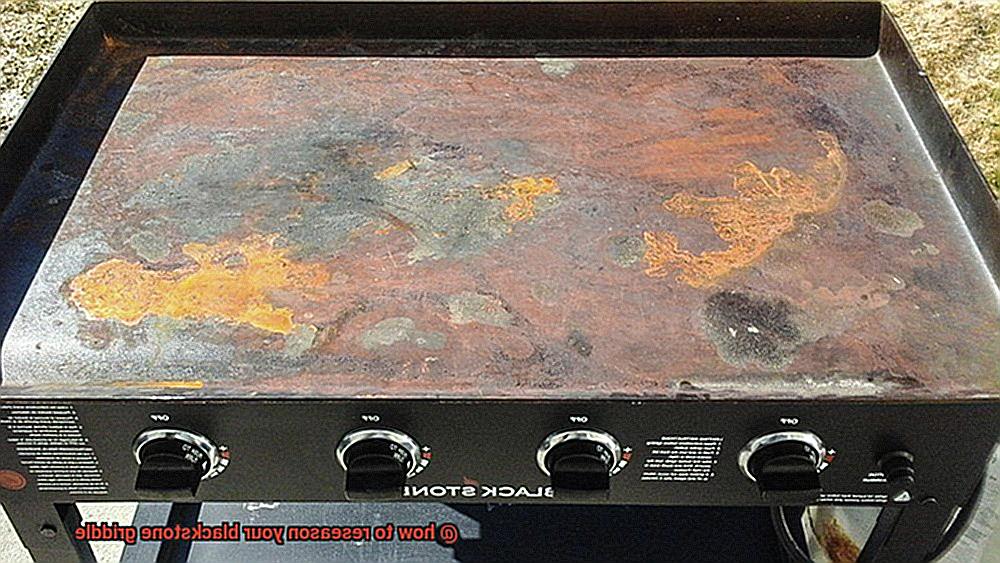
Then, reseasoning is the key. Simply put, reseasoning is the process of maintaining and preserving the surface of your Blackstone griddle. By removing leftover food particles, rust, and grease from the griddle surface and reapplying a layer of oil, you can protect it from future damage.
Why is reseasoning so important? Think about it – every time you use your griddle, its surface undergoes wear and tear. If not maintained properly, this can lead to rusting or other forms of damage. Reseasoning helps to prevent this damage and ensures that your griddle lasts longer.
So, how do you go about reseasoning your Blackstone griddle? Follow these simple steps:
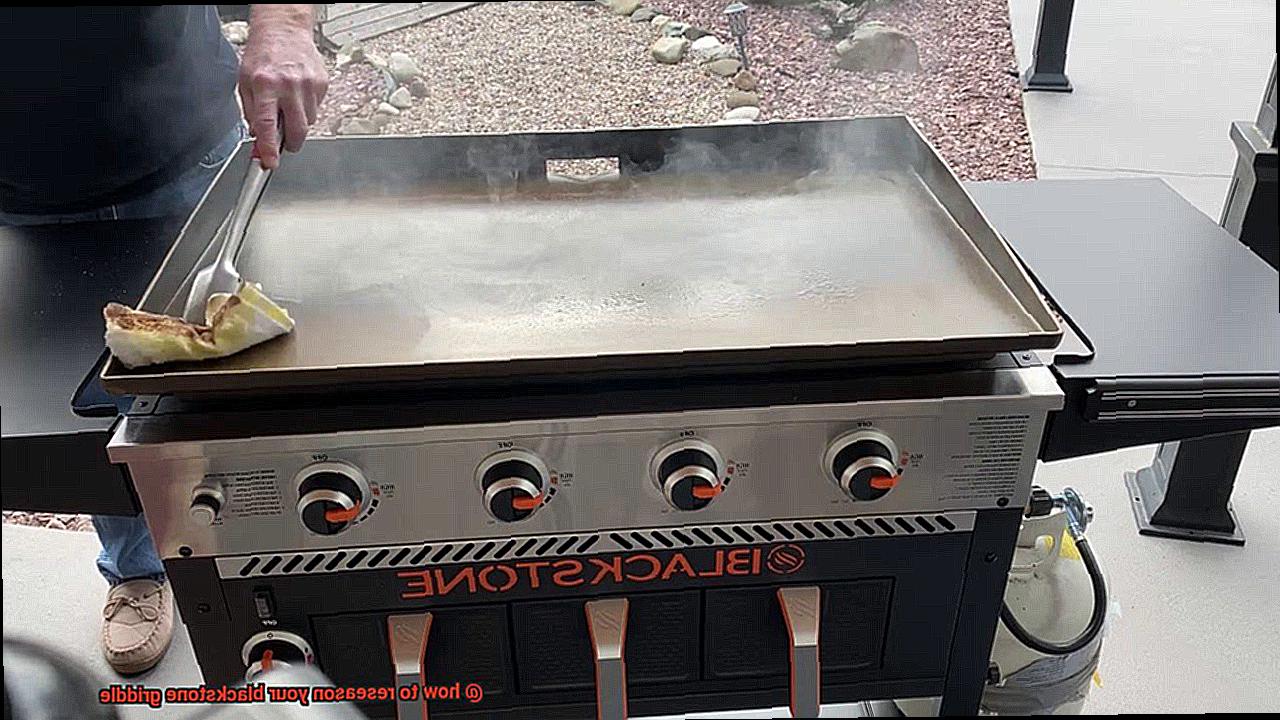
- Step 1: Use a scraper or spatula to remove any debris from the griddle surface. Avoid using soap or abrasive cleaners as they can damage the seasoning on your griddle.
- Step 2: Heat up the griddle surface to a high temperature. This will help loosen any food particles or grease that may have accumulated on the surface.
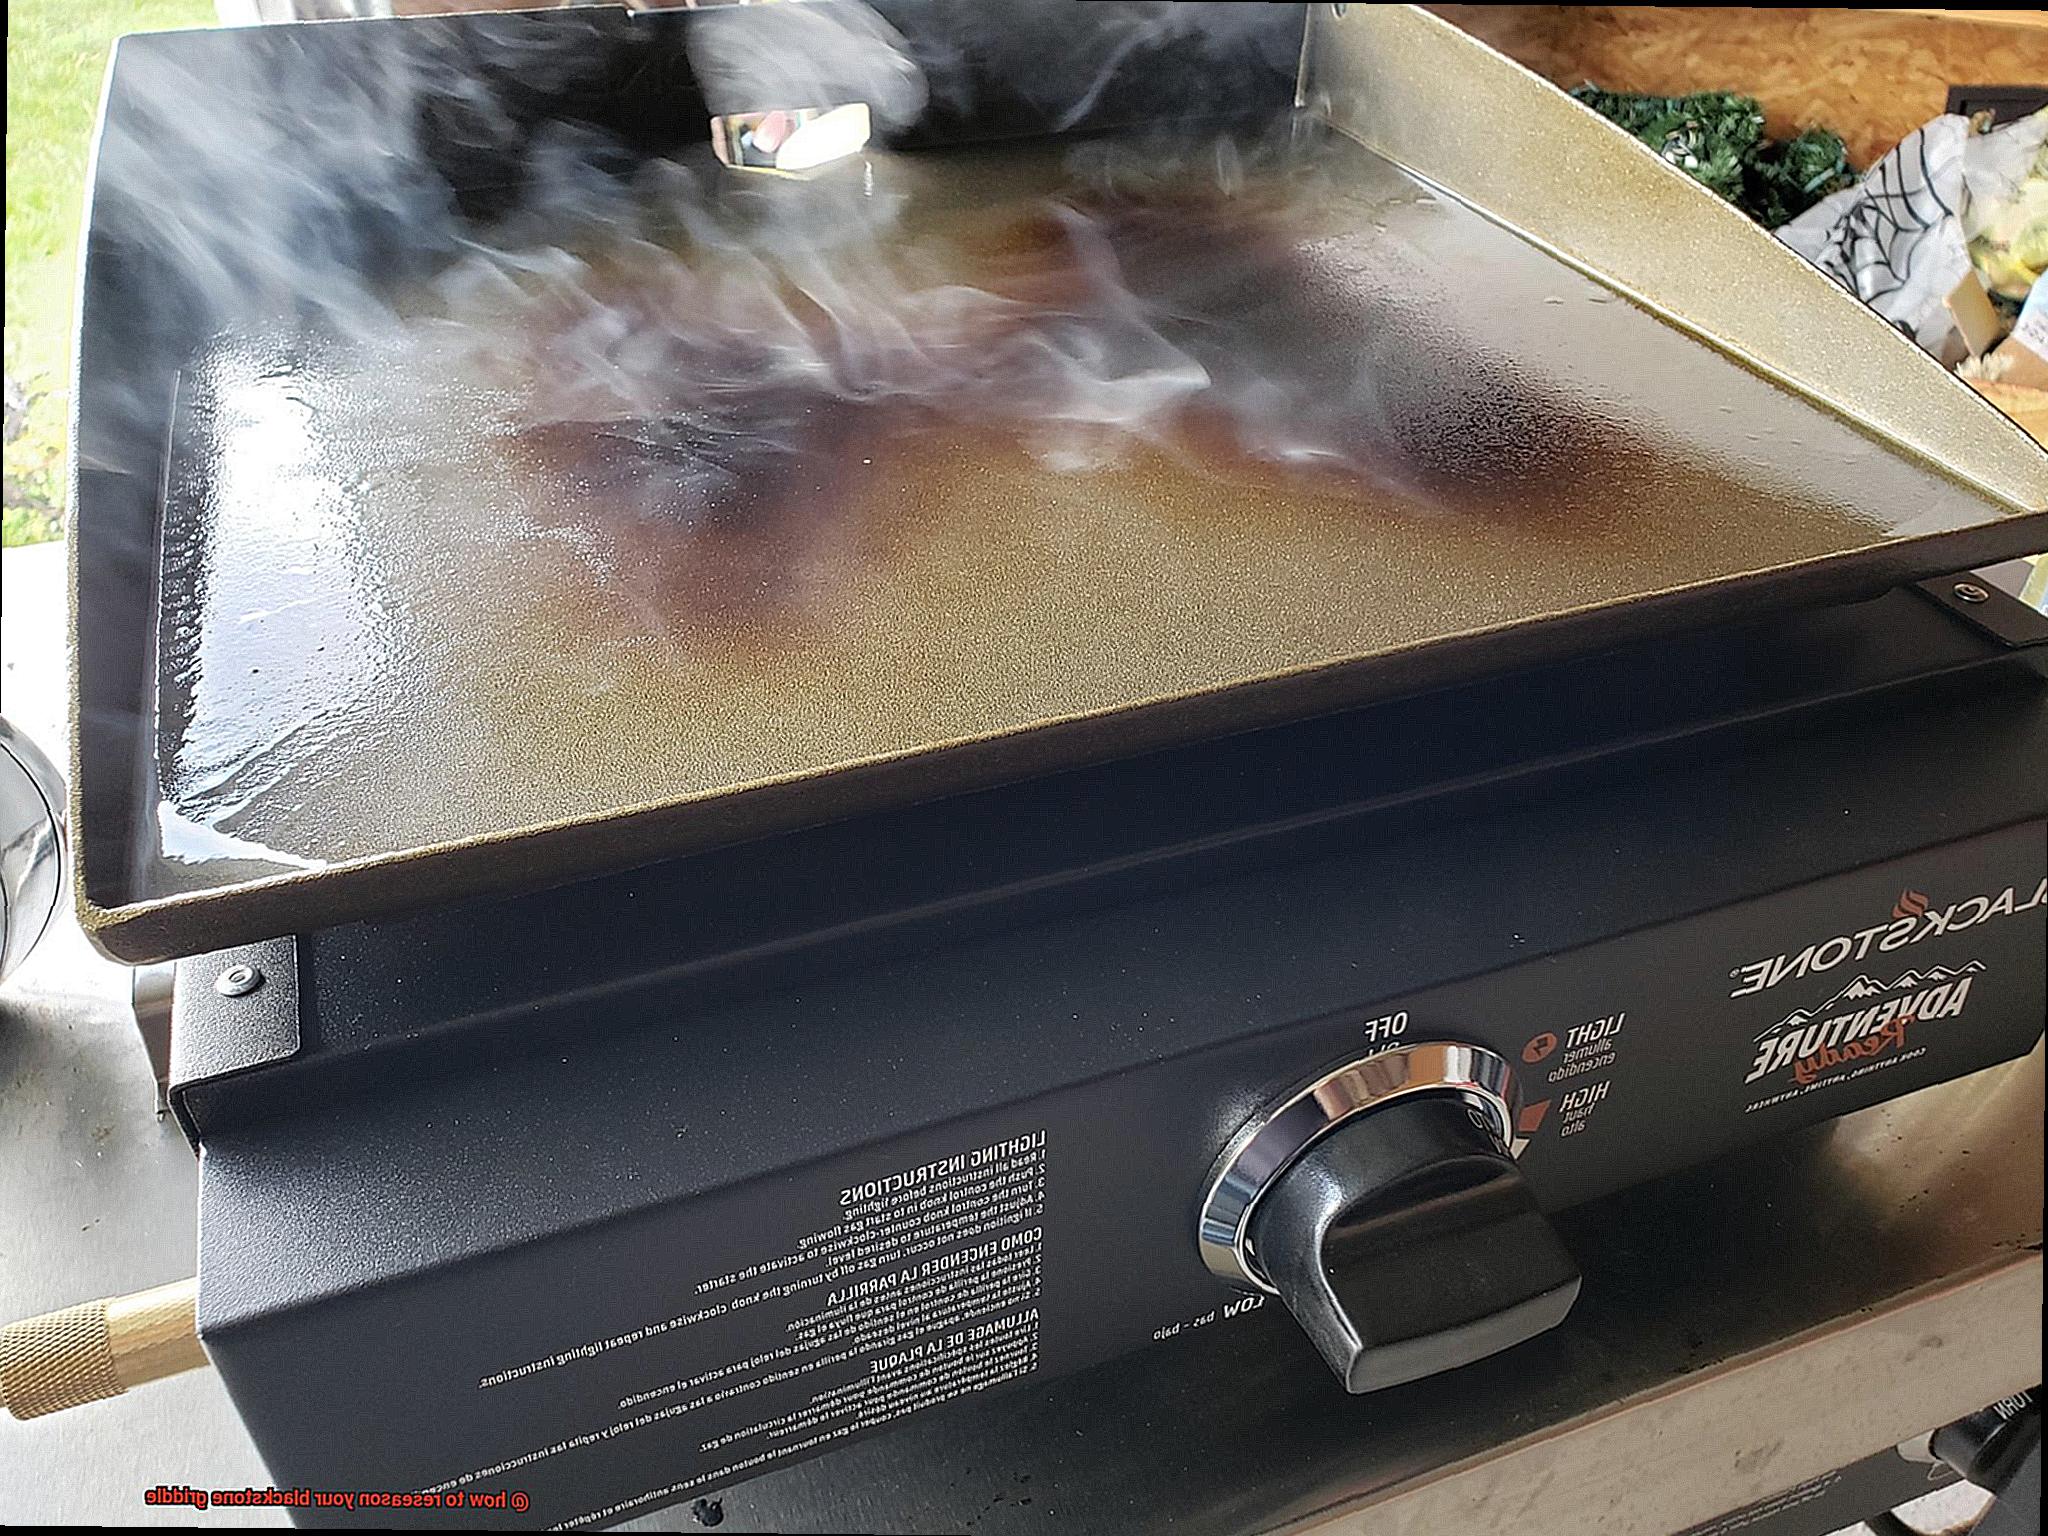
- Step 3: Apply a layer of oil onto the surface. Choose an oil with a high smoke point, such as vegetable oil or flaxseed oil. Spread the oil evenly across the surface using a paper towel or brush.
- Step 4: Heat up the griddle again to seal in the oil and protect the surface. You may notice some smoke during this process, which is normal and indicates that the oil is bonding with the metal.
- Step 5: Repeat this process every few months or as needed to maintain your Blackstone griddle’s seasoning.
Cleaning the Griddle
Pay attention to the crucial step of cleaning it. Cleaning your griddle is essential in the reseasoning process, and it’s an easy task to accomplish with a few simple steps.
First, grab your scraper tool or spatula and scrape off any food debris or grease from the surface. Once you’ve cleared up all the excess, use a paper towel or cloth to wipe down the surface and remove any remaining residue.
Now it’s time for a deep clean. Mix warm water with a mild soap or dish detergent and grab a non-abrasive scrubber. Use gentle circular motions to clean the surface thoroughly, removing any stubborn stains or grease. Rinse with hot water, then dry thoroughly with a towel.
But wait, there’s more. Did you know there are natural cleaners that can also be effective on your griddle? Vinegar and lemon juice are two excellent options. Mix equal parts of either with water and apply it to the griddle using a spray bottle or cloth. Let it sit for a few minutes before wiping it off with a damp cloth.
Don’t forget to season your griddle after cleaning it. This step provides protection against rust and ensures that the surface is non-stick for all your future cooking adventures. Check out our next section for tips on how to season your Blackstone griddle like a pro.
Heating Up the Griddle
If you’re looking to reseason your Blackstone griddle, there’s one important step you can’t skip: heating up the griddle. As an expert in griddle cooking, I’m here to explain why this step is crucial and how to do it right.
Firstly, heating up your griddle helps to remove any residual food or grease from previous cooking sessions. This process opens up the pores of the metal and prepares it for the seasoning oil that will be applied later. Think of it like exfoliating your skin before applying moisturizer – you want a clean surface for maximum absorption.
But that’s not all. Heating up your griddle also ensures that the seasoning oil will be evenly absorbed across the surface, creating a non-stick surface that will make cooking easier and more enjoyable in the long run. Who doesn’t want effortless flipping and sliding of their pancakes or burgers?
To heat up your griddle properly, turn on your propane or natural gas burner to high heat and let it heat up for 10-15 minutes until it reaches a temperature of 500-550°F. This temperature range is ideal for opening up the pores of the metal and allowing for maximum absorption of oil during the seasoning process.
As you heat up your griddle, don’t be alarmed if you notice some smoke and a burning smell. This is completely normal and expected when heating up a metal surface to such high temperatures. Just make sure to properly ventilate your cooking area by opening windows or turning on an overhead fan.
Now that you’ve heated up your griddle, it’s time to clean its surface before moving onto the next step in the reseasoning process. Don’t forget that heating up your griddle should be done before every use, not just during reseasoning.
Applying Oil to the Griddle
It all starts with proper seasoning and protection from rust. And that means applying oil to your Blackstone griddle.
First things first, make sure your griddle is spick and span before you start slathering on the oil. Use a scraper or grill brush to remove any debris or residue. With a clean surface, it’s time to get oily.
There are a variety of oils to choose from, but many enthusiasts opt for flaxseed oil. With its hard, durable finish, it’s no wonder it’s a favorite. However, other oils such as vegetable oil or canola oil will also do the trick.
Pour a small amount of oil onto the griddle and spread it around evenly using a paper towel or cloth. Don’t forget to cover the entire surface of the griddle, including those sneaky corners and edges.
Now, it’s time to heat things up. Turn on the heat to medium-high and let the griddle warm up for around 30 minutes. This process cures the oil and creates that coveted non-stick surface.
After 30 minutes, turn off the heat and let the griddle cool down completely before wiping off any excess oil with a clean cloth. You may need to repeat this process several times to achieve optimal seasoning on your griddle.
And remember, applying oil regularly after each use is just as important as seasoning. This step helps maintain that non-stick surface and protects your griddle from rust.
Letting the Oil Cook on the Griddle
The Blackstone griddle is a versatile cooking tool that can help you create delicious meals with ease. Whether you’re whipping up fluffy pancakes or perfectly searing burgers, this kitchen essential requires proper care and maintenance to perform at its best. One crucial step in this process is letting the oil cook on the griddle to reseason it.
Reseasoning your griddle involves creating a protective layer of oil on the cooking surface that prevents rust and ensures even heat distribution. This is especially important if you’ve recently cleaned your griddle or notice that the seasoning has started to wear off from frequent use.
To begin, heat up your griddle to a high temperature of around 400-450 degrees Fahrenheit. You can use the Blackstone griddle’s built-in burner or an outdoor grill for this step. Once the surface is hot, apply a thin layer of oil using a paper towel or brush. Popular choices for oil include vegetable or canola oil.
Now comes the fun part – letting the oil cook on the griddle. This process typically takes about an hour, during which time you may notice some smoke and a slightly unpleasant odor. Don’t worry – this is completely normal and means that the seasoning process is working its magic. While you wait, take advantage of the time by preparing your ingredients or enjoying a refreshing beverage.
It’s important to keep a watchful eye on your griddle during this time to make sure it doesn’t get too hot or produce excessive smoke. After an hour has passed, turn off the heat and let your griddle cool down completely. Then, wipe off any excess oil with a paper towel or cloth. And voila – your Blackstone griddle is now reseasoned and ready to use.
Remember, reseasoning should be repeated every few months or as needed depending on how often you use your griddle. Over time, the seasoning can wear off from cooking and cleaning, so reseasoning ensures your griddle stays in top condition. In addition, it’s a great excuse to fire up the grill and indulge in some delicious outdoor cooking.
Cooling Down the Griddle
If you want to create mouth-watering meals for your loved ones with a well-seasoned Blackstone griddle, then you must know that cooling down the griddle is as crucial as seasoning it. Follow these easy steps to cool down your griddle like a pro:
Scrape Off Any Excess Food or Debris
Before you turn off the heat source, use a high-quality griddle scraper to remove any excess food or debris from the surface. This will not only give you a cleaner surface but also help maintain your griddle’s quality for years to come.
Turn Off the Heat and Let It Cool Down Completely
After scraping off the debris, turn off the heat source and let your griddle cool down completely. It’s crucial to let it cool down naturally because pouring water on the hot griddle can lead to warping or cracking.
Wipe Away Any Remaining Debris or Grease
Once your griddle has cooled down completely, use a soft cloth or paper towel to wipe away any remaining debris or grease. This will ensure that the surface is clean and ready for the next step of the reseasoning process.
Repeating the Process Multiple Times
The secret to a non-stick surface that will make cooking and cleaning a breeze lies in repeating the seasoning process multiple times.
Firstly, let’s review the basic steps of seasoning your Blackstone griddle. After cleaning off any debris, turn off the heat and let it cool down completely. Then, apply a thin layer of high smoke point oil and heat the griddle on high until the oil starts to smoke. Allow the griddle to cool down before wiping away any excess oil.
However, one application of oil and heat may not be enough. In fact, repeating the seasoning process multiple times can help build up a non-stick surface that will make cooking and cleaning much easier. So, here are some essential tips for seasoning your Blackstone griddle multiple times.
After completing the initial seasoning process, wait until the griddle has cooled down before applying another layer of oil. This will prevent any burning or smoking that may occur if the oil is applied while the griddle is still hot.
Before each subsequent seasoning, make sure to clean the griddle thoroughly with warm water and mild detergent. Use a scraper or spatula to remove any food debris or excess oil from previous seasonings.
When it’s time to apply the oil for each subsequent seasoning, use a high smoke point oil such as vegetable oil, canola oil, or flaxseed oil. Apply a thin layer of oil to the entire surface of the griddle using a clean cloth or paper towel.
Once you’ve applied the oil, heat the griddle on high for about 15-20 minutes or until the oil begins to smoke. Turn off the heat and let it cool down before wiping away any excess oil with a clean cloth.
Repeat this process 2-3 times or until you’ve achieved a smooth and non-stick surface on your Blackstone griddle. Remember to clean your griddle after each use and apply a thin layer of oil before storing it away to maintain its non-stick surface.
Maintaining Your Griddle’s Seasoning
Look no further. Proper maintenance of your griddle’s seasoning is essential for optimal performance and longevity. Here are the steps to keep your griddle sizzling:
Cleaning is the first step in maintaining the seasoning on your Blackstone griddle. After each use, remove food debris and residue from the surface with a scraper or spatula. Then, wipe it down with warm water and a paper towel or cloth. Avoid using soap or harsh chemicals as they can strip away the seasoning.
Next, apply a thin layer of oil to the surface. Any type of oil will do, such as vegetable oil, canola oil, or even bacon grease (yum.). Spread the oil evenly over the surface using a paper towel or cloth. Be careful not to use too much oil as it can pool up and cause uneven heating.
Now it’s time to heat up the griddle. Let it heat up for 10-15 minutes to bond the oil to the surface of the griddle and create a non-stick coating. Once it’s heated up, turn off the heat and let it cool down completely.
Repeat this process every time you use your Blackstone griddle to maintain its seasoning and ensure that it lasts for a long time. With proper care and maintenance, your Blackstone griddle will provide years of delicious meals and enjoyable cooking experiences.
1UUWzPDDX6E” >
Conclusion
In conclusion, reseasoning your Blackstone griddle is a crucial step in maintaining its non-stick surface and preventing rust from forming. It’s like giving your griddle a spa day to rejuvenate and restore its cooking prowess.
To achieve optimal performance and longevity, it’s essential to clean your griddle thoroughly after each use. Use a scraper or spatula to remove any debris, wipe it down with warm water, and apply a thin layer of oil evenly over the surface. Then, heat up the griddle for 10-15 minutes to bond the oil to the surface and create a non-stick coating that will make cooking and cleaning much easier.
Repeating the seasoning process multiple times can help build up a non-stick surface that will last for years. Don’t be afraid to repeat the process 2-3 times until you’ve achieved a smooth and non-stick surface on your Blackstone griddle.
With proper care and maintenance, your Blackstone griddle will provide years of delicious meals and enjoyable cooking experiences.