Are you tired of pulling out dense, dry, or unappetizing loaves from your oven? You’re not alone. Even the most seasoned bakers can make a mistake or two when it comes to making bread. But don’t fret. In this blog post, we’ll explore some common mistakes that you should steer clear of to ensure that your bread turns out fluffy, delicious, and irresistible every time.
First things first: patience is key. Rushing the bread-making process can lead to disastrous results. Make sure your yeast is activated and elastic enough and give your dough ample time to rise. And remember not to overwork the dough, as this can cause it to turn tough. Oh, and please don’t use old or expired yeast – it will affect both the texture and flavor of your bread.
Another crucial aspect of bread-making is precise measurement. Too much flour or too little water can throw off the entire recipe and leave you with a loaf that’s either too sticky or too tough. And while it’s tempting to keep checking on your bread in the oven, resist opening the door frequently as this can cause temperature fluctuations that will affect the final product.
By steering clear of these common mistakes (and others), you’ll be well on your way to baking perfect loaves of bread in no time at all. So grab your apron, gather up your ingredients, and let’s dive into what not to do when making bread.
Contents
Overworking the Dough
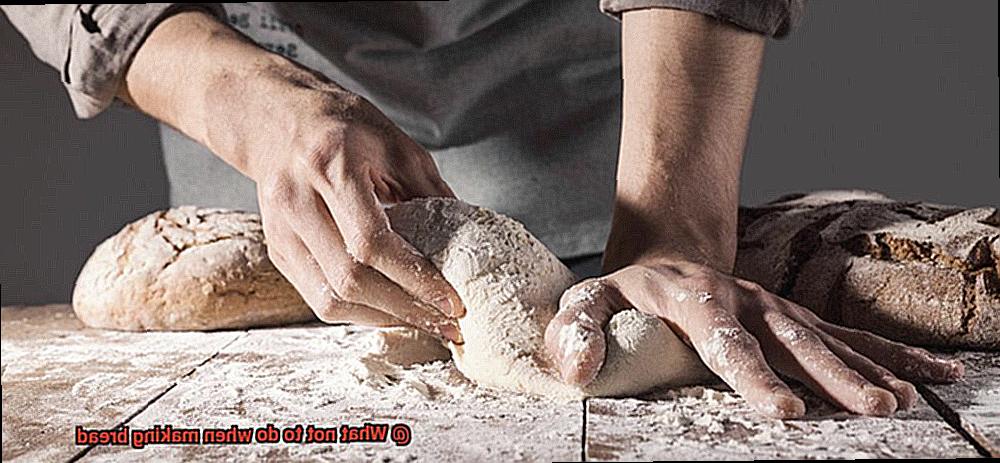
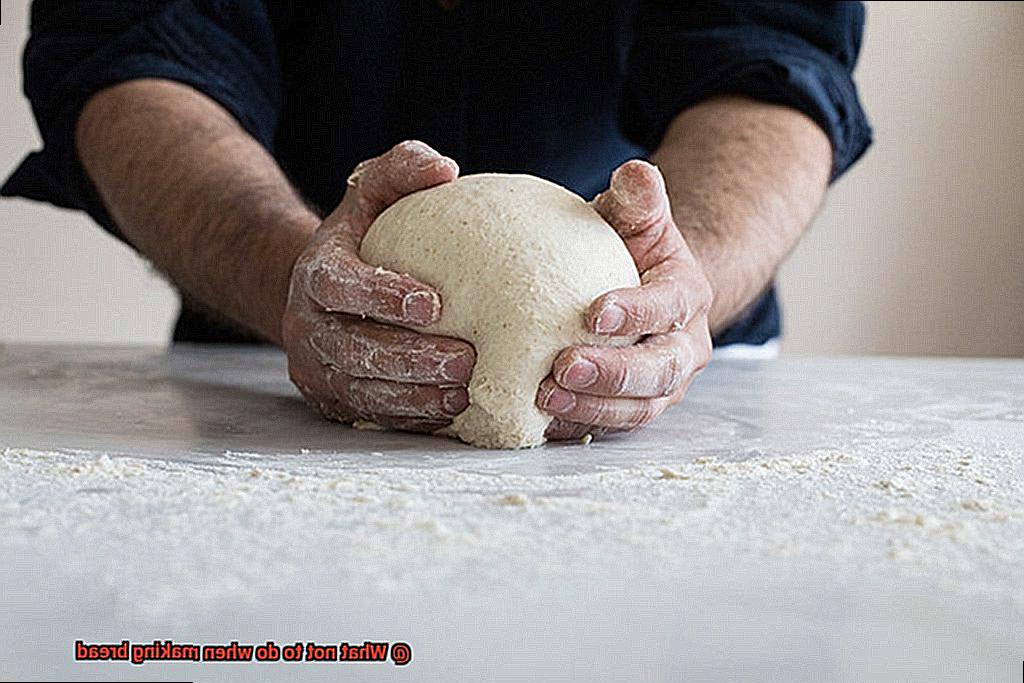
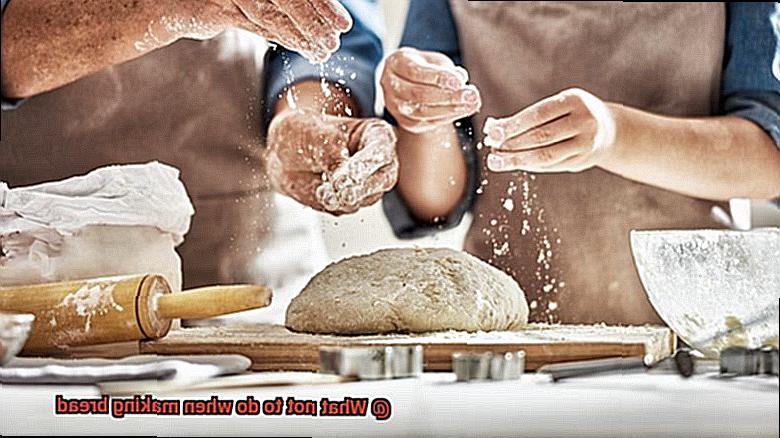
Overworking the dough is one of the most common mistakes novice bakers make. Kneading the dough for too long can break down gluten strands, resulting in a dense and tough bread. Fear not, with these expert tips, you’ll be well on your way to baking perfect bread every time.
Firstly, kneading is a vital step in bread-making that activates gluten in the flour. However, kneading the dough too vigorously can lead to overworked dough. Ensure that you only knead until the dough is smooth and elastic – usually around 5-10 minutes.
Another mistake to avoid is adding too much flour. It may be tempting to add more flour than specified in the recipe, but doing so will require more kneading, leading to overworked dough. Follow the recipe closely and use an accurate measurement of flour.
Patience is also key when it comes to rising dough. Don’t rush the process by adding more yeast or increasing the temperature as this will cause the dough to become heavy and dense. Allow the dough to rise for the recommended time for light and airy bread.
Adding Too Much Flour
You may have fallen into the common trap of adding too much flour when making bread.
The problem with adding too much flour is that it can throw off the balance of ingredients in your recipe. While flour is undoubtedly a crucial ingredient in bread-making, it needs to be balanced with other ingredients such as water, yeast, salt, and sugar. When there is too much flour, the dough becomes stiff and difficult to work with.
Furthermore, adding too much flour can lead to overworking the dough. This is because bakers often try to compensate for the dryness by kneading the dough for longer periods or with more force. However, overworking the dough can result in a tough and chewy loaf of bread that is far from enjoyable.
To avoid this issue when making bread, precise measurement and following recipe instructions are crucial. It’s important to keep in mind that different types of flour may have different weights or absorbencies, making it beneficial to use a kitchen scale for measuring out ingredients instead of relying on measuring cups.
Resisting the urge to add extra flour when the dough is sticky or difficult to work with is also essential. Instead, try wetting your hands with water or oil to prevent sticking and gently knead the dough until it becomes smooth and elastic.
Not Allowing Enough Time for Rising
When you don’t give your dough enough time to rise, it won’t have enough air pockets to expand. This results in a less-than-perfect texture, which is not ideal for any bread lover. Rushing the rising process is one of the most common mistakes people make when baking bread. It could be due to impatience or not understanding the significance of this step.
Another mistake that leads to a failed rise is not providing optimal conditions for your dough. Yeast requires warmth and moisture to thrive. If you leave your dough in a cold or drafty area, it can slow down or even stop the rising process altogether.
To ensure your bread rises properly, it’s essential to follow recipe instructions precisely. This means allowing enough time for the dough to rise as specified in the recipe and creating optimal conditions for rising. You should also keep in mind that rising times can vary depending on factors such as temperature and humidity.
If you’re new to bread-making, here are some tips to help you avoid making these mistakes:
- Always use fresh yeast and ingredients.
- Check the temperature of your ingredients before mixing them.
- Make sure your dough is covered during rising.
- Avoid over-kneading your dough.

Using Old Yeast
Then it’s essential to understand the importance of using fresh yeast in your recipe. As an expert in all things bread, let me guide you through the dos and don’ts of using old yeast.
Firstly, yeast is a living organism that plays a vital role in the rising process of dough. Old yeast may not have the strength required to effectively rise your dough, resulting in a heavy and dense loaf of bread. To avoid this disaster, it’s crucial to check the expiration date on your yeast before using it.
Don’t make the rookie mistake of assuming that old yeast will work just as well as fresh yeast – it won’t. Yeast loses its potency over time, which is why it’s essential to use it before its recommended use-by date. Always remember to double-check the expiration date on your packet before adding it to your recipe.
Another crucial step is to proof your yeast before using it. This simple process involves mixing warm water and sugar with your yeast to test its viability. If the mixture becomes frothy and bubbly, then your yeast is good to go. However, if it doesn’t pass this test, then it’s likely that your yeast is too old or has been improperly stored.
To summarize:
- Check the expiration date on your yeast packet before using it.
- Don’t assume that old yeast will work just as well as fresh yeast.
- Proof your yeast before using it to ensure its viability.
By following these steps, you can avoid using old and ineffective yeast in your recipe. Remember always to use fresh yeast within its recommended use-by date and proof it before using it in your bread recipe. And if you’re still unsure about the viability of your yeast, don’t hesitate to purchase a new packet.
Not Preheating Your Oven
Not preheating your oven is a common mistake that can lead to disastrous results.
First and foremost, preheating your oven is critical for ensuring even baking. Without preheating, the heat distribution in your oven will be inconsistent, resulting in an undercooked or overcooked loaf. Imagine biting into a slice of bread with a raw center or burnt crust – not very appetizing, is it?
Moreover, preheating your oven helps activate the yeast in your dough. Yeast is a living organism that requires a warm environment to work correctly. If you put your bread into a cold oven, the yeast may not activate as well, leading to a dense and heavy loaf.
But preheating isn’t just about avoiding baking mishaps. It’s also about ensuring that your bread rises correctly and develops the perfect texture and flavor. By preheating your oven, you’re giving your dough the optimal environment it needs to rise and bake to perfection.
So what’s the solution? Always preheat your oven before baking bread. It’s a simple step that can make all the difference between average and exceptional loaves of bread. Here are some tips to help you get started:
- Set your oven to the correct temperature at least 20 minutes before baking
- Use an oven thermometer to ensure that the temperature is accurate
- Don’t rush the preheating process – give your oven enough time to reach the desired temperature
Using Too Hot of Water
It’s possible that the culprit is the temperature of the water you’re using. As an expert in bread-making, I’m here to share some crucial information about why using too hot of water can negatively affect your bread, and what you can do to avoid it.
First and foremost, yeast is a living organism that requires warmth to activate and multiply, but if the water temperature is too high, it can kill the yeast cells. The ideal temperature for activating yeast is between 105-115°F. Any higher than that, and you risk killing off your yeast before it has a chance to do its job. So, always make sure to check the temperature of your water before adding it to your dough.
But killing off the yeast isn’t the only problem with using too hot of water. It can also cause your bread to rise too quickly, resulting in a loaf with large air pockets and an uneven texture. Nobody wants a loaf of bread that looks like Swiss cheese.
In addition, using too hot of water can make your bread taste bitter or overly yeasty. This is because the heat causes the yeast to produce more carbon dioxide, which can affect the flavor of the bread. You want your bread to have a delicious, balanced flavor, not one that’s overwhelming and unpleasant.
Here’s what you can do to avoid using water that’s too hot when making bread:
Always check the temperature before adding it to your dough. You can use a kitchen thermometer to ensure that the water isn’t too hot.
If you don’t have a thermometer, you can test the water by sticking your finger in it – the water should feel warm but not scalding.
By following these simple tips, you’ll be well on your way to making delicious, perfectly textured loaves of homemade bread every time.
Not Letting the Dough Rest Before Baking
The culprit may be a common mistake – not letting the dough rest before baking.
Resting the dough is an essential step in the bread-making process, and it allows the gluten to relax and develop. Gluten strands are initially tight and need time to lengthen and become more elastic. By allowing the dough to rest for a period of time, you give it the chance to rise uniformly during baking, creating that airy texture we all love in bread.
However, if you skip this important step, your bread will not be able to rise correctly, resulting in a dense and hard loaf. Not letting your dough rest can also cause it to become tough and chewy with uneven texture and large air pockets that no one wants in their bread.
To avoid this mistake, it is crucial to follow your recipe instructions carefully and allow your dough to rest for the recommended amount of time, usually between 30 minutes to an hour. That resting period is when magic happens, so don’t skip it.
Resting the dough before baking will not only give you a delicious and fluffy loaf every time but also enhance the flavor of your bread. So take your time, let your dough rest, and trust us; your taste buds will thank you for it.
In summary, here are some tips to avoid this common mistake:
Not Kneading the Dough Enough
If you’re a fan of homemade bread, you know that kneading is a vital step in the process. Kneading helps to develop the gluten in the dough, which gives bread its signature structure and chewiness. However, one of the most common mistakes made by novice bakers is not kneading the dough enough.
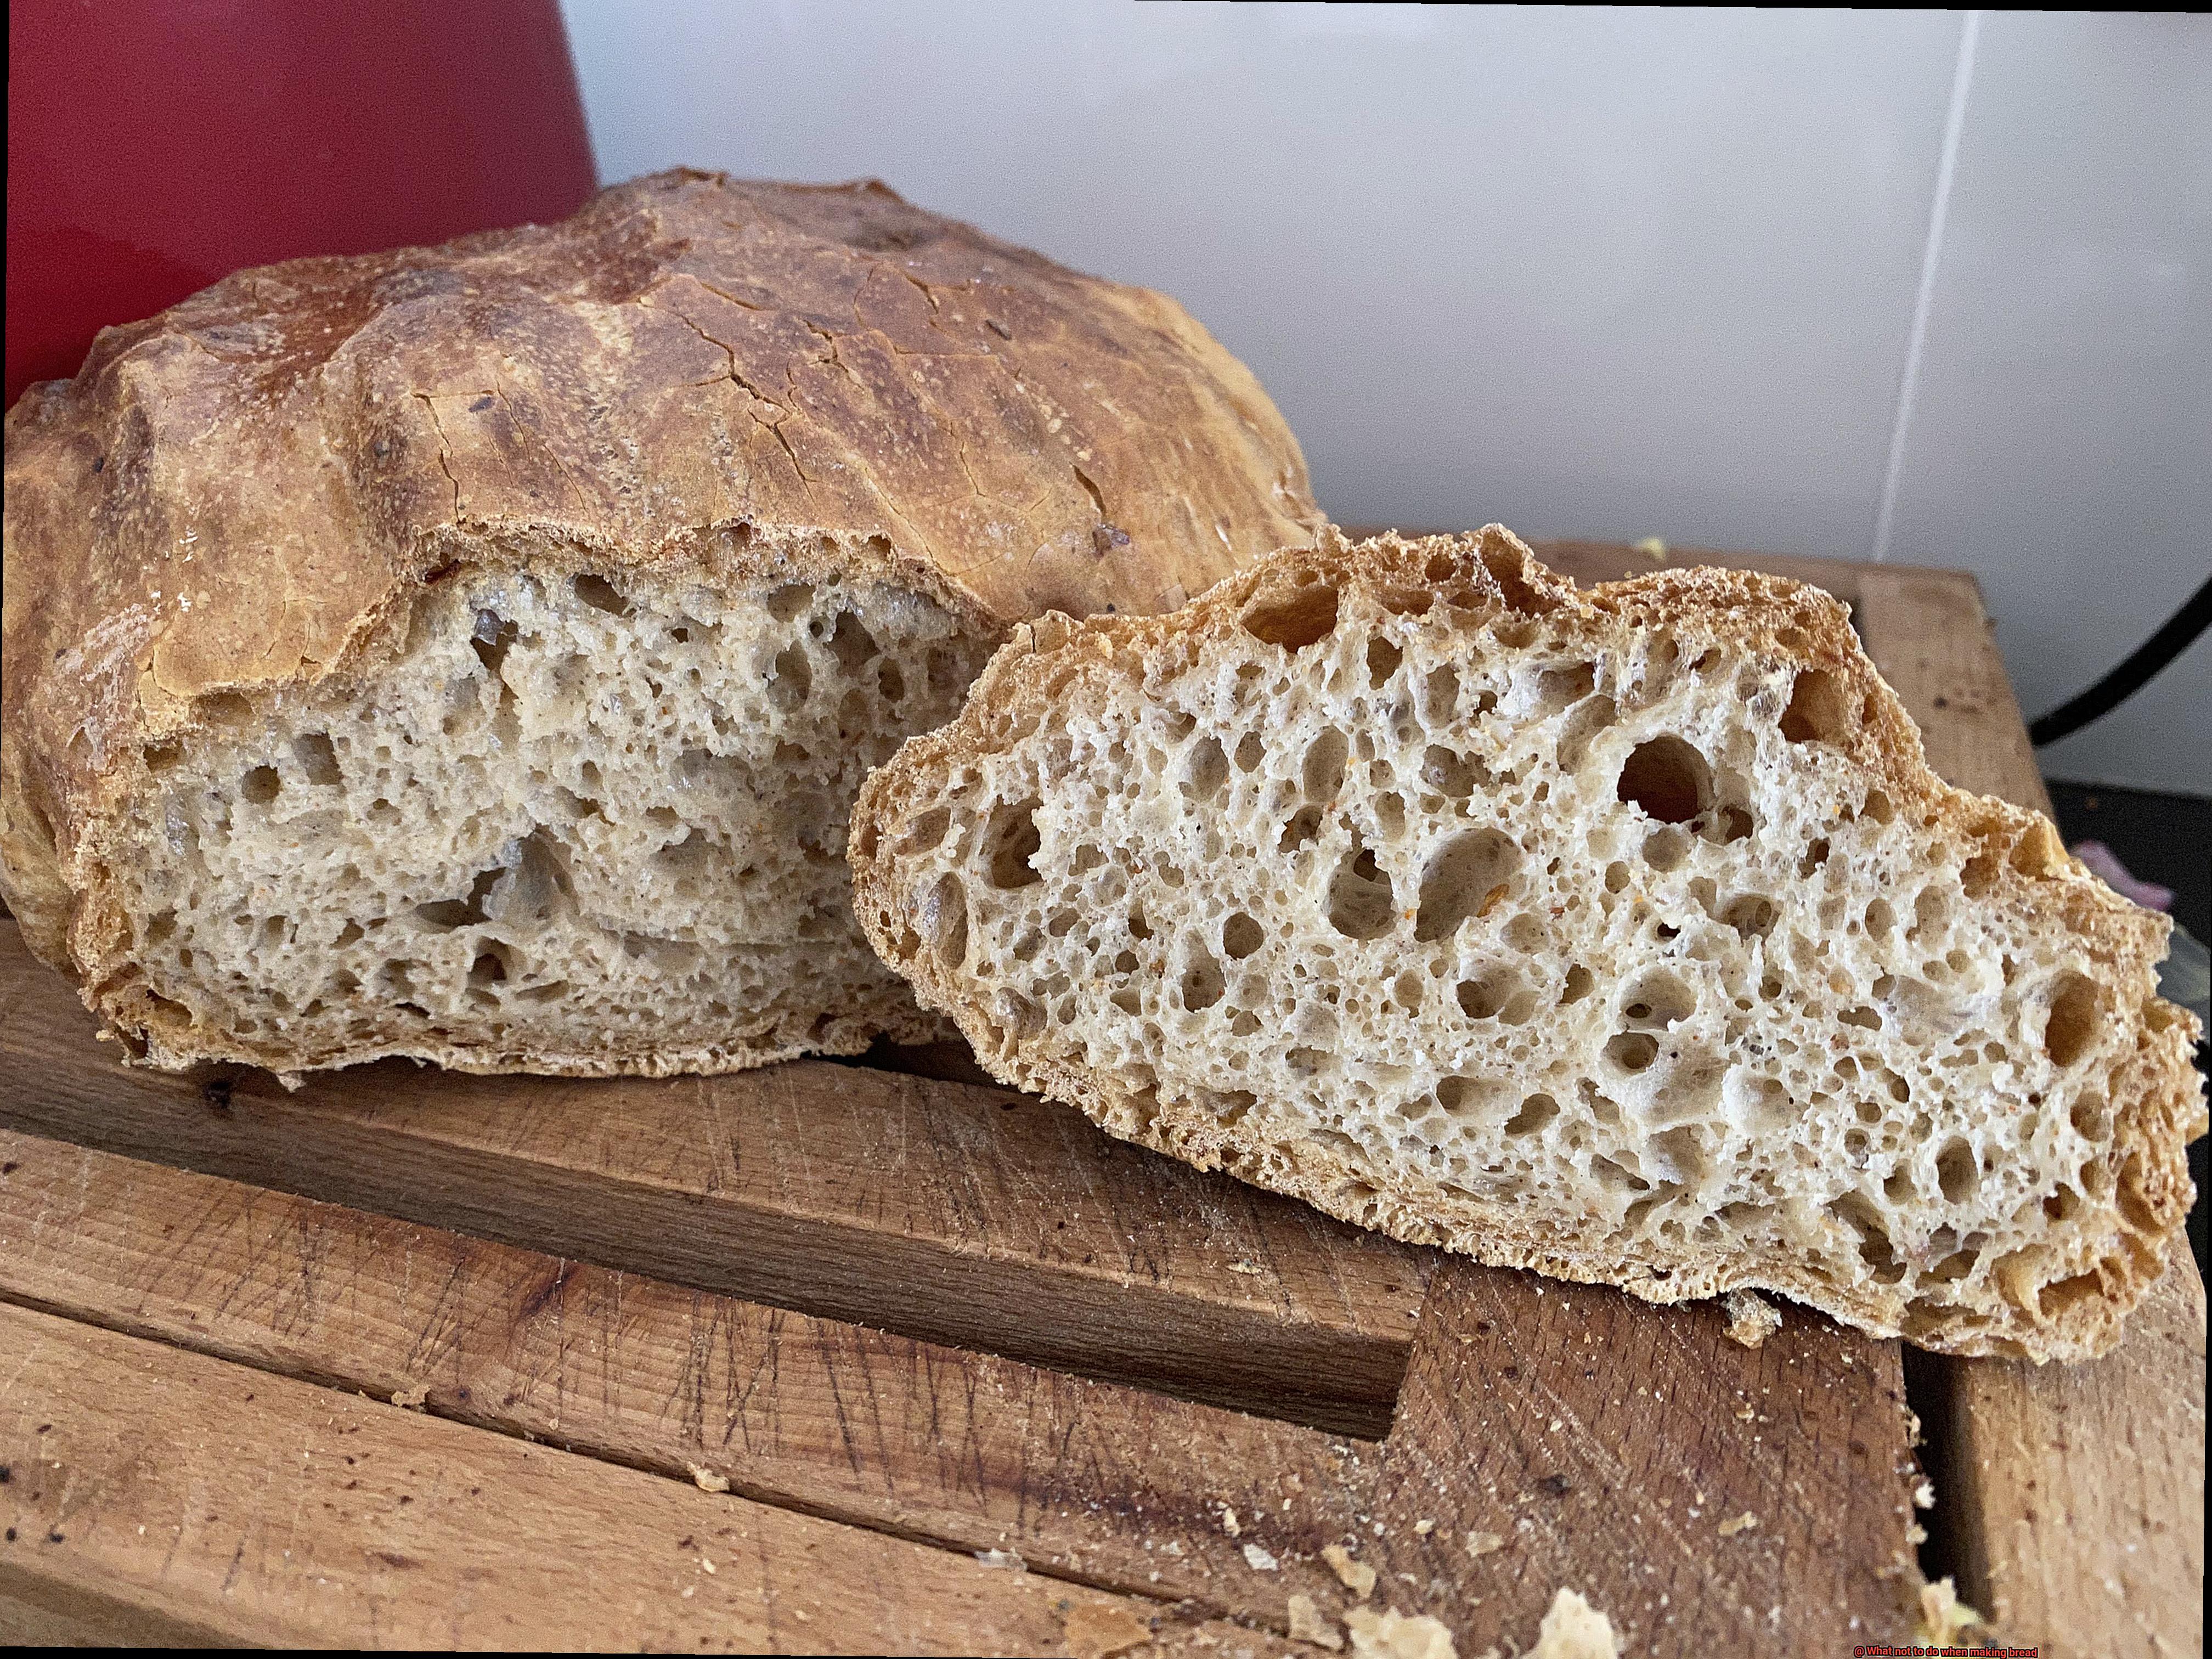
Under-kneaded dough can be frustratingly dense and heavy, with a tight crumb and a tough texture. This may be disappointing if you were hoping for a light and fluffy loaf. Additionally, under-kneaded dough may not rise properly in the oven, resulting in a flat and unappetizing end product.
Over-kneading your dough can also lead to problems. If you go past the point of gluten development, your bread can become tough and rubbery. This is equally as frustrating as having under-kneaded dough.
So, how do you determine the correct amount of time to knead your dough? As a general rule, aim for around 10 minutes of vigorous kneading by hand or a few minutes in a stand mixer with a dough hook attachment. Take your time and don’t rush it – set aside enough time for the process and use a timer if necessary.
To ensure that your gluten has developed enough, you can perform the “windowpane test.” Take a small piece of dough and stretch it between your fingers until it becomes thin and translucent. If it tears easily, you need to continue kneading.
U1ol8KBK-wk” >
Conclusion
In conclusion, making bread is an art that requires precision and patience. Avoiding common mistakes is crucial for achieving the perfect loaf of bread. First and foremost, giving your dough ample time to rise and activate the yeast properly is essential. Overworking the dough or adding too much flour can result in tough and dry loaves of bread.
Accurate measurement is key to ensuring that your bread turns out just right. Too much flour or too little water can throw off the entire recipe, leaving you with a sticky or tough loaf. Moreover, not allowing enough time for rising or forgetting to preheat your oven can negatively impact the texture and flavor of your bread.
Using old yeast or water that’s too hot can also cause problems with your bread. Therefore, it’s important to follow recipe instructions carefully and use fresh ingredients.
Last but not least, letting your dough rest before baking is crucial for developing gluten and creating an airy texture in your bread. By avoiding these common mistakes (and others), you’ll be well on your way to baking perfect loaves of bread every time.