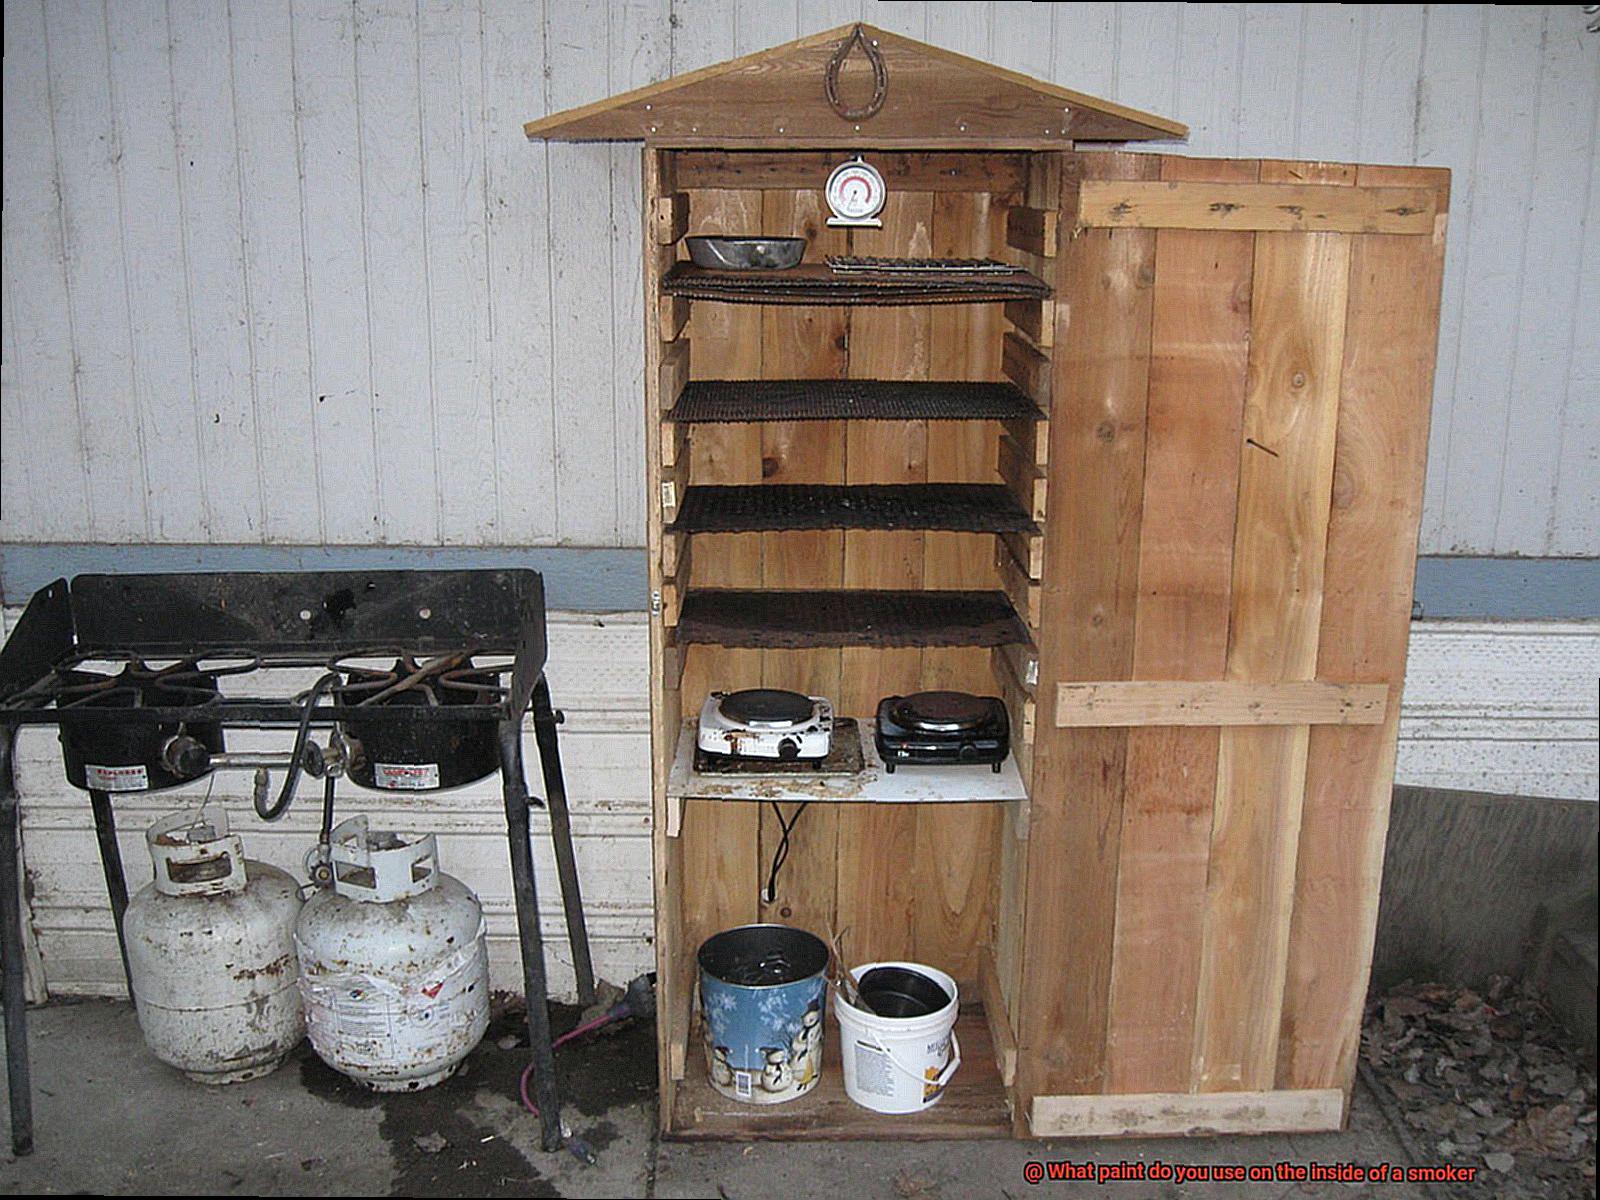
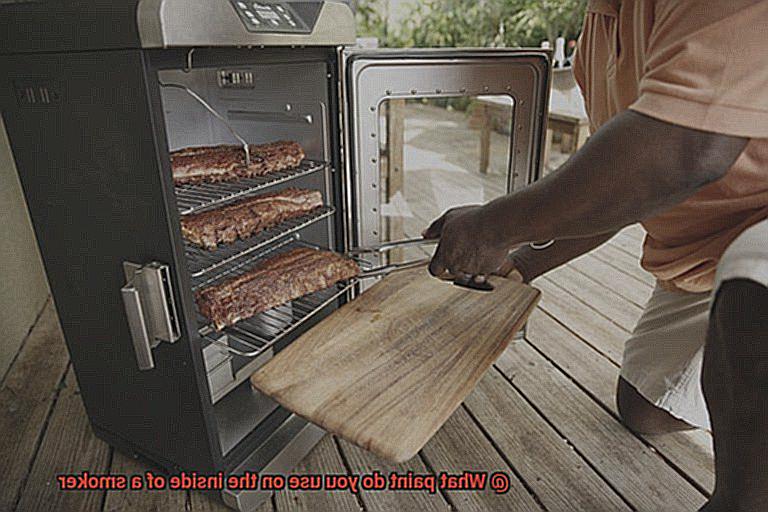
Smoking meat is more than just a cooking technique – it’s a way of life. The smoky, savory flavors that come from a well-smoked piece of meat are unmatched by any other method. But, if you’re an avid smoker, you know that the inside of your smoker can take a beating over time. From grease to smoke to high temperatures, the interior of your smoker needs protection if you want it to last for years to come. And that’s where proper painting comes in.
Choosing the right paint for your smoker isn’t just about aesthetics – it’s about functionality. The right paint can help protect against corrosion and aid in heat retention and distribution, ensuring that your smoking sessions are consistent and delicious every time. But with so many different types of paint available, how do you know which one is right for your specific needs?
In this post, we’ll explore the world of smoker paint and break down the pros and cons of each type. From high-temperature paints to ceramic coatings, we’ll take a closer look at what makes each option unique and which one might be best suited for your particular smoker. So grab a cold drink and settle in – we’re about to uncover the best paint for your beloved smoking rig.
Contents
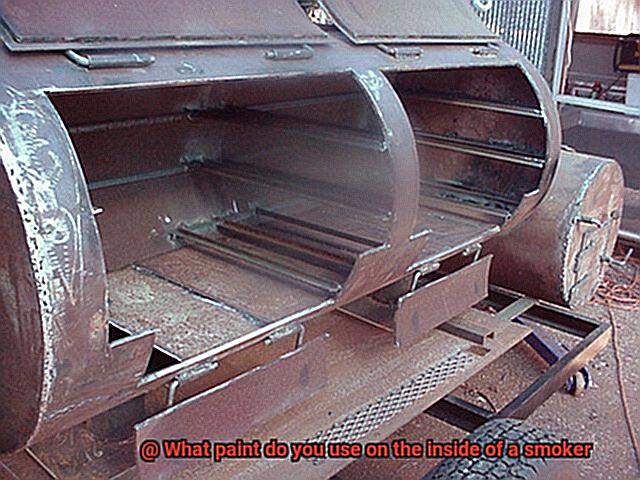
Types of Paint Suitable for the Inside of a Smoker
When it comes to painting the inside of a smoker, there are a few key factors to consider. The paint you choose must be able to withstand high temperatures and exposure to smoke without releasing harmful chemicals. Here are three types of paint that are suitable for use on the inside of a smoker, along with what makes each one unique.
First up is high-temperature silicone-based paint. This type of paint is a popular choice for those looking to paint the inside of their smoker because it can withstand temperatures up to 1200 degrees Fahrenheit. It also provides good adhesion, meaning that it won’t chip or peel even in humid and moist environments. High-temperature silicone-based paint comes in a variety of colors, making it easy to customize the look of your smoker to your liking.
Next is high-temperature ceramic paint. This type of paint is perfect for smokers because it can withstand temperatures up to 2000 degrees Fahrenheit, providing excellent insulation properties that prevent heat from escaping. It’s also resistant to water, chemicals, and UV rays, making it a durable option for outdoor environments. High-temperature ceramic paint is available in a range of colors and finishes, allowing you to choose a look that matches your desired aesthetic.
Finally, there’s high-temperature enamel paint. This type of paint is made from a blend of resin and pigments that can withstand temperatures up to 1200 degrees Fahrenheit while being resistant to rust and corrosion. High-temperature enamel paint provides a smooth, glossy finish that looks great on metal surfaces. It’s also easy to apply and comes in a variety of colors and finishes.
No matter what type of paint you choose for your smoker, it’s important to follow proper preparation and application techniques to ensure that your painted smoker looks great and performs well for years to come. Make sure to clean and prepare the surface before applying any paint, and always follow the manufacturer’s instructions carefully.
High-Temperature Silicone-Based Paint
Look no further than high-temperature silicone-based paint. As an expert in this field, I can confidently recommend this type of paint as the ideal choice for customizing your smoker’s appearance while ensuring its durability.
One of the most significant advantages of high-temperature silicone-based paint is its ability to resist high temperatures. With a heat resistance of up to 1200°F, this type of paint can handle the extreme heat found inside a smoker without cracking or peeling. Not only does it offer protection against high temperatures, but it also resists moisture and chemicals, making it perfect for use in harsh environments.
Another great advantage of using high-temperature silicone-based paint is its ability to prevent rust and corrosion. The inside of a smoker is a tough environment that can cause metal surfaces to corrode quickly. By applying a layer of this paint, you can effectively protect the metal surfaces from rust and corrosion, extending the lifespan of your smoker.
When applying high-temperature silicone-based paint, it’s essential to follow the manufacturer’s instructions carefully. This may include cleaning and drying the surface before application and using a primer or base coat for optimal results. To ensure the best outcome, it’s also essential to apply the paint evenly and allow it to dry completely before using the smoker.
Ceramic-Based Paint
Ceramic-based paint is specifically designed for harsh conditions and can withstand extreme heat, making it an ideal choice for painting the inside of a smoker. But not all ceramic-based paints are created equal. It’s crucial to select a high-quality product that can withstand temperatures of at least 1200 degrees Fahrenheit, ensuring maximum durability.
The benefits of using ceramic-based paint on the inside of a smoker go beyond just durability. It can also help regulate the temperature inside the smoker, maintaining consistency throughout the smoking process. This results in better-tasting food and a more enjoyable grilling experience overall.
To achieve a smooth, long-lasting finish, proper preparation is key. Thoroughly clean the inside of the smoker and remove any rust or debris before applying the paint in thin, even coats. This will maximize the durability of the paint and ensure a consistent finish.
Preparing the Surface Before Painting
When it comes to painting the inside of a smoker, preparation is key. Properly preparing the surface before painting ensures that the paint adheres properly and lasts longer. Here are the necessary steps for preparing the surface before painting the inside of a smoker.
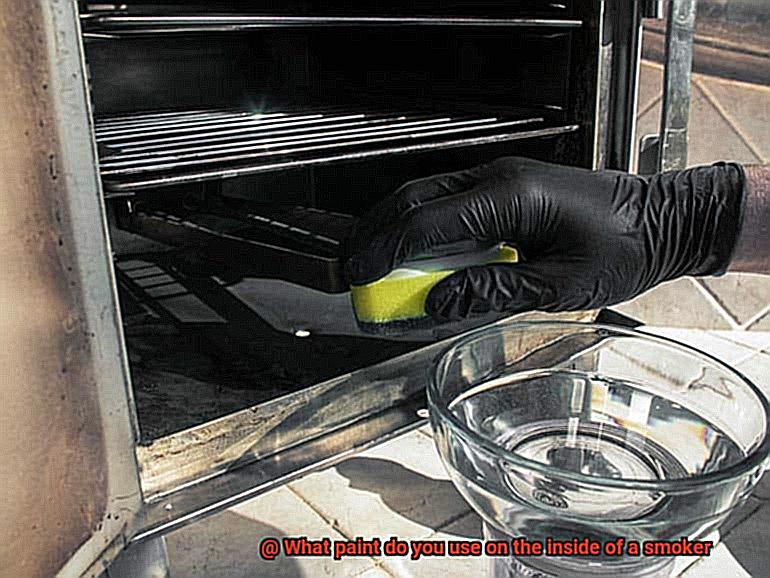
Step 1: Thoroughly Clean the Surface
The first and most important step in preparing your smoker for painting is to clean the surface thoroughly. This can be done by using warm water and dish soap. Be sure to rinse the surface with clean water and let it dry completely. It’s crucial to wait until the surface is completely dry before moving on to the next step, as painting a damp surface can affect the adhesion of the paint.
Step 2: Sand Down Rough Spots and Rust
Once your smoker is dry, it’s time to sand down any rough spots or rust. This will ensure that your paint adheres properly and creates a smooth finish. Use sandpaper to sand down any rough spots or rust. Be sure to wear gloves and a mask while sanding to protect yourself from any harmful particles.
Step 3: Apply High-Temperature Primer
Before applying any paint, it’s recommended to use a high-temperature primer specifically designed for high-temperature applications. This primer will provide a protective layer on the surface and help the paint adhere better. Apply the primer evenly across the surface and allow it to dry completely before painting.
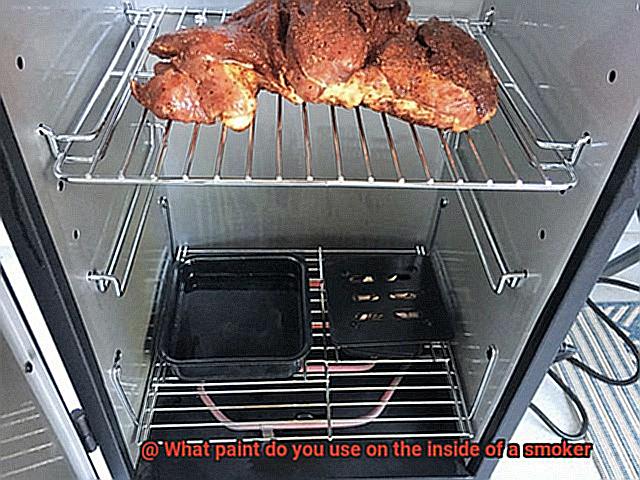
Step 4: Choose Food-Grade Safe Paint
When choosing paint for the inside of your smoker, it’s important to select one that is food-grade safe and can withstand high temperatures. Epoxy paint or high-temperature silicone-based paint are popular choices for painting the inside of smokers. These types of paints are designed to withstand temperatures up to 1200 degrees Fahrenheit and are safe for use on surfaces that come in contact with food.
Applying the Paint
Applying paint to the inside of a smoker may seem like a simple task, but it’s important to follow certain steps to ensure maximum protection and durability. Here’s what you need to know:
Preparing the Surface:
Before you begin, make sure that the surface of your smoker is clean and free of any rust, grease, or debris. A wire brush or sandpaper can be used to accomplish this. This step is crucial to ensure that the paint adheres properly.
Choosing the Right Paint:
It’s important to choose high-temperature paint since it can withstand the extreme heat generated during smoking. This type of paint can endure temperatures up to 1200°F, making it perfect for most smoking applications. Make sure that the paint is compatible with the surface you are painting on.
Using Primer:
Before applying the paint, use a primer specifically designed for high-temperature environments. This will help the paint adhere better to the surface and provide better protection against heat and other elements.
Applying the Paint:
When applying the paint, use a brush or spray gun specifically designed for high-temperature applications. This will ensure that the paint goes on smoothly and evenly and that your smoker is protected from heat and other elements. Apply two coats of high-temperature paint for maximum protection and durability. Allow each coat to dry completely before applying the next coat.
Cleaning Up After Painting
You’ve just completed painting the inside of your smoker. The only thing left to do is to clean up the mess and ensure that your smoker is safe for use. Properly cleaning up after painting is essential to prevent the paint from chipping off and contaminating your food. In this guide, we’ll go through a step-by-step process that will leave your smoker spotless.
Step 1: Allow the Paint to Dry Completely
The first step in cleaning up after painting is to allow the paint to dry completely. This may take a few hours or even a few days depending on the type of paint used and the temperature and humidity levels in your environment. It’s important not to rush this step as it ensures that the paint adheres properly and lasts longer.
Step 2: Remove Any Dirt or Debris
Once the paint has dried, it’s time to remove any dirt or debris that may have accumulated during the painting process. You can use a soft-bristled brush or a vacuum cleaner fitted with a soft brush attachment. Avoid using harsh chemicals or abrasive cleaners as they can damage the paint and potentially contaminate your food. A gentle approach is always best.
Step 3: Wipe Down the Inside of the Smoker
Next, it’s recommended to wipe down the inside of the smoker with a damp cloth to remove any remaining dust or particles. If necessary, you can use a mild soap solution but ensure you avoid harsh chemicals or abrasive cleaners. A good wipe down will help remove any remaining residue and keep your smoker clean.
Step 4: Thoroughly Rinse and Dry
Finally, it’s important to thoroughly rinse and dry the inside of the smoker before using it again. This will help ensure that any remaining dust or particles are removed, and that the paint has fully cured before being exposed to heat and smoke. Make sure you dry your smoker completely before using it again to prevent any moisture from forming.
Benefits of Using the Right Type of Paint for Your Smoker
If you’re looking to give your smoker a makeover, using the right type of paint can make all the difference. Not only will it enhance the appearance of your smoker, but it can also improve its functionality and longevity. Here are some key benefits of using the correct type of paint for your smoker:
Heat Resistance:
The inside of a smoker can reach scorching temperatures, and regular paint won’t cut it in these conditions. Opting for heat-resistant paint is essential to ensure that your paint job lasts and doesn’t affect the flavor of your food. This type of paint can withstand extreme temperatures and won’t peel or crack over time.
Corrosion Resistance:
Protecting your smoker from rust and corrosion is vital to keep it in top condition. Exposure to moisture and other elements can cause this damage, but using the right type of paint can prevent these issues. By selecting corrosion-resistant paint, you’re investing in a longer lifespan for your beloved smoker.
Easy to Clean:
Smokers can get dirty quickly, and cleaning them out can be a chore. However, choosing an easy-to-clean paint makes this task much more manageable. Look for non-stick or smooth surface paints that will make cleaning up a breeze. It’ll save you time and effort in the long run.
Improved Smoke Flavor:
Believe it or not, the type of paint you use can impact the taste of your food. Some paints contain harmful chemicals that can release fumes when heated, affecting the flavor of your barbecue. Opting for non-toxic and food-safe paint is crucial for maintaining the integrity and deliciousness of your smoked meats.
2ObBpwabNmg” >
Conclusion
In conclusion, the paint you choose for the inside of your smoker can make or break its lifespan. With a plethora of options available in the market, it can be daunting to decide on the perfect one that caters to your specific needs. However, considering factors such as heat resistance and corrosion resistance can help you narrow down your options.
A popular choice for painting the inside of smokers is high-temperature silicone-based paint. Its ability to withstand temperatures up to 1200 degrees Fahrenheit and resist moisture and chemicals makes it ideal for harsh environments. Another great option is high-temperature ceramic paint that can endure temperatures up to 2000 degrees Fahrenheit while regulating temperature inside the smoker.
To ensure optimal results when applying any type of paint, proper preparation and application techniques are vital. Thoroughly cleaning and preparing the surface before painting guarantees that the paint adheres correctly and lasts longer. Following manufacturer instructions carefully will also help achieve optimal results.
Using high-quality, heat-resistant, corrosion-resistant, easy-to-clean, non-toxic paints that are food-grade safe not only enhances your smoker’s appearance but also improves its functionality and longevity.