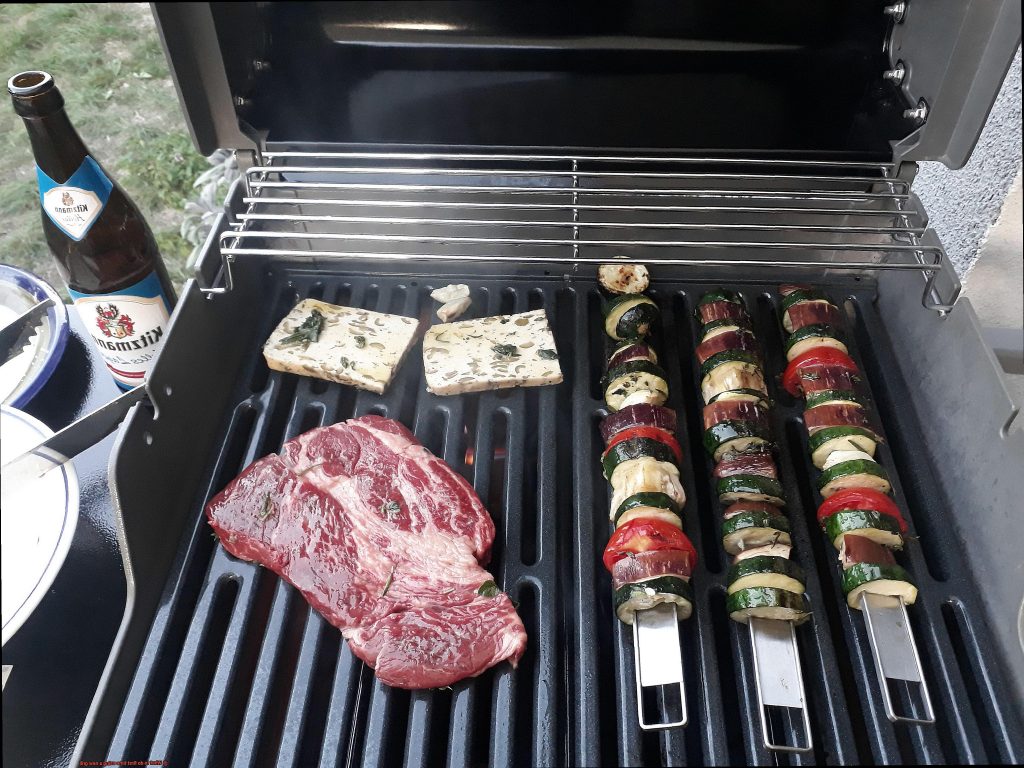
Summer is just around the corner, and what better way to celebrate than by breaking in your new grill? The sizzle of juicy burgers, perfectly charred steaks, and grilled veggies are sure to make your mouth water. But hold on a second. Before you start grilling up a storm, there are some crucial steps you need to take first.
Using a new grill can be intimidating if you don’t know where to begin. Don’t fret though; we’ve got your back. In this blog post, we’ll walk you through everything you need to do before firing up your grill for the first time. From seasoning your grill grates to checking for gas leaks, we’ll cover all the bases.
We’ll also show you how to properly light the grill and adjust the temperature so that your food comes out perfectly every time. And let’s not forget about cleaning – we’ll give you tips on how to keep your grill sparkling clean throughout the season.
So grab a pen and paper because it’s time to take some notes. With our help, you’ll be grilling like a pro in no time at all. Let’s get started.
Contents
Read the Manufacturer’s Instructions
Grilling is a cherished summer tradition that brings people together over delicious food. But before you break out your new grill and start cooking up a storm, it’s essential to take some important steps to ensure your grilling experience is safe and successful. One of the most crucial steps is to read the manufacturer’s instructions carefully.
Why is it so important to read the instructions before using a new grill for the first time? Here are some compelling reasons:
Safety always comes first. The manufacturer’s instructions will provide you with essential safety tips that you need to follow to avoid accidents and injuries. From assembling the grill correctly to controlling temperature, cleaning, and maintaining it, these instructions will help you operate your grill safely.
Proper assembly is key. The manufacturer’s instructions will also give you an idea of how to assemble your grill the right way. This can help you avoid damaging or malfunctioning the grill, making it difficult for you to use it effectively.
Maintenance tips are included. To prolong the life of your grill, the manufacturer’s instructions will provide you with maintenance tips. You’ll learn how to clean and store the grill properly to prevent rusting, how often to replace certain parts, and other essential maintenance tips.
Warranty coverage is at stake. Following the manufacturer’s instructions can also help keep your warranty coverage intact. If you don’t follow the instructions properly, you may end up damaging the grill or causing a malfunction, which could void your warranty and be costly.
Assemble and Inspect the Grill
Assembling and inspecting your grill is a crucial step to ensure safe and successful grilling. Follow these steps carefully, and you’ll be ready to fire up your grill and start enjoying delicious BBQ in no time.
Before starting the assembly process, ensure that you have all the necessary tools and equipment required for the job. Trust me; you don’t want to find out halfway through that you’re missing a crucial tool. So, gather everything you need before you start. Some of the necessary tools may include screwdrivers, pliers, wrenches, and other tools specified in the manufacturer’s instructions.
Once you have all the tools ready, lay out all the parts of your grill and start assembling it according to the manufacturer’s instructions. Take your time and follow each step carefully. Ensure that all parts are securely fastened and tightened before moving on to the next step. Remember that some models may take as little as 30 minutes, while others may require up to an hour or more to assemble.
After assembling your grill, it’s essential to give it a thorough inspection before using it for the first time. Ensure that all parts are correctly aligned and securely fastened. Check all hoses and connections for leaks or damage. It’s vital to resolve any defects or issues before using your grill for the first time.
If you encounter any difficulties during assembly or inspection, don’t hesitate to refer to the manufacturer’s instructions or reach out to their customer support for assistance.
Clean the Grill Before Use
Before you do, it’s vital to clean your grill thoroughly. Here’s why:
- Eliminate Dust, Dirt, and Rust: Your new grill may have been sitting on a warehouse shelf or in storage for months. During this time, it could have accumulated dust, dirt, and even rust. Give it a good scrub down to ensure that it is free of these contaminants before you start cooking.
- Remove Factory Oils and Chemicals: The manufacturing process may have involved the use of oils or chemicals that could pose health risks if ingested. Cleaning your grill before use will help remove any residue from these substances.
- Ensure Safe Cooking: A dirty grill can cause flare-ups or other safety issues when you start grilling. By cleaning it thoroughly before use, you’ll be able to identify and address any potential problems.
So how do you clean your grill before use? Follow these steps:
Step 1: Remove any packaging materials or protective coatings.
- Step 2: Use a stiff-bristled brush to scrub the grates and remove any debris or rust that may have accumulated. If the grates are heavily soiled, soak them in warm soapy water and scrub with a non-abrasive sponge.
- Step 3: Wipe down the exterior of the grill with a damp cloth or sponge. Be thorough in removing any dust or dirt that may have accumulated during shipping or storage.
- Step 4: Check the drip tray and other removable parts for any debris or excess oils. These should be cleaned thoroughly before use to prevent any safety hazards when you start grilling.
Seasoning the Grill
Before you dive right in, it’s crucial to season your grill. Not only does this process eliminate any unwanted residue or chemicals, but it also creates a non-stick surface that will make cooking easier and prevent your food from sticking to the grates.
So, what are the steps to seasoning your grill?
Step 1: Get Scrubbing
Begin by giving your grates a thorough scrub with warm soapy water and a stiff-bristled brush. This will get rid of any dirt, dust, or rust that may have accumulated during shipping or storage. Rinse the grates with water and dry them off with a clean cloth or towel.
Step 2: Preheat the Grill
Next, preheat the grill on high heat for approximately 15 minutes with the lid closed. This will burn off any remaining debris or chemicals that may still be present on the surface of the grill.
Step 3: Apply Oil
Once your grill is heated, turn off all burners and allow it to cool down slightly. Using a clean cloth or paper towel, apply a thin layer of cooking oil or spray onto the grates. Be sure to coat every part of the grates evenly, including the sides.
Step 4: Bake in the Oil
After applying the oil, turn on all burners to high heat and let them run for about 10-15 minutes. This will bake in the oil and create a non-stick surface on the grates.
Step 5: Wipe Off Excess Oil
Finally, turn off all burners and let the grill cool down completely. Once it has cooled down, wipe off any excess oil with a clean cloth or paper towel.
Choosing the Right Type of Fuel
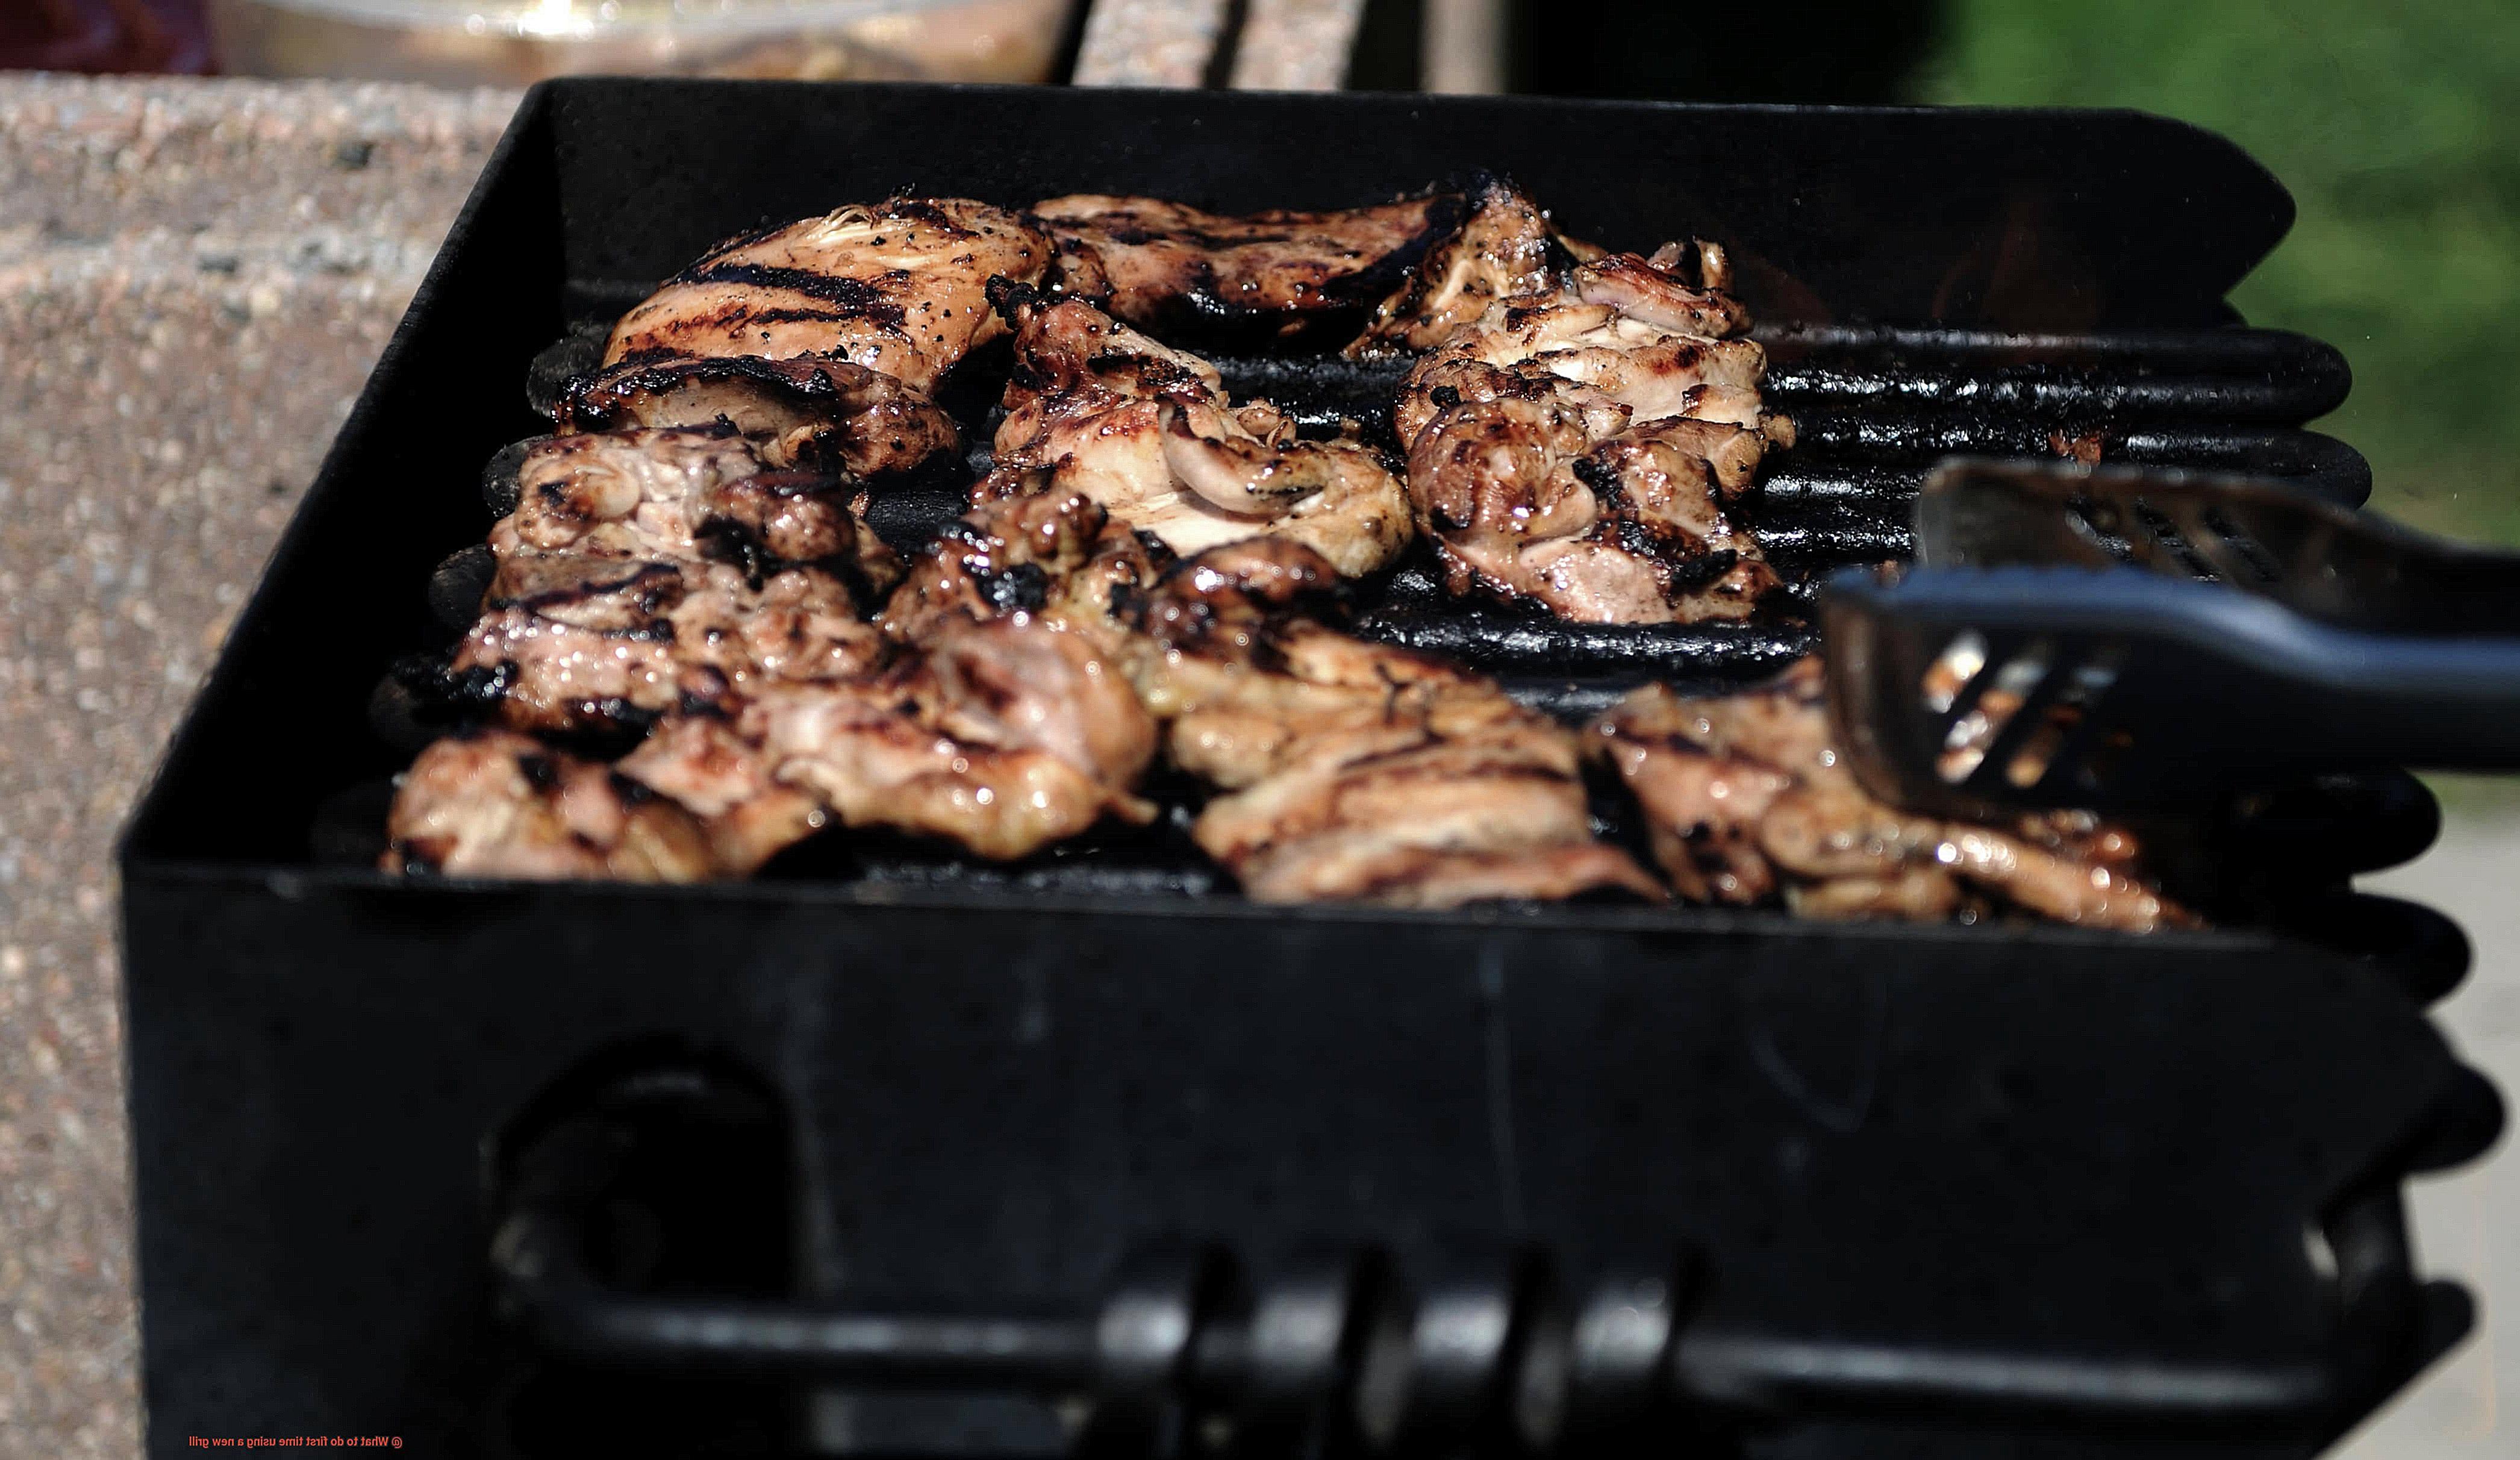
As any grill master will tell you, choosing the right type of fuel is crucial to achieving the perfect cookout. With so many options available, it can be overwhelming to determine which one to use. As an expert in this field, let me guide you through the advantages and disadvantages of each type of fuel.
First up, we have charcoal. This traditional fuel is well-known for its unique smoky flavor. While it may take some skill to maintain the correct temperature, the delicious taste it imparts on your food makes it worth the effort. However, it can be messy and produces more ash than other types of fuel.
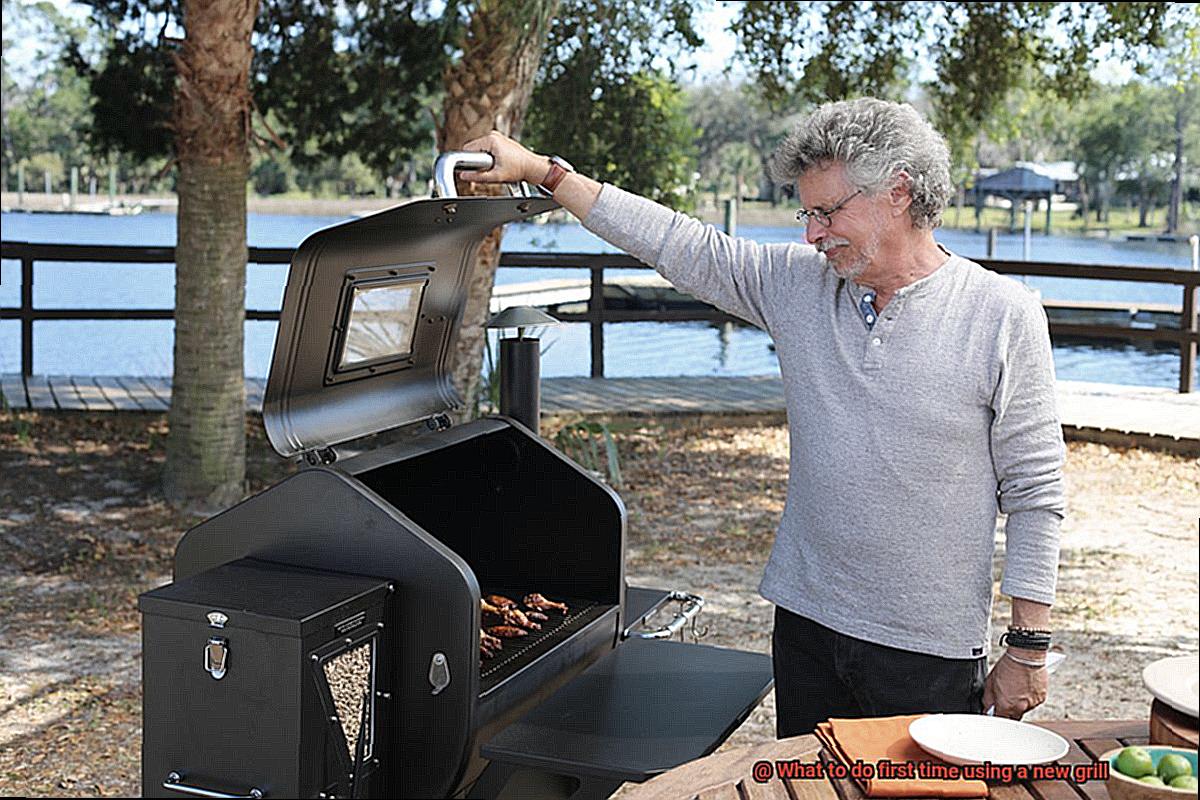
Another option is wood pellets. Made from compressed sawdust, they offer a consistent heat source and come in various flavors such as hickory, mesquite, and applewood that can elevate the taste of your food. However, they can be expensive and require a specialized grill.
Propane is a popular choice due to its ease of use and quick heating time. It’s readily available at most hardware stores or gas stations and offers precise temperature control. Additionally, it doesn’t produce as much ash as charcoal and doesn’t require any specialized equipment. However, it doesn’t provide the same smoky flavor as charcoal or wood pellet grills.
Lastly, natural gas is a convenient option for those with a gas line hookup at home. It offers similar benefits to propane but with the added convenience of never needing to refill a tank. However, it also requires a specialized grill.
So how do you choose the right type of fuel for your grill? Here are some things to consider:
- Flavor: If you value flavor over convenience, go for charcoal or wood pellets.
- Convenience: If ease of use and clean up are important to you, propane or natural gas may be the way to go.
- Cost: Wood pellets tend to be the most expensive while charcoal and propane are more affordable.
- Availability: If you don’t have a gas line hookup at home, propane or charcoal may be the best option.
Lighting the Grill
Before you get started, let’s talk about the critical first step: lighting the grill. As an expert in all things grilling, I’m here to guide you through the process and ensure a safe and successful experience.
First things first, safety is paramount. Whether you’re using a gas or charcoal grill, take a moment to check the connections and make sure everything is secure before lighting. Double-check that your propane tanks are full, and if you’re using charcoal, make sure it’s properly arranged for easy lighting.
Now, let’s get to the fun part – lighting that grill. For gas grills, turn on the gas valve and ignite the burners using either a lighter or built-in ignition system. It’s crucial to keep the lid open while lighting the grill to avoid any potential gas buildup. Once lit, close the lid and let the grill preheat for at least 10-15 minutes before placing any food on it.
For charcoal grills, there are two options to light up your briquettes: use a chimney starter or lighter fluid. If you’re using a chimney starter, place it at the bottom of your grill and fill it with charcoal before lighting it from underneath. Wait until the charcoal has turned gray before spreading it out and placing any food on it. If you prefer lighter fluid, add a small amount to your pile of charcoal and light it after giving it a few seconds to soak in.
Remember that safety always comes first when it comes to grilling. Always follow your manufacturer’s instructions when lighting a new grill for the first time. Don’t forget to have a fire extinguisher nearby in case of any accidents or emergencies.
Monitor Heat Levels and Food Safety
However, it’s crucial to monitor heat levels and practice food safety to ensure a successful and safe grilling experience.
The first step to mastering your new grill is to read the manufacturer’s instructions and familiarize yourself with its heating system. This will help you to properly monitor heat levels and get the most out of your grilling experience. Once you’re ready to start grilling, preheat your grill for at least 10-15 minutes to burn off any residual chemicals from the manufacturing process.
To ensure that your food is cooked safely and evenly, use a thermometer to check the temperature of the grill grates or coals depending on your type of grill. Keep a close eye on the temperature throughout the cooking process and adjust as necessary. Remember to keep a spray bottle of water within reach in case of flare-ups or excessive smoke.
In addition to monitoring heat levels, practicing food safety is essential when using a new grill. Start by washing your hands thoroughly before handling any food, and keep raw meats separate from other foods. Use separate utensils and cutting boards for raw meat and cooked food to prevent cross-contamination.
When it comes to cooking meats, it’s crucial to cook them thoroughly to prevent foodborne illnesses. Use a meat thermometer to check that meats are cooked to the appropriate internal temperature – 145°F for beef, pork, veal, and lamb; 160°F for ground beef; 165°F for poultry. Remember to let meats rest for a few minutes after cooking to allow juices to redistribute before serving.
Keep a Fire Extinguisher Nearby
Grilling is a beloved pastime that brings people together, but safety must always be a top priority. One of the most critical safety measures to take when grilling is to keep a fire extinguisher nearby. Fires can happen unexpectedly, even if you are being careful, so it’s best to be prepared.
To start, before using your grill for the first time, make sure you have a fire extinguisher that is appropriate for outdoor use and rated for Class B and C fires, which are the most common types of fires during grilling. Keep the fire extinguisher near the grill in an accessible location so that you can quickly put out any flames if needed.
But having a fire extinguisher nearby is only half the battle; you also need to know how to use it correctly. The acronym PASS is an essential tool to remember when handling a fire extinguisher:
- P: Pull the pin on the fire extinguisher.
- A: Aim the nozzle at the base of the flames.
- S: Squeeze the handle to release the extinguishing agent.
- S: Sweep the nozzle from side to side until the flames are out.
Practice using your fire extinguisher before you need it in an emergency situation. This will help you feel more confident in your ability to handle a fire and ensure that you are using the extinguisher correctly.
Grilling involves open flames and hot surfaces that can quickly ignite and cause a fire. Not having a fire extinguisher nearby could result in property damage, injuries caused by burns or smoke inhalation, or even fatalities. Therefore, keeping a fire extinguisher nearby is crucial for several reasons:
- A fire extinguisher can prevent small fires from escalating into larger ones.
- It can contain the fire before it spreads to other areas or objects which can be especially important if you’re grilling near your home or other structures.
- Having a fire extinguisher can potentially save lives and prevent property damage.
M4o1RyPVT70″ >
Conclusion
In conclusion, the first time using a new grill can be both exhilarating and nerve-wracking. However, with the right preparation and precautions, you can ensure a safe and successful grilling experience that will leave your taste buds satisfied.
Before firing up your grill, it’s crucial to carefully read the manufacturer’s instructions to understand how to operate it safely and maintain it properly. Inspecting your grill for any defects or issues before use is also essential for avoiding potential hazards.
Cleaning your grill before use eliminates any dust, dirt, rust, or factory oils that could pose health risks or safety hazards when grilling. Seasoning your grill creates a non-stick surface that makes cooking easier and prevents food from sticking to the grates. Choosing the right fuel type depends on factors such as flavor preference, convenience, cost, and availability.
Lighting your grill requires caution and attention to avoid accidents or emergencies. Monitoring heat levels and practicing food safety are essential to ensure that your food is cooked safely and evenly. Keeping a fire extinguisher nearby is crucial in case of unexpected fires while grilling.
By following these guidelines, you’ll be able to break in your new grill like a pro and enjoy mouth-watering BBQ with loved ones all summer long.

