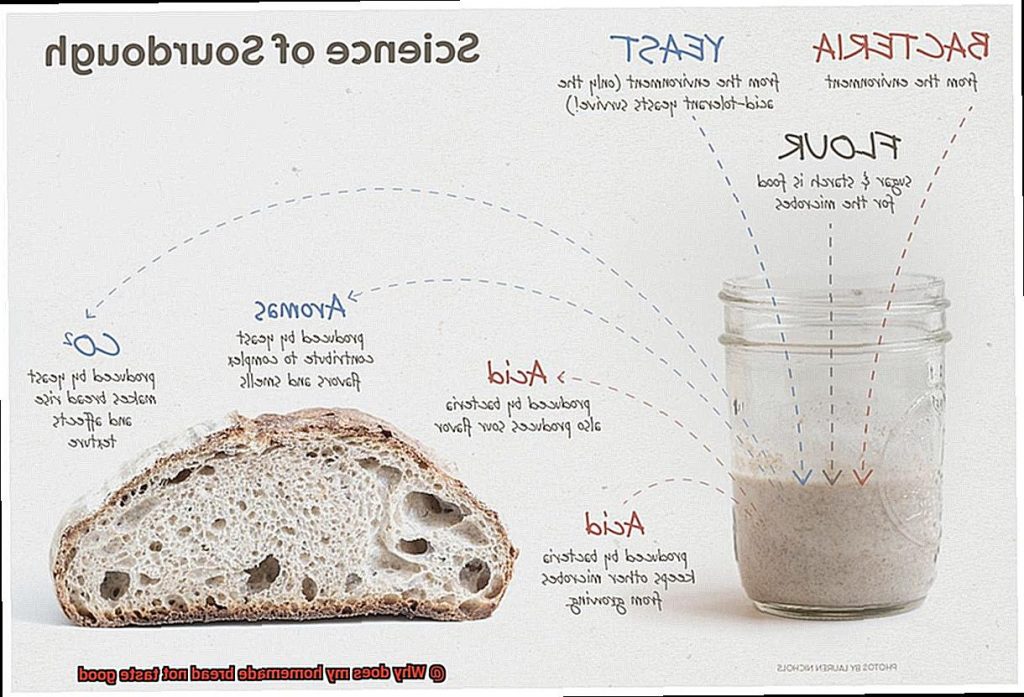
Bread-making is a magical experience that fills your kitchen with the aroma of freshly baked bread. The anticipation of watching the dough rise before baking and the satisfaction of making something from scratch is unmatched. But, let’s face it, not all homemade loaves come out perfect. Have you ever spent hours in the kitchen preparing dough only to be left with a loaf that didn’t meet your expectations? Perhaps the crumb was too dense, there wasn’t enough rise, or the flavor just wasn’t there.
If you’ve been in this situation before, don’t worry. There are several reasons why homemade bread might not taste good. It could be because you didn’t follow the recipe correctly or used inferior ingredients. Maybe it’s even how you stored your bread. But fear not. In this blog post, we’ll take a deep dive into these reasons and give you tips on how to avoid these pitfalls in the future.
So let’s get started. We are here to help you become a bread-making pro and ensure that every loaf comes out deliciously perfect every time.
Contents
Reasons Why Homemade Bread Might Not Taste Good
There are several reasons why your bread may not be turning out as delicious as you had hoped. Let’s dive into five common factors that can affect the taste of your homemade bread.
Using old or stale ingredients
The quality of your ingredients can make all the difference when it comes to the taste of your bread. If you use expired or stale flour, yeast, or other ingredients, your bread will likely have a bland or unappetizing taste. To avoid this, make sure to use fresh ingredients and store them properly to maintain their freshness.
Over or under-proofing the dough
Proofing is a crucial step in bread-making that requires careful timing. If the dough doesn’t rise enough, the bread may be dense and lacking in flavor. Conversely, if it rises for too long, it can become overproofed and have a sour taste. Make sure to follow your recipe’s instructions for proofing time and temperature and adjust as needed based on environmental factors such as humidity and altitude.
Type of flour used
Different types of flour have varying protein levels and gluten content, which can greatly affect the texture and flavor of your bread. For example, using cake flour instead of bread flour may result in a softer and more delicate bread that lacks the structure and chewiness characteristic of bread. Experiment with different types of flour to find the one that works best for your desired taste and texture.
Baking temperature
The temperature at which you bake your bread can be a make-or-break factor in its taste. Baking at too low of a temperature can result in gummy and flavorless bread, while baking at too high of a temperature can lead to dry and burnt bread. Follow your recipe’s instructions for baking temperature and check on your bread frequently while it’s baking to ensure it’s cooking evenly.
By taking these factors into consideration and making adjustments as needed, you can greatly improve the taste of your homemade bread. Don’t be afraid to experiment with different ingredients, techniques, and baking temperatures to find the perfect combination for your ideal loaf of bread.
Poor Dough Mixing
Before you throw in the towel, consider the importance of proper dough mixing. It’s not just about achieving a good texture and consistency; poor dough mixing can be the culprit behind lackluster taste.
To avoid this pitfall, start by paying attention to your ingredients and ratios. Choosing the right type of flour is key – bread flour, with its higher protein content, is ideal for making bread as it develops more gluten during mixing. And don’t forget about temperature. If your ingredients are too hot or cold, it can impact how the dough develops.
When it comes to mixing your dough, follow your recipe closely and pay attention to the instructions. This may involve using a stand mixer or kneading by hand for a specific amount of time. But don’t just set it and forget it – keep an eye on the texture and consistency of your dough as you mix it to ensure that it’s developing properly.
Improper Yeast Activation
In our previous section, we discussed the significance of proper dough mixing. But did you know that the way you activate yeast can also impact the quality of your homemade bread? Improper yeast activation is a common reason why homemade bread does not taste good. If you’re wondering what causes this, keep reading.
Yeast activation is a crucial step in bread-making as it helps to leaven the dough and develop its flavor. However, if the yeast is not activated properly, it can result in bread that is dense, heavy, or lacking in flavor. To avoid this, let’s look at some of the most common mistakes people make when activating yeast.
Firstly, using water that is too hot or too cold can hinder yeast activation. The ideal water temperature for yeast activation is between 105°F and 115°F. Water that is too hot can kill the yeast, while water that is too cold can prevent it from activating properly. It’s essential to use fresh yeast that has not expired, as expired yeast may not be as effective.
Another factor that can affect yeast activation is the environment in which the dough is left to rise. The ideal temperature for yeast to activate and grow is between 75°F and 85°F. If you leave the dough in a cold or drafty area, it may not rise properly, resulting in a dense and heavy bread.
Lastly, giving enough time for the dough to rise properly is crucial. Depending on the recipe and conditions, this may take anywhere from 1-2 hours or more. Rushing this process can result in bread that does not have enough flavor or texture.
To ensure proper yeast activation, follow these tips:
- Use water at the correct temperature (between 105°F and 115°F).
- Always use fresh yeast that has not expired.
- Allow the dough to rise at the right temperature (between 75°F and 85°F).
Give enough time for the dough to rise properly (1-2 hours or more).
By following these tips, you can guarantee that your homemade bread will have a great texture and flavor. Don’t let improper yeast activation ruin your bread-making experience. Keep these tips in mind and enjoy your delicious homemade bread.

c. Old or Expired Ingredients
Then listen up, because the secret to delicious homemade bread lies in using fresh and high-quality ingredients. That’s right, using old or expired ingredients could mean the difference between a perfect loaf and a disappointing one.
Let’s start with flour. This essential ingredient has a shelf life of about 6 to 8 months when stored in a cool and dry place. However, after this time, it begins to lose its freshness and nutrients, resulting in a dense and heavy loaf with little rise or flavor. So, make sure to check your flour’s expiration date and store it properly for optimal freshness.
Now, let’s talk about yeast. This magical ingredient is responsible for giving your bread its signature rise and flavor. But beware, yeast has a much shorter shelf life than flour – only a few months. Using expired yeast can result in a loaf that doesn’t rise properly or has an off-flavor. So always check the expiration date on your yeast before using it.
But it’s not just flour and yeast that need attention. Salt and sugar may not expire per se, but they can absorb moisture from the air over time, affecting their effectiveness in the recipe. To keep them fresh, store these ingredients in airtight containers.
In summary, using old or expired ingredients can lead to lackluster homemade bread. To guarantee your loaves are always delicious, follow these tips:
- Use fresh and high-quality ingredients
- Check expiration dates
- Store ingredients properly
Baking Time and Temperature Issues
In our previous section, we discussed the importance of using fresh and high-quality ingredients. However, there is another significant factor that can make or break your bread: baking time and temperature. Let’s dive into this crucial topic and explore some useful tips to ensure that your bread comes out perfectly baked every time.
Temperature is a critical factor in baking bread. If your oven’s temperature is too high, the outside of your bread will be burnt while the inside remains uncooked. On the other hand, a low temperature will result in a dense and gummy texture. Therefore, it is vital to set the oven temperature correctly.
But did you know that preheating your oven is equally important? Preheating ensures that your oven reaches the desired temperature before placing your bread inside. If you skip this step, you may end up with unevenly baked bread with an undercooked center or burned crust.
When it comes to baking time, different types of bread require different amounts of time in the oven. For instance, sourdough bread takes longer to bake than other types because of its denser crumb. Therefore, it is essential to follow the recipe instructions carefully and adjust accordingly.
The size and shape of your loaf also play a crucial role in determining baking time and temperature. A larger loaf will take longer to bake than a smaller one, and different shapes may require adjustments in temperature or baking time. So if you’re experimenting with different shapes, be prepared to make some adjustments.
In summary, baking time and temperature are critical factors when it comes to making homemade bread. Take the time to preheat your oven properly, adjust for different types of bread and sizes, and watch your loaves come out perfectly every time. Here’s a quick recap:
- Set the oven temperature correctly
- Preheat your oven before placing your bread inside
- Different types of bread require different amounts of time in the oven
- Adjust baking time and temperature depending on the size and shape of your loaf
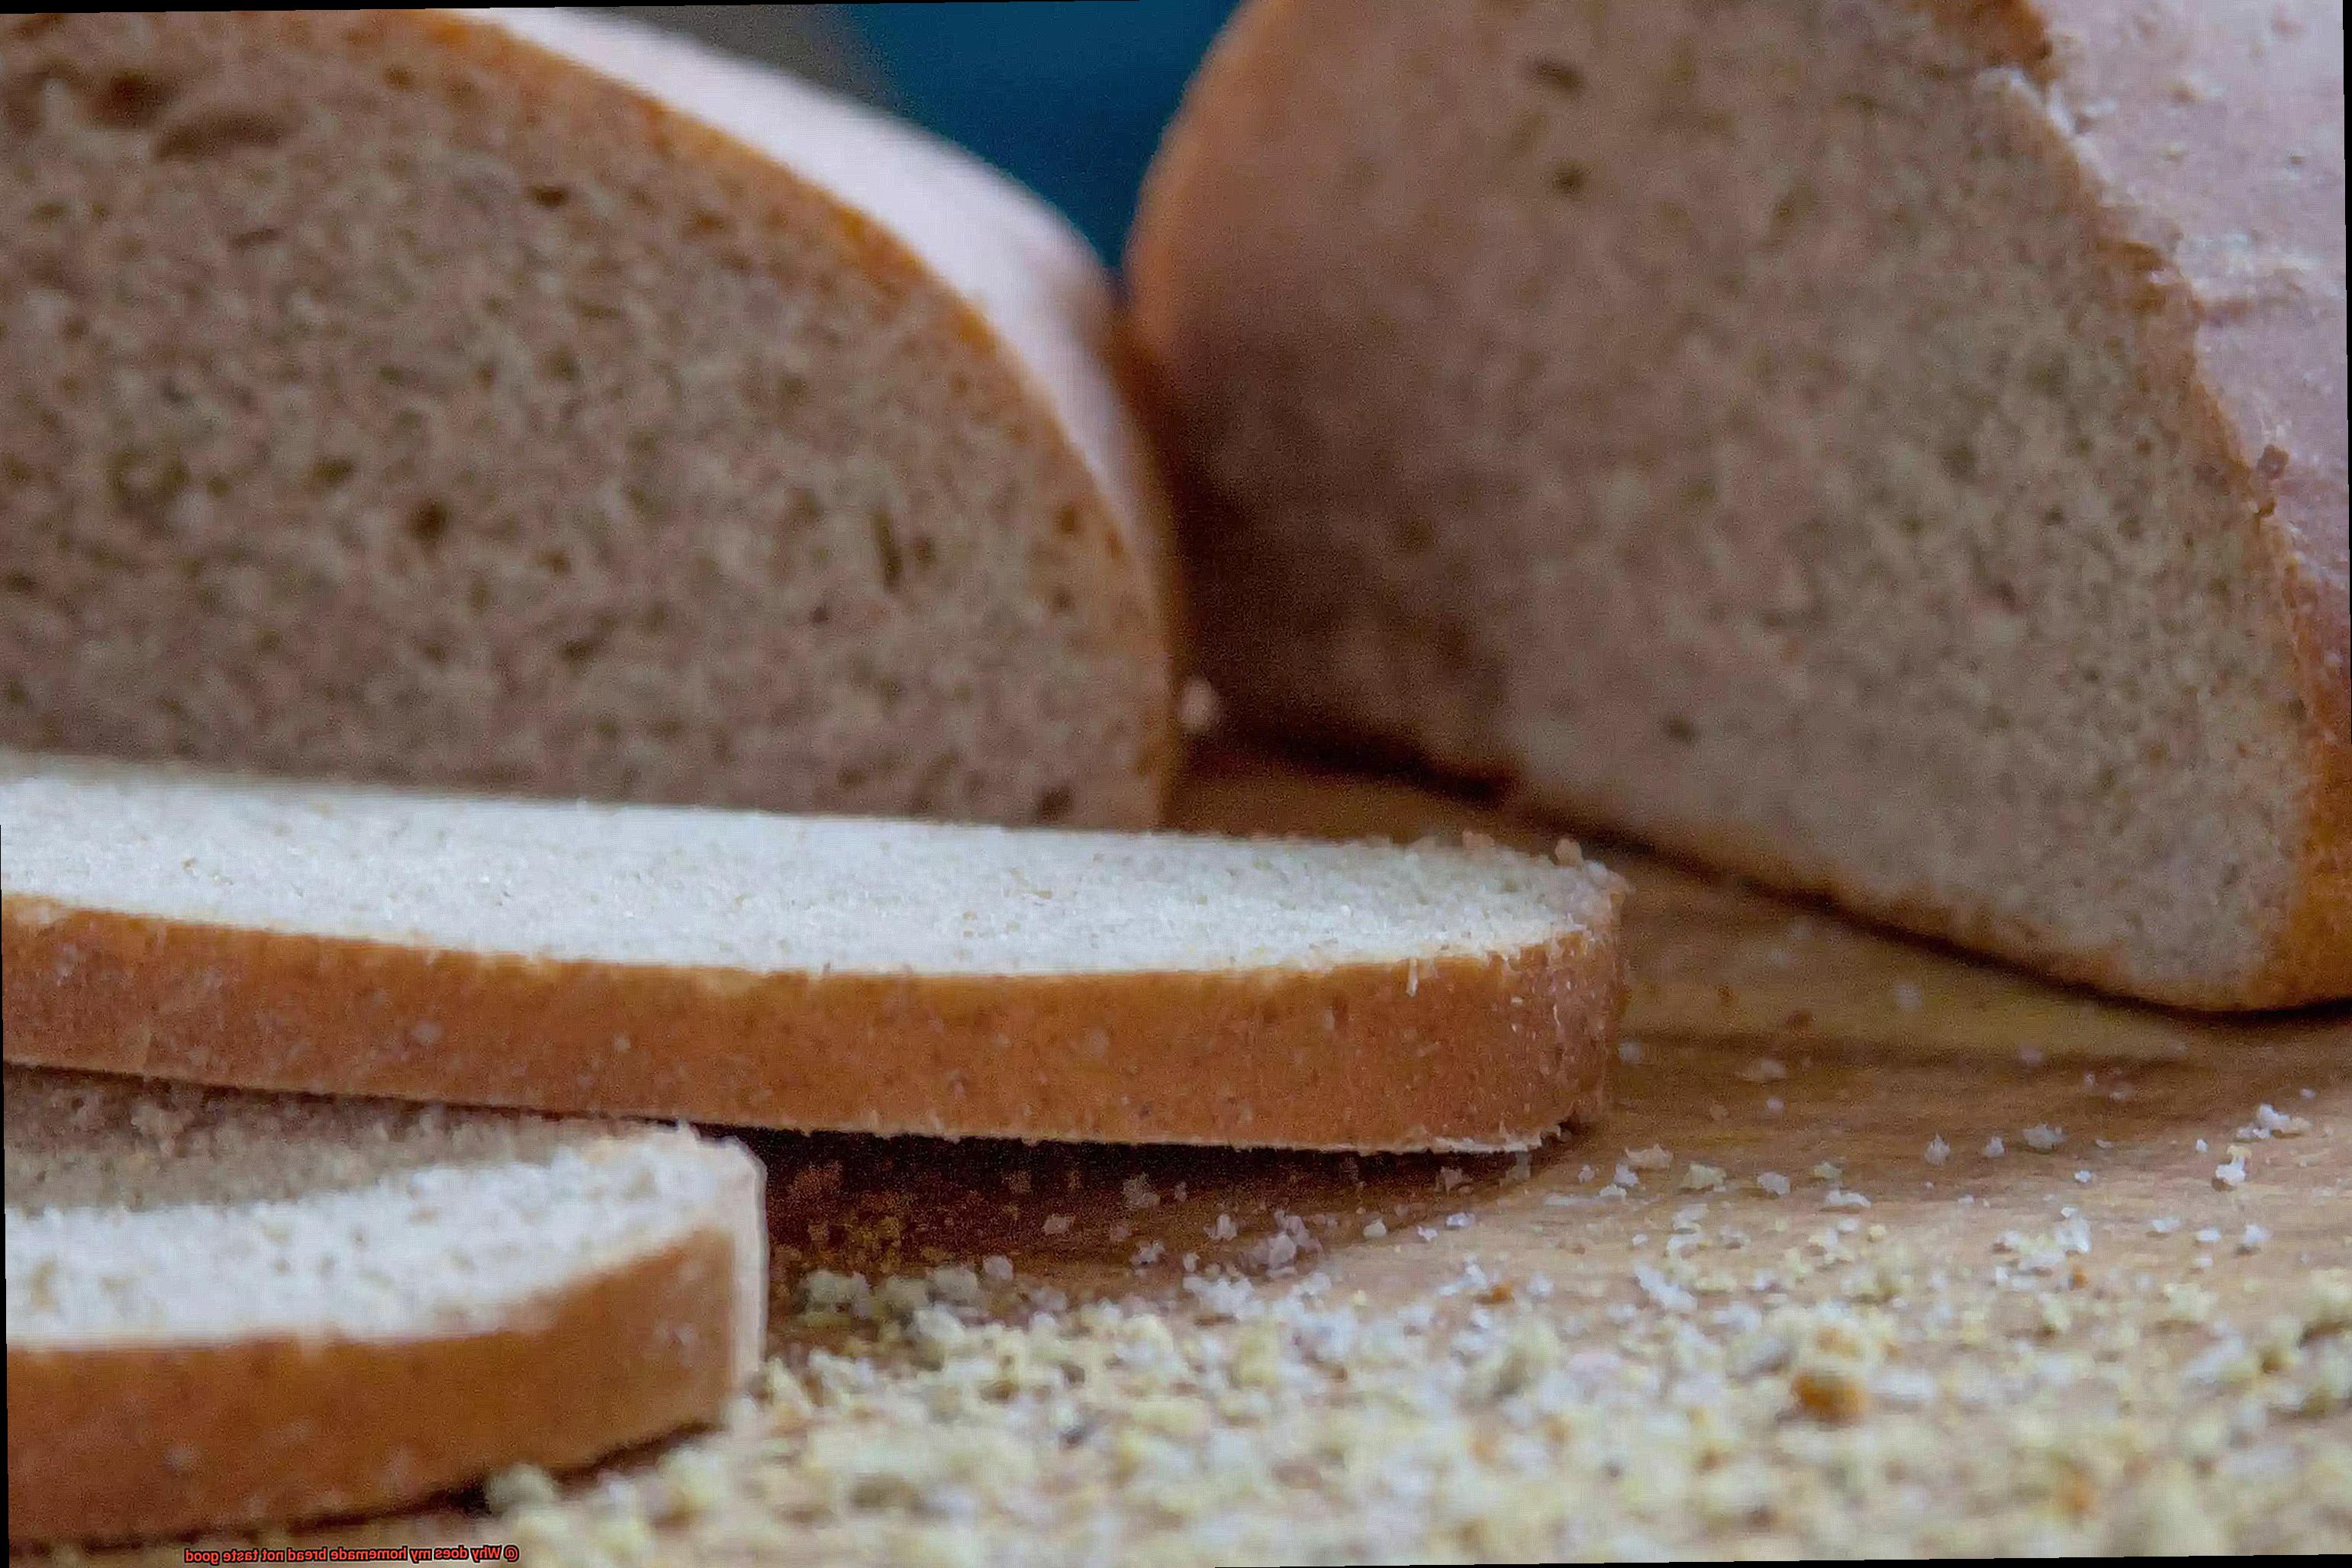
Tips for Making Delicious Homemade Bread
If you’re looking to make delicious homemade bread, it’s important to pay attention to every little detail of the process. From the ingredients you use to the way you knead the dough, every step can make a difference in the final product. Here are some tips to help you perfect your homemade bread-making skills.
Quality Ingredients Make a Difference
The quality of your ingredients can make or break your bread. Using fresh flour, yeast, and water will ensure that your bread tastes its best. Always choose high-quality ingredients and avoid using anything that is past its expiration date or has gone stale. If you’re using whole grains, make sure they’re fresh as well.
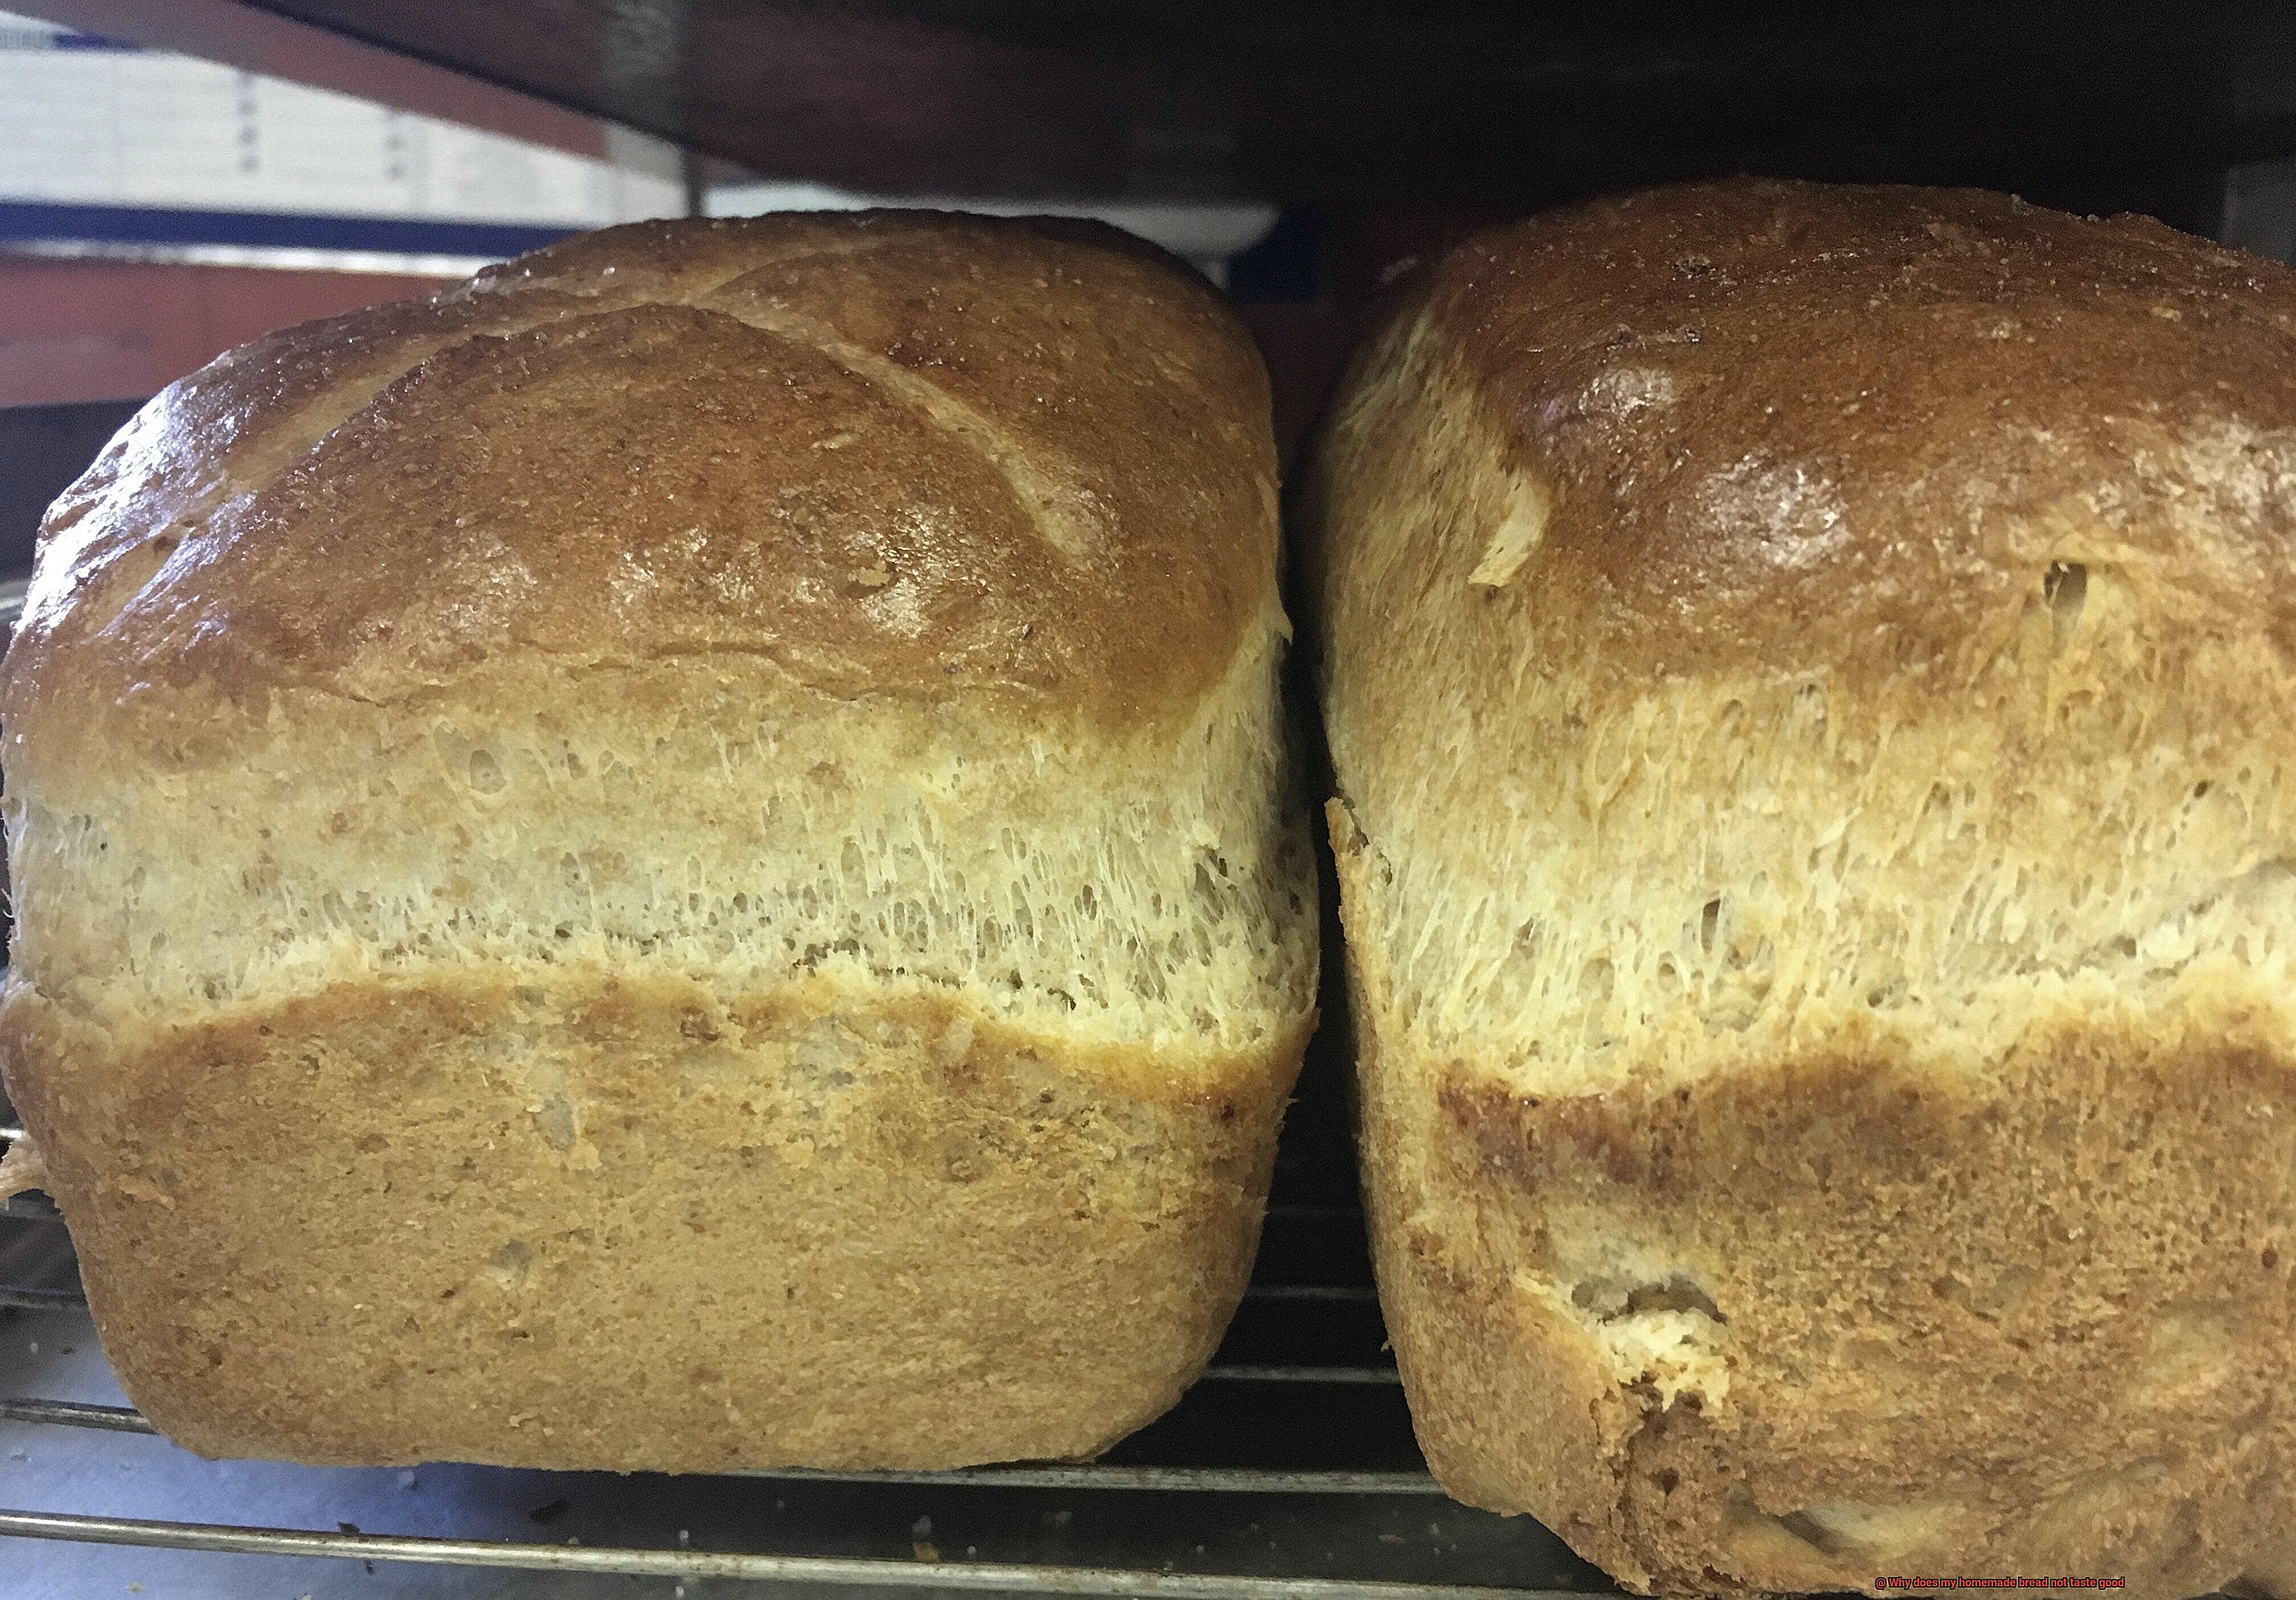
Accurate Measuring is Key
Baking is a science, so it’s important to measure your ingredients accurately. Invest in a good digital scale and measure your ingredients by weight instead of volume for more consistent results. Too much flour or water can result in a dense or gummy loaf, so accuracy is key.
Proper Kneading is Crucial
Kneading develops gluten in the dough, which gives bread its structure and texture. Knead the dough until it’s smooth and elastic, which usually takes around 10 minutes. Don’t rush this step as it can make all the difference in creating a light and fluffy texture.
Give Your Dough Time to Rise
Yeast needs time to do its job, so let the dough rise until it’s doubled in size. This can take anywhere from 1-2 hours depending on the recipe and the temperature of your kitchen. Don’t rush this step as it’s crucial for achieving a great tasting loaf.
Temperature Matters When Baking
Baking bread at the right temperature is crucial for achieving a crispy crust and soft interior. Preheat your oven to the temperature specified in the recipe and bake until the bread is golden brown. Overbaking can result in a dry and tough loaf, while underbaking can result in a raw center. So, make sure to follow the recipe’s instructions for temperature and baking time.
Let it Cool Before Slicing
Once your bread is out of the oven, it’s important to let it cool completely before slicing into it. This will prevent it from becoming too dense or gummy. It is recommended to let the bread cool for at least 30 minutes before slicing into it.
Ensure Proper Dough Mixing
And when it comes to making homemade bread, proper dough mixing is the key ingredient to achieving a light and fluffy texture with a crispy crust and soft interior. Let’s dive into why proper dough mixing is so important and how to do it right.
Firstly, measuring all ingredients accurately is essential for a successful dough. Start by mixing the dry ingredients first and then add the wet ingredients slowly while continuing to mix. Mixing the dough until it becomes smooth and elastic is also crucial. This ensures that all ingredients are well incorporated and that the dough has the perfect consistency.
Over-mixing or under-mixing the dough can lead to undesirable results. Over-mixing can cause gluten strands in the dough to stretch too much, resulting in a tough and dense bread. On the other hand, under-mixing can result in uneven distribution of ingredients leading to a loaf with large air pockets. So, finding the perfect balance between mixing enough to develop gluten but not so much as to overwork it is essential.
To ensure proper dough mixing, you can use a stand mixer with a dough hook attachment or knead the dough by hand. Kneading by hand requires more effort but allows you to feel the texture of the dough and make adjustments as needed. It’s also an excellent opportunity to connect with your dough and appreciate the process of making bread.
Activate the Yeast Correctly
There’s something truly magical about the aroma of freshly baked bread wafting through your home. But if you’ve ever attempted to make homemade bread and ended up with a dense, flavorless loaf, fear not – you’re not alone. One of the most common mistakes in bread-making is incorrectly activating yeast. As an expert in this field, I’m here to guide you through the steps to activate yeast correctly and achieve delicious homemade bread every time.
Firstly, let’s talk about temperature. The key to activating yeast is using warm water at the right temperature. Water that’s too hot can kill the yeast, while water that’s too cold won’t activate it. To be precise, aim for water between 105-110°F (40-43°C). This temperature range is perfect for activating the yeast. You can use a thermometer to check the water temperature for accuracy.
Next up, fresh yeast is essential. Always check the expiration date on your yeast before using it. Old or expired yeast won’t activate properly, which means your bread won’t rise as it should and will lack flavor. So make sure you have fresh yeast on hand before starting your baking project.
Now, patience is key. Once you’ve mixed the yeast with warm water, wait for 5-10 minutes until it becomes frothy and bubbly. This frothing and bubbling indicate that the yeast is alive and activated, ready to be added to the dough. Don’t rush this step; it’s crucial for the success of your bread.
Lastly, let’s talk about salt. Salt can inhibit yeast growth; thus, it’s essential to avoid adding salt directly to the yeast mixture. Instead, mix salt with flour before adding it to the dough. This ensures that the yeast has a chance to activate correctly before being exposed to salt.
Use Fresh Ingredients for Best Results
If so, it’s time to step up your game and use fresh ingredients for the best results. Fresh ingredients are not only essential for flavor but also play a significant role in the rising process, resulting in a better texture and overall quality of your bread.
Firstly, let’s talk about yeast. Yeast is the star of bread-making, responsible for leavening the dough and creating that fluffy texture we all love. Using old or expired yeast can lead to flat and dense bread, so always check the expiration date on your yeast and store it correctly in a cool, dry place. Fresh yeast is the key to success when it comes to baking delicious bread.
Next on our list is flour. Flour is the backbone of bread-making, and it’s crucial to use fresh flour for a great-tasting loaf. Over time, flour loses its freshness and can become rancid, resulting in an unpleasant taste. It’s best to use flour within six months of purchase and store it in an airtight container to keep it fresh. Your taste buds will thank you when they bite into that perfectly-textured slice of bread.
Water is also a vital ingredient in bread-making. Using fresh and clean water is crucial for achieving optimum taste. Avoid using tap water containing chlorine as it can hinder yeast activity and give an off-flavor to your bread. Instead, use clean water to ensure your bread has the best possible taste.
Lastly, adding fresh herbs or spices can enhance the flavor of your homemade bread. The addition of herbs like rosemary or thyme or spices like cinnamon or nutmeg can elevate your bread’s taste profile and make it more flavorful.
Follow Recipe Instructions for Baking Time and Temperature
While using fresh ingredients is important, following recipe instructions for baking time and temperature is just as crucial. Let’s explore why this step is so essential.
Baking times and temperatures can vary widely depending on various factors, such as the type of bread, ingredients, and loaf size. Whether you’re baking a dense sourdough or a light white bread, it’s critical to follow the recipe instructions precisely. Underbaked bread can be doughy and dense, while overbaked bread can become dry and hard. Trust us; no one wants that.
To ensure your bread bakes evenly and rises correctly, preheating your oven to the correct temperature is equally important. Skipping this step may lead to uneven baking, and your bread may not rise properly.
It’s important to note that different types of bread require different baking times and temperatures. So, always stick to the recipe instructions for each type of bread you want to bake. For instance, a dense sourdough loaf may need a longer baking time at a lower temperature compared to a lighter white bread loaf.
In conclusion, following recipe instructions for baking time and temperature is an essential step in achieving delicious homemade bread every single time. To summarize:
- Follow recipe instructions precisely
- Preheat your oven to the correct temperature before baking
- Different types of bread require different baking times and temperatures
Check on the Bread Frequently While It’s Baking
Baking bread is an art that requires patience, precision, and practice. While the process of making dough can be therapeutic, the real magic happens in the oven. However, even the most seasoned bakers know that getting the perfect loaf can be a challenge. One of the best ways to ensure your bread comes out delicious every time is by checking on it frequently while it’s baking.
First things first, you need to make sure your oven temperature is accurate. Use an oven thermometer to ensure that the temperature is correct before placing your bread in to bake. Preheat the oven fully and resist the temptation to open the door too often as this can affect the temperature and cooking time.
Once your bread is in the oven, set a timer and check on it every 5-10 minutes during the last 15-20 minutes of baking. This will allow you to monitor its progress without affecting the oven temperature too much. Look for a golden brown crust and tap the bottom of the loaf – if it sounds hollow, it’s likely done.
However, checking on your bread isn’t just about making sure it’s cooked all the way through. It’s also about preventing under-baked or over-baked bread. Under-baked bread can be a disappointment as it will be doughy and unappetizing, while over-baked bread can end up dry and tough. Checking on your bread frequently helps you avoid both of these outcomes.
Another tip for achieving perfect bread is to rotate it halfway through baking to ensure even browning and cooking. If you notice any areas of the bread browning too quickly, cover them with aluminum foil to prevent burning.
U1ol8KBK-wk” >
Conclusion
In conclusion, there are several reasons why your homemade bread may not be tasting as good as you hoped.
It could be due to improper measurements of ingredients, over-kneading or under-kneading the dough, using expired yeast, or not allowing enough time for the dough to rise properly. Additionally, the type of flour used and the quality of ingredients can also affect the taste of your bread.
With practice and patience, you can create delicious loaves that will have everyone asking for seconds.

