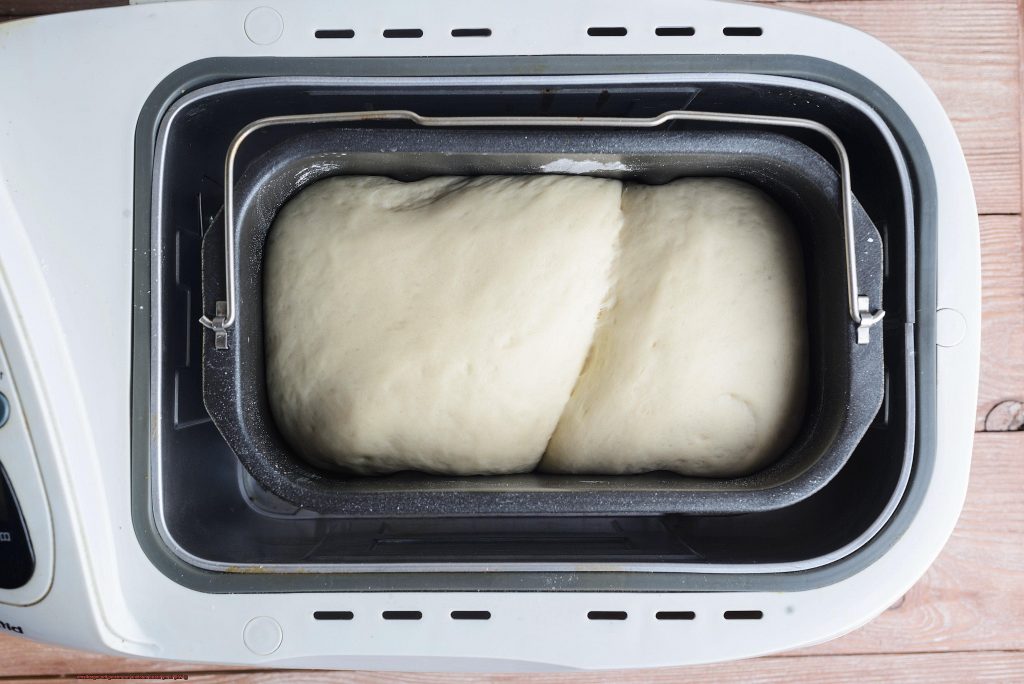
Imagine this: you’re all set to make some delicious homemade bread. Your ingredients are perfectly measured out, the recipe is ready to go, and your trusty bread machine is eagerly waiting to do its job. But when you hit the start button, something’s not quite right. Maybe the machine won’t even turn on, or maybe it starts churning but the ingredients aren’t mixing properly.
If you’re a bread aficionado like me, this situation can be downright infuriating. But fear not. Bread machines are incredible inventions, but they can sometimes encounter issues. Luckily, most of these problems are easily fixable.
In this blog post, we’ll explore some common reasons why your bread machine might not be mixing your ingredients correctly. We’ll delve into potential problems with the paddles, ingredient consistency, and even issues with the machine’s settings. Plus, we’ll provide some helpful tips for troubleshooting and getting your bread machine back in working order.
So grab a slice of your favorite bread (homemade or store-bought – we won’t judge) and get ready to learn how to maintain your beloved bread-making appliance.
Contents
What Causes Poor Mixing in a Bread Machine?
Many bread machine users experience this common problem, which can result in unevenly baked bread or loaves that don’t rise properly. So, what exactly causes poor mixing in a bread machine?
One possible culprit is the kneading blade or paddle. This essential component of the bread machine is responsible for mixing the ingredients together, so if it’s damaged, worn out, or not securely attached, the dough won’t mix well. Always double-check that your kneading blade is properly inserted and replaced regularly to ensure optimal performance.
Another factor that can affect mixing is using the wrong type of flour or yeast. Each recipe and bread machine model has specific requirements for these ingredients, so using the correct ones as specified in your manual is essential for proper mixing.
Overloading your bread machine with too many ingredients can also lead to poor mixing. Stick to recommended ingredient measurements and never exceed your machine’s maximum capacity.
Additionally, incorrect measuring or adding ingredients in the wrong order can also cause issues. Be sure to carefully measure your ingredients and follow the instructions provided in your manual for optimal results.
Lastly, poor mixing could be a result of a problem with the bread machine itself. If you’ve tried everything and are still experiencing issues, it may be time to have your machine serviced or replaced.
Is the Kneading Blade Properly Inserted and Secured?
The kneading blade is responsible for kneading and mixing your dough. But how can you tell if it’s properly inserted and secured?
First and foremost, always consult your user manual for specific instructions on how to insert and secure the kneading blade. Don’t assume that all bread machines are the same.
Additionally, ensure that your blade is clean and free of any debris that could hinder proper mixing. Take a moment to carefully clean it before re-inserting it back into your machine.
It’s also important to note that some bread machines require specific types of kneading blades for certain recipes. Make sure you have the right one for your machine and bread recipe.
If you’ve tried all these steps and are still having issues with mixing, it may be time to replace your kneading blade. Over time, blades can become worn or damaged, leading to subpar results in your baking.
Is the Kneading Blade Damaged or Worn Out?
The kneading blade is responsible for mixing, kneading, and shaping the dough. However, like any mechanical component, it can wear out or become damaged over time. If you’re experiencing issues with your bread machine not mixing ingredients properly, it may be time to inspect your kneading blade.
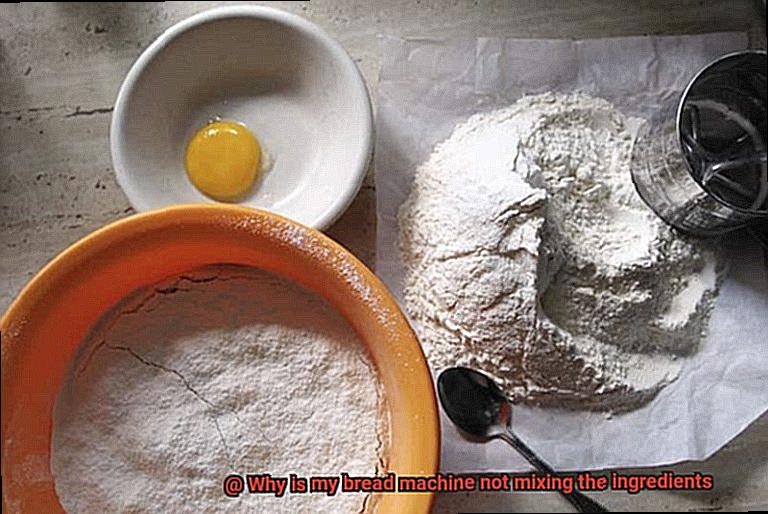
To determine if your kneading blade is damaged or worn out, you can start by removing it from the bread pan and inspecting it for any cracks, dents, or deformities. These signs indicate that it’s time to replace the kneading blade. Another way to test if the kneading blade is working correctly is to run the bread machine on the dough cycle with a small amount of flour and water in the bread pan. If the dough is not mixing properly, it could indicate that the kneading blade needs to be replaced.
Even if your kneading blade appears to be in good condition, it can still wear out over time due to regular use. It’s recommended to replace the kneading blade every 6-12 months depending on how often you use your bread machine. Replacing a kneading blade is a simple process that can be done by following the manufacturer’s instructions. Most kneading blades are removable and can be easily replaced with a new one.
Are You Using the Correct Type of Flour and Yeast?
Don’t blame the machine just yet. The real culprit could be the type of flour and yeast you’re using. As an expert in this field, I can tell you that using the right kind of flour and yeast is crucial for your bread machine to produce mouth-watering and fluffy loaves of bread.
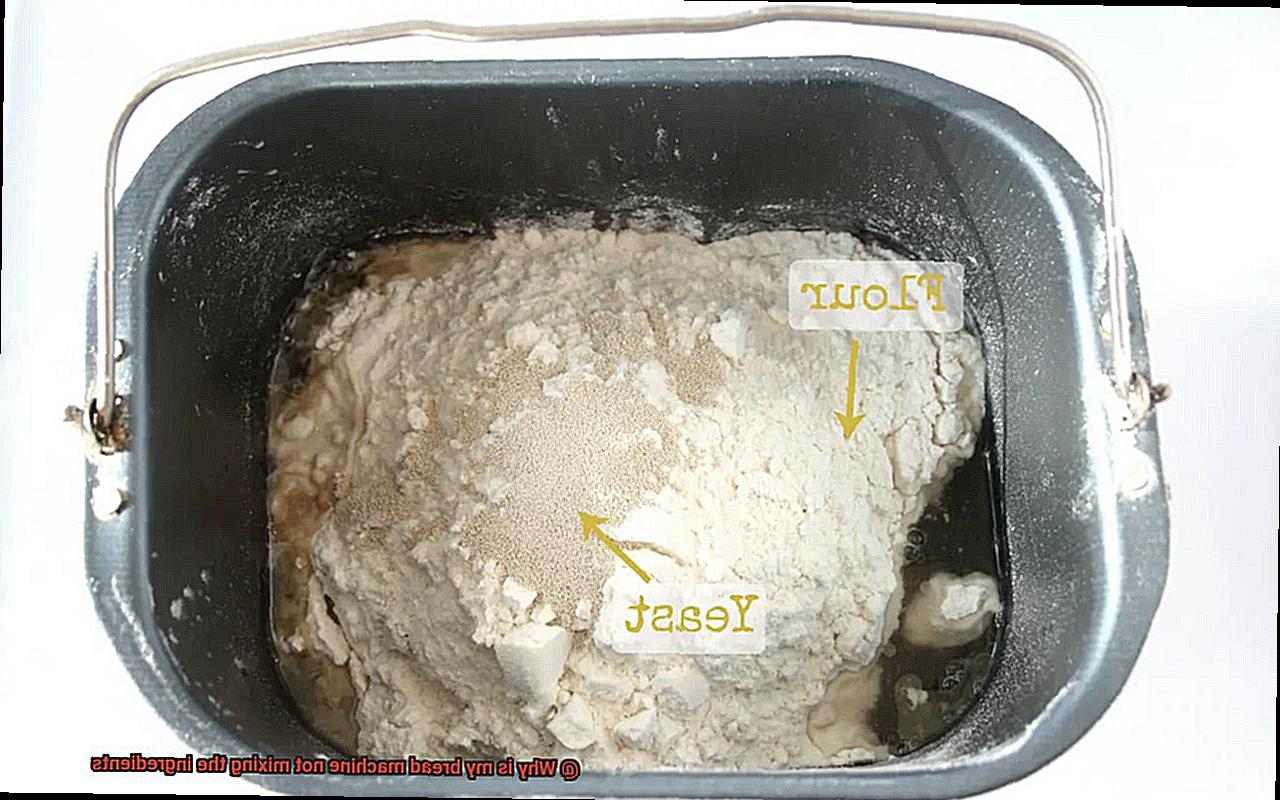
Let’s start by delving into flour. Most bread machines are designed to use all-purpose flour, but if you opt for a different type like bread or whole wheat flour, you might have to tweak the recipe or settings on your machine. Bread flour has a higher protein content than all-purpose flour, which allows it to absorb more moisture and produce stronger gluten structure. As a result, the loaf may turn out denser and chewier. On the other hand, whole wheat flour has more fiber and bran, making it more challenging for the bread machine to mix the ingredients correctly. So, choose your flour carefully.
Now, let’s move on to yeast. There are several types of yeast available, including active dry yeast, instant yeast, and rapid-rise yeast. Active dry yeast requires activation in warm water before use, while instant yeast can be added directly to the dry ingredients. Rapid-rise yeast is designed to work quickly and may not be suitable for all bread recipes. Therefore, it’s crucial to check the recipe guidelines and ensure that you’re using the correct type of yeast for your bread machine.
Are You Overloading the Bread Machine with Too Many Ingredients?
If so, it’s important to understand the potential pitfalls of overloading your bread machine with too many ingredients. Here are some important factors to consider:
Firstly, overloading your machine can lead to uneven texture and even a collapsed loaf. This happens because the dough doesn’t mix correctly when there are too many ingredients. It’s essential that you follow the manufacturer’s instructions on the maximum amount of ingredients that can be used for each recipe.
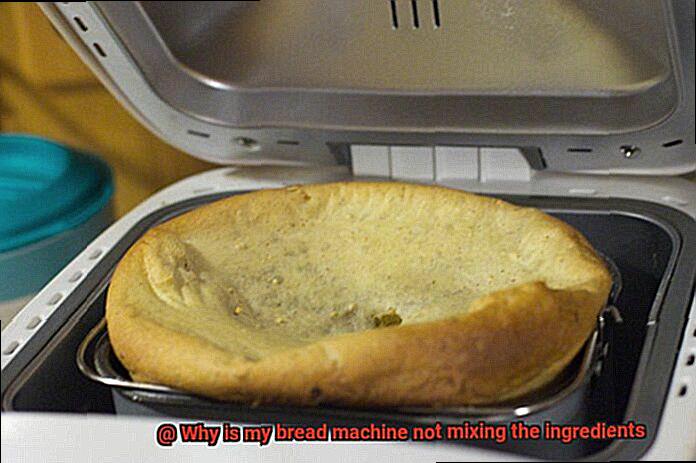
Moreover, overloading your machine can cause serious damage to the motor. When you put too much strain on the motor, it can overheat and eventually fail. This can be a costly mistake, resulting in pricey repairs or replacements.
To avoid these issues, it’s important to carefully measure out all of your ingredients and choose recipes that are specifically designed for bread machines. These recipes take into account the limitations of the machine and provide proper ingredient amounts.
Troubleshooting Tips for Poor Mixing in a Bread Machine
The good news is that there are several troubleshooting tips that can help you produce perfectly mixed and delicious loaves of bread every time. Here are five sub-sections to guide you through the process.
Proper Blade Insertion
One of the most common reasons for poor mixing is an improperly inserted or worn-out paddle or kneading blade. Make sure the blade is properly inserted and secured in place. If it is not, the ingredients will not mix properly, resulting in an unevenly baked loaf of bread.
Fresh Ingredients
Using fresh and high-quality ingredients is essential to ensure that your bread comes out as expected. Stale ingredients can cause poor mixing, so check your ingredients for freshness before adding them to your bread machine. Additionally, make sure that your yeast is fresh and hasn’t expired.
Adjust Liquid Amount
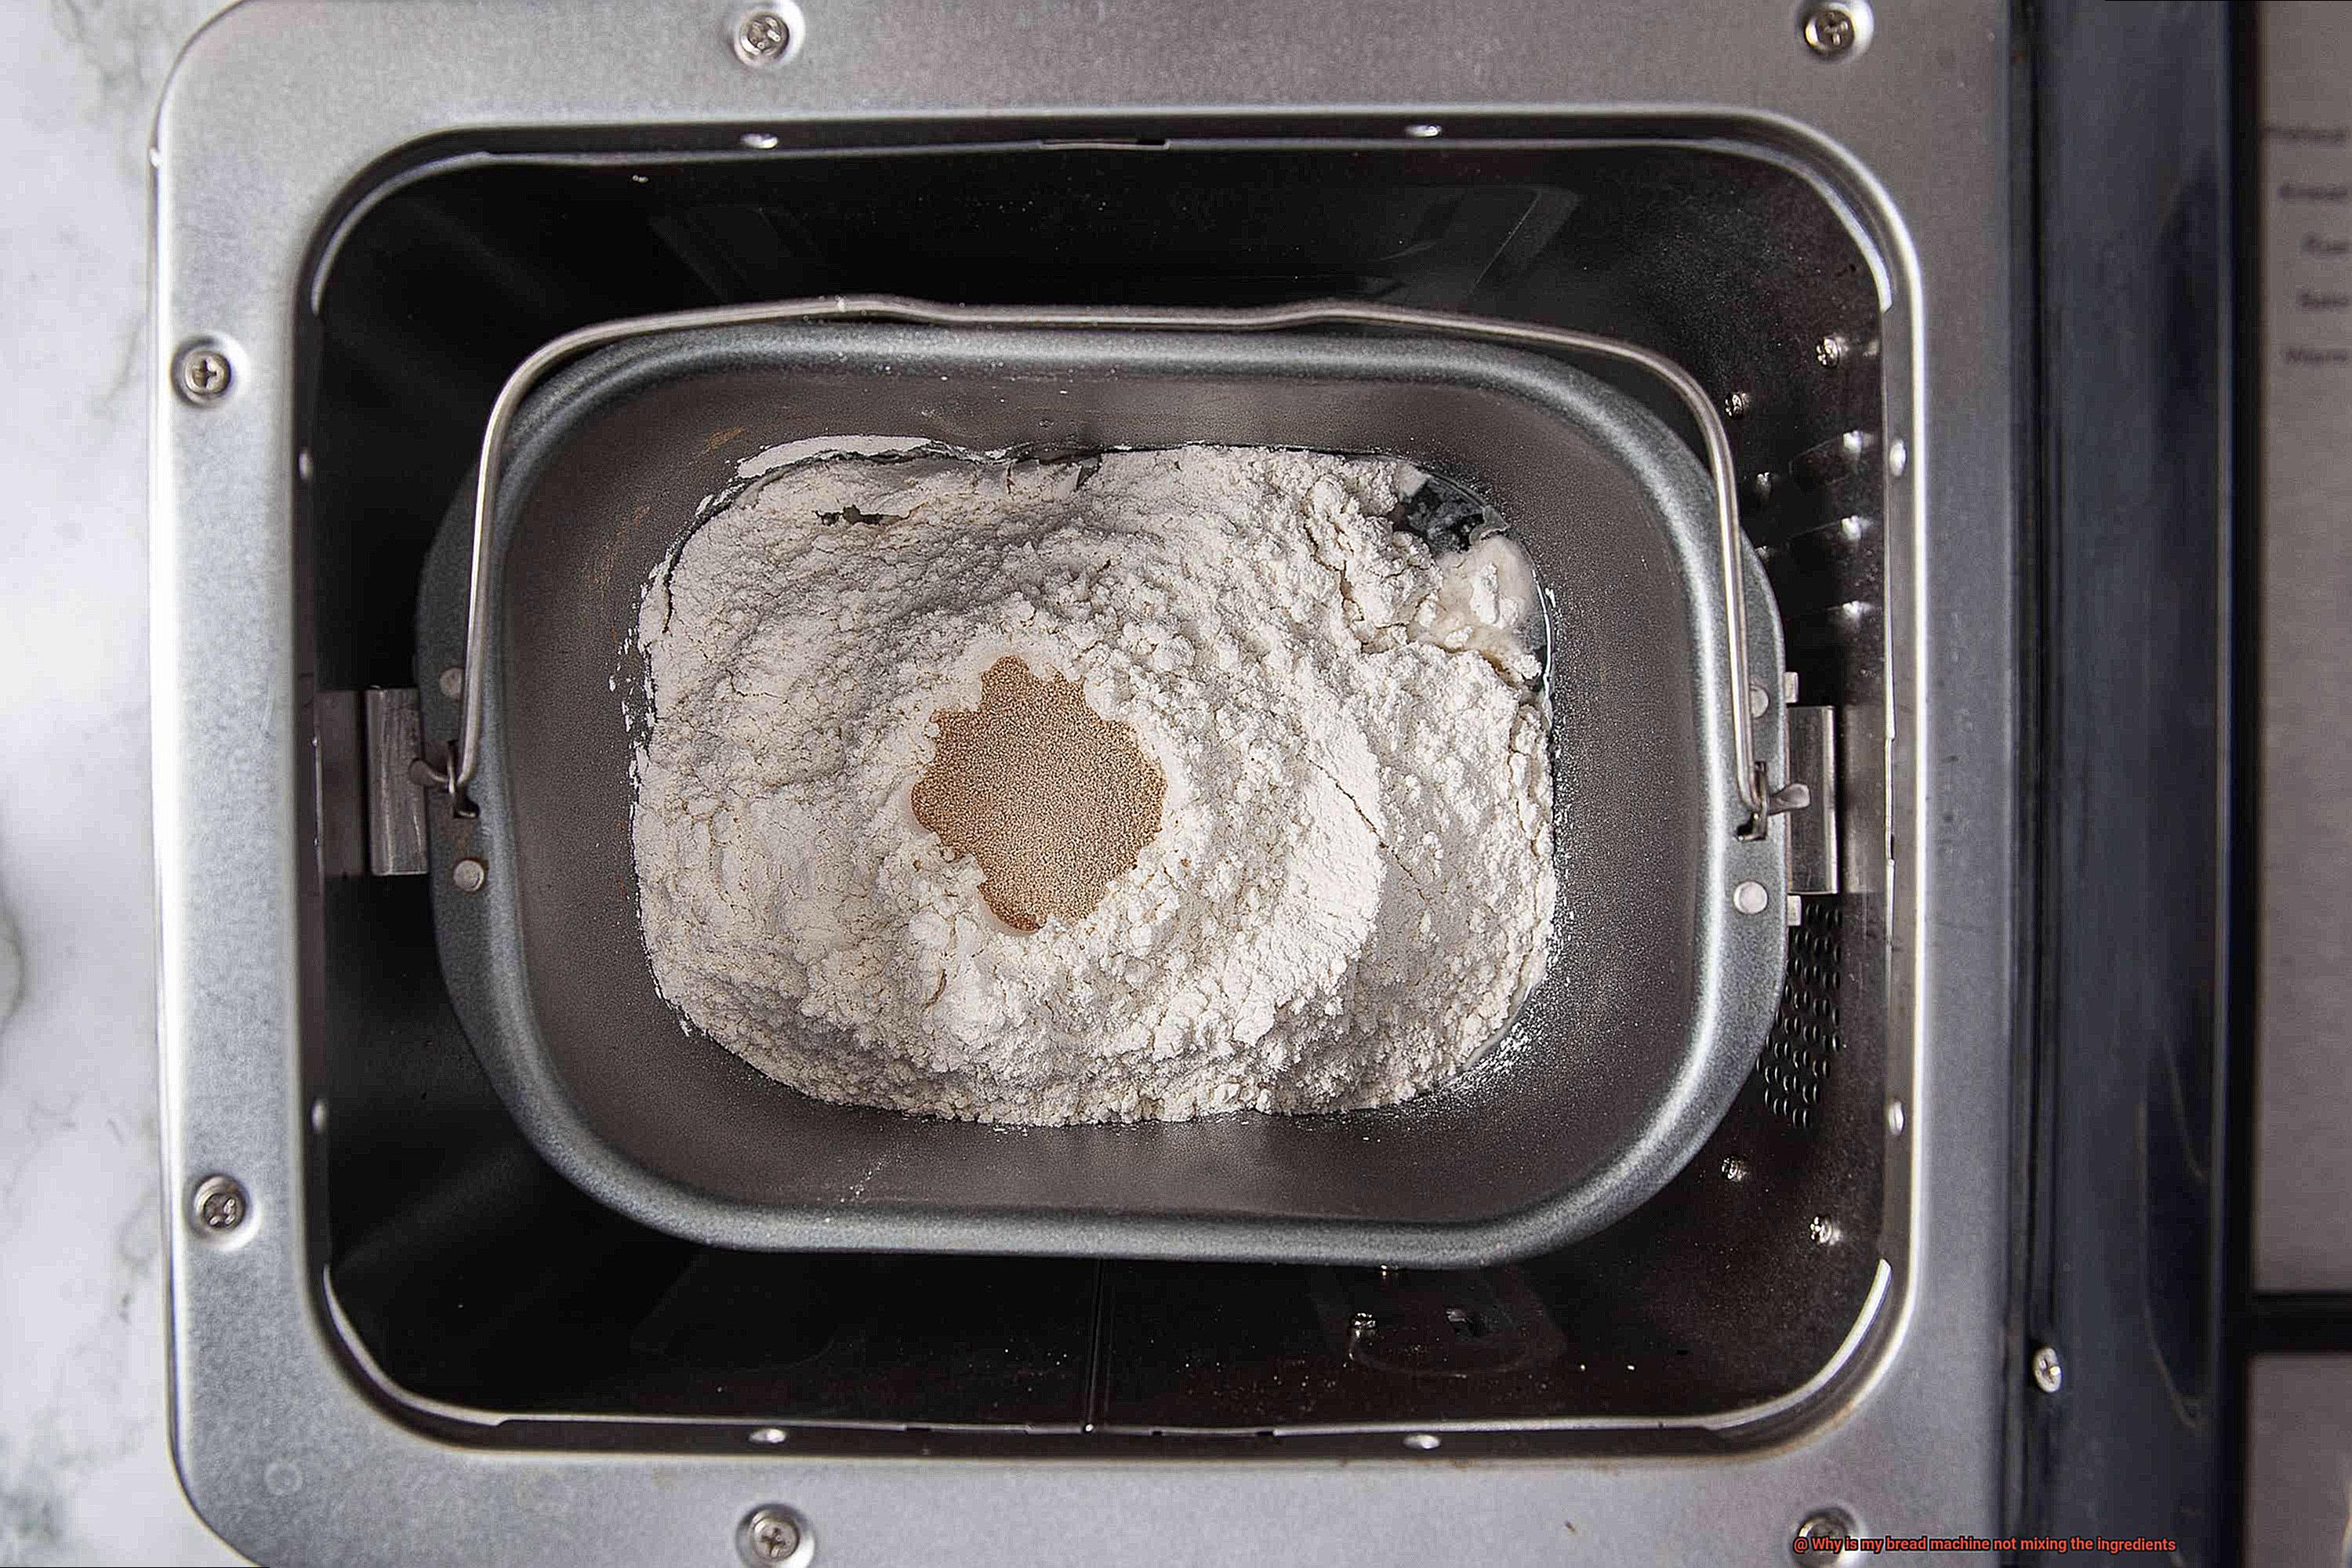
If your dough is too dry, it may not mix properly. Conversely, if your dough is too wet, it may stick to the sides of the pan and not mix well. Experiment with adjusting the amount of liquid being used until you find the right balance. Follow your recipe closely to achieve optimal results.
Even Ingredient Distribution
Another reason for poor mixing could be unevenly distributed ingredients in the pan. Make sure to evenly distribute your ingredients in the pan before starting the machine. You can also try adding wet ingredients first followed by dry ingredients to ensure proper mixing.
Temperature Check
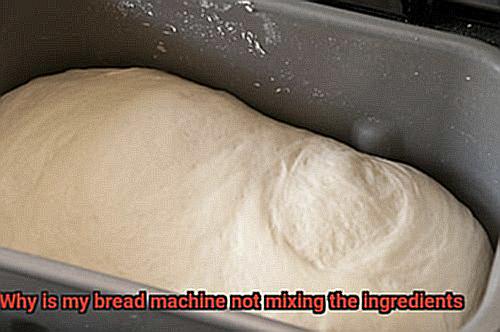
The temperature of your ingredients can also affect the mixing process. If they are too cold, it may affect the mixing process. Allow your ingredients to reach room temperature before adding them to the bread machine.
How to Check and Replace the Kneading Blade
Baking homemade bread is a rewarding experience, but it can be frustrating when your bread machine fails to mix the ingredients properly. In most cases, a poorly functioning kneading blade is to blame. Fortunately, checking and replacing your kneading blade is a relatively simple process. Here are some detailed steps on how to check and replace the kneading blade in your bread machine.
Step 1: Safety First
Before you start any repairs on your bread machine, always ensure that it is unplugged and completely cool. This will prevent any potential electric shock or burns.
Step 2: Remove the Bread Pan
Locate the bread pan and remove it from your bread machine. Most bread pans have a removable bottom where the kneading blade is located.
Step 3: Inspect the Kneading Blade
Carefully inspect the kneading blade for any damages or wear and tear. Look for cracks, bends, or rust on the blade. If you notice any of these issues with the kneading blade, it’s time to replace it.
Step 4: Check Blade Attachment
If the blade looks fine, make sure that it’s securely attached to the bread pan. The blade should be snug and not wobbling around.
Step 5: Replace the Kneading Blade
If you need to replace the kneading blade, refer to your bread machine’s manual for instructions on how to do so. Most blades can be easily removed by twisting them counterclockwise and pulling them out. Purchase a replacement blade that is compatible with your specific bread machine model.
Step 6: Install the New Kneading Blade
Insert the new kneading blade into the hole in the bottom of the bread pan and twist it clockwise until it’s secure.
Step 7: Test Your Bread Machine
Place the bread pan back into the bread machine and start a new cycle to test if the new blade is functioning properly.
Step 8: Clean the Kneading Blade (Optional)
In some cases, simply cleaning the kneading blade can solve issues with mixing ingredients. To clean the blade, soak it in warm soapy water for several minutes and then use a soft brush to scrub away any remaining residue. Rinse thoroughly and dry before reinstalling.
jrI73e7FXXc” >
Conclusion
In conclusion, a bread machine can be a game-changer for home bakers, but it can also be frustrating when the ingredients don’t mix properly. As an expert in this field, I’ve shared some common reasons why your bread machine might not be doing its job correctly. These include issues with the kneading blade, using the wrong type of flour or yeast, overloading the machine with too many ingredients, and incorrect measuring or adding ingredients in the wrong order.
But fear not. There are simple solutions to these problems. By ensuring proper blade insertion, using fresh ingredients, adjusting liquid amounts, evenly distributing ingredients and checking temperature, you’ll be well on your way to perfectly mixed dough. And if all else fails, I’ve provided detailed steps on how to check and replace the kneading blade.
Don’t let a poorly mixed loaf discourage you from using your trusty bread machine. With these troubleshooting tips and techniques at your disposal, you’ll be able to produce delicious loaves every time.

